
Creating a realistic 3D shoe model is both an art and a technical challenge. Whether you're designing for fashion visualization, gaming, or product prototyping, achieving authenticity in form, texture, and structure requires precision and understanding of real-world footwear construction. This guide walks through the entire process—from reference gathering to final detailing—offering practical steps that cater to both newcomers and experienced 3D artists.
1. Gather Reference Material and Understand Shoe Anatomy
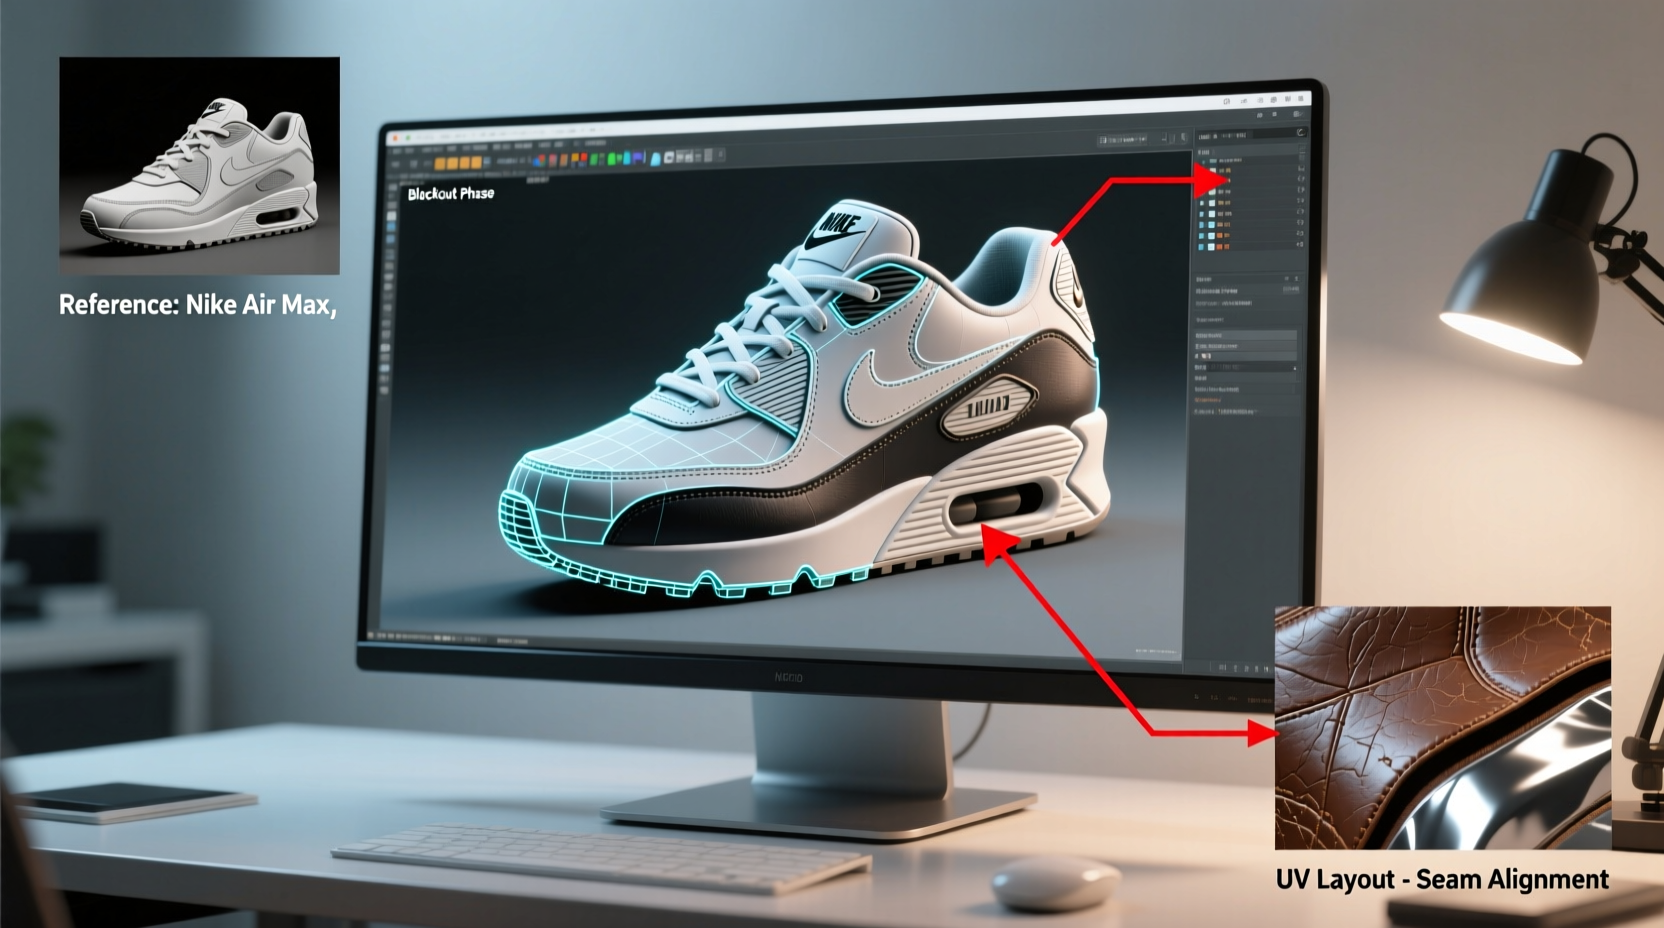
Before touching any software, collect high-quality reference images of the shoe type you’re modeling. Use multiple angles: top, bottom, side, front, back, and close-ups of stitching, sole patterns, and material transitions. Photographs from online retailers, sneaker databases, or even your own camera can provide invaluable visual data.
Understanding shoe anatomy is crucial. A typical athletic or casual shoe consists of several key components:
- Upper: The main body covering the foot, often made of mesh, leather, or synthetic fabrics.
- Tongue & Laces: Functional elements affecting fit and aesthetics.
- Heel Counter: Reinforced area at the back for stability.
- Midsole: Layer between outsole and upper, usually cushioned.
- Outsole: Ground-contacting part with tread patterns.
- Eyelets & Hardware: Metal or plastic loops for lacing.
“Accurate references are non-negotiable. Without them, even technically sound models lose believability.” — Lena Torres, Senior Footwear Modeler at StudioForma
2. Choose Your Software and Set Up the Workspace
The choice of 3D software impacts workflow efficiency. Popular options include:
| Software | Best For | Learning Curve |
|---|---|---|
| Blender | Beginners, indie creators (free) | Moderate |
| ZBrush | Detailed sculpting, pros | Steep |
| Maya | Poly modeling, animation pipelines | Moderate to high |
| Rhinoceros + Grasshopper | Precise CAD-style modeling | High |
For beginners, Blender offers a powerful free entry point with strong modeling and texturing tools. Pros may combine ZBrush for organic details like worn soles and Blender or Maya for hard-surface precision on midsoles and heels.
Set up your workspace with image planes aligned to each view (front, side, etc.). Most 3D applications allow importing background images directly into orthographic views, helping maintain proportion accuracy during blocking.
3. Block Out the Basic Shape Using Primitive Geometry
Start with a simple cylinder or cube and scale it to match the overall silhouette of the shoe. Focus only on volume and proportions—ignore fine details at this stage.
- Create a base mesh aligned with your side-view reference.
- Use extrusion and edge loops to define heel height, toe box depth, and arch curvature.
- Split the mesh into logical sections: sole group, upper group, tongue, and heel cap.
- Apply mirror modifiers if the shoe is symmetrical (most are).
Ensure topology flows naturally along bending areas like the instep. Avoid dense geometry where it’s unnecessary—clean edge flow matters more than polygon count early on.
4. Refine Components with Precision Modeling Techniques
Now break down the shoe into subsystems and refine each individually.
Modeling the Sole
The sole should be thick enough to look structural but not exaggerated. Use Boolean operations sparingly; instead, manually cut tread patterns using loop cuts and inset faces. For grooves, use crease tools or displacement maps later in texturing.
Detailing the Upper
This is where realism emerges. Panels on modern sneakers are rarely flat—they curve over foot contours. Use subdivision surface modeling to achieve smooth transitions. Add seams by creating slight indents along panel joins, then enhance them with normal maps later.
Incorporating Laces and Eyelets
Laces can be modeled as low-poly cylinders with high segment counts for bendability. Alternatively, generate them procedurally using curves (Blender’s Bezier curves work well). Eyelets should have thickness and sit flush with the upper fabric. Don’t forget tiny washers beneath metal eyelets for added realism.
“Most beginners underestimate the importance of micro-details. A single misplaced stitch line can break immersion.” — Arjun Patel, Lead Artist at NexaWear Studios
Mini Case Study: Modeling a Classic Sneaker
Jamal, a junior artist transitioning from character modeling, attempted his first high-top sneaker in Blender. He began with poor references and rushed into detailing before establishing correct proportions. The result looked bulky and unnatural. After revisiting reference photos and rebuilding the blockout with precise measurements from known shoe dimensions (e.g., average heel height = 25mm), he restructured the mesh with proper edge loops around flex zones. By adding subtle bulges near the ankle collar and adjusting lace tension simulation, the final render gained significant realism—even in still images, the shoe appeared wearable.
5. Texturing, Materials, and Final Polish
A perfectly modeled shoe falls flat without accurate materials. Use PBR (Physically Based Rendering) workflows for best results.
UV Unwrapping Strategy
Unwrap each major component separately: sole, upper, tongue, laces. Minimize stretching and align seams along natural folds (e.g., under the arch or behind the heel). Pack UV islands efficiently to maximize texture resolution.
Material Creation
Assign different shaders based on physical properties:
- Leather: Slight bump map, moderate roughness, specular highlight.
- Mesh Fabric: Fine noise texture, higher roughness, subtle transparency for breathability effect.
- Rubber Soles: Matte finish, detailed displacement for treads.
- Plastic Accents: Glossy, sharp reflections.
Bake ambient occlusion and cavity maps to emphasize crevices like stitching and sole grooves. These small touches dramatically improve depth perception in renders.
Checklist: Key Steps to Realistic Shoe Modeling
- ✅ Collect multi-angle reference images
- ✅ Label anatomical parts for clarity
- ✅ Block out basic shape with primitive geometry
- ✅ Maintain clean topology and edge flow
- ✅ Separate components logically (solids, uppers, details)
- ✅ UV unwrap each section carefully
- ✅ Apply PBR materials with texture variation
- ✅ Add wear, grime, and micro-damage for believability
- ✅ Render under studio lighting for presentation
Frequently Asked Questions
How long does it take to model a realistic shoe?
For beginners, expect 10–20 hours depending on complexity. Experienced modelers can complete a detailed shoe in 5–8 hours, especially when using reusable templates for soles or lacing systems.
Can I use 3D scanning instead of manual modeling?
Yes, 3D scanning captures exact geometry quickly, but scanned models often require cleanup—noise reduction, hole filling, retopology. Manual modeling gives more control over stylization and optimization for real-time engines.
What makes a shoe model look “fake”?
Common red flags include incorrect proportions (especially sole thickness), lack of material differentiation, flat shading without wear, and unrealistic lacing patterns. Pay attention to how light interacts with layered materials—real shoes have depth, not just color.
Final Thoughts and Call to Action
Modeling realistic shoes blends observation, technical skill, and patience. Whether you're crafting virtual prototypes for a brand or building assets for a game, the principles remain the same: start with solid references, build logically, and refine relentlessly. Mastery comes not from rushing to the finish but from learning what makes footwear feel tangible—even in digital space.


 浙公网安备
33010002000092号
浙公网安备
33010002000092号 浙B2-20120091-4
Comments
No comments yet. Why don't you start the discussion?