
Removing window tint may seem like a simple task, but doing it incorrectly can lead to scratches, adhesive residue, or even cracked glass. Whether you're upgrading to new film, correcting a poor installation, or restoring clarity to your vehicle or home windows, the process requires patience and the right tools. This comprehensive guide walks you through every phase—from preparation to final cleanup—with proven methods used by automotive detailers and window specialists.
Why Proper Tint Removal Matters
Window tint serves several purposes: reducing glare, blocking UV rays, enhancing privacy, and improving aesthetics. However, over time, tint can bubble, fade, or become outdated. When it's time for removal, many people resort to peeling it off quickly with a razor blade or scraper, often damaging the glass or defroster lines in the process.
Professional-grade removal preserves the integrity of the window and ensures no sticky adhesive is left behind. It also prevents moisture traps that could lead to mold or fogging between panes in double-glazed units. Taking the time to do it right avoids costly repairs and delivers a clean surface ready for re-tinting or clear restoration.
“Improper tint removal is one of the top causes of damaged rear defrosters in vehicles. Heat and steady pressure—not force—are key.” — Carlos Mendez, Auto Glass Specialist with 15+ years in detailing
Tools and Materials You’ll Need
Before starting, gather all necessary supplies. Having everything on hand prevents interruptions and reduces the risk of leaving half-removed film exposed to dust or debris.
| Tool/Material | Purpose | Notes |
|---|---|---|
| Razor Blade Scraper (single-edge) | Loosen and lift film edges | Use only on glass; avoid plastic surfaces |
| Steamer or Hair Dryer | Softens adhesive for easier removal | Steaming is safer than solvents near seals |
| Ammonia-Based Solution or DIY Mix (1:1 water + vinegar) | Dissolves glue residue | Avoid ammonia on tinted plastics |
| Plastic Scraper or Credit Card | Peel film without scratching | Ideal for delicate or curved glass |
| Squeegee | Apply solution and remove liquid | Helps check for leftover adhesive |
| Microwave-Safe Spray Bottle | Hold heated solution | Heat increases solvent effectiveness |
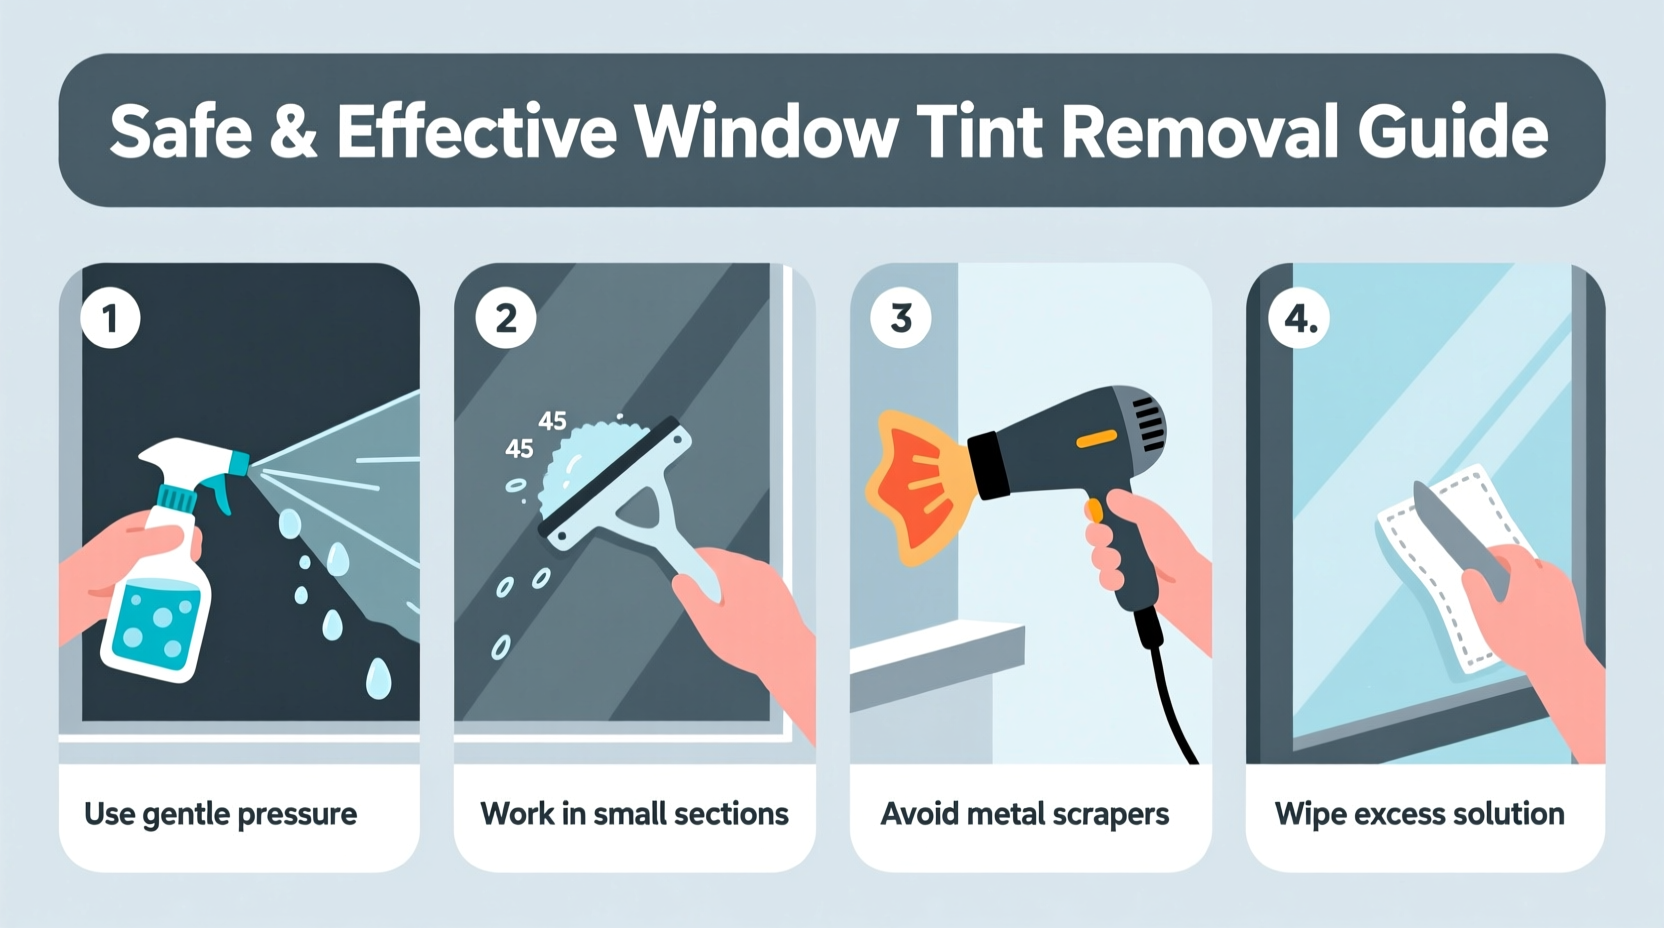
Step-by-Step Removal Process
Follow this sequence to ensure safe, complete, and efficient tint removal from any glass surface.
- Lift an Edge of the Film
Use a razor blade or dental floss to gently lift one corner of the tint. Slide the blade under the film slowly to avoid gouging the glass. If the film is brittle, apply heat first to soften the adhesive. - Peel Back Slowly Using Heat
With a hair dryer or garment steamer, warm the film as you pull it down in one continuous motion. Keep the heat source 2–3 inches from the surface. The adhesive will loosen, allowing the film to come off in large sheets rather than fragments. - Remove Remaining Adhesive
After the bulk of the film is gone, a sticky residue will remain. Spray your ammonia-vinegar solution generously and let it sit for 2–3 minutes. Use a soft cloth or squeegee to wipe away the gel-like glue. For stubborn spots, reapply heat and solution. - Scrub Residue Gently
If residue persists, use a plastic scraper at a low angle (about 30 degrees) with light pressure. Work in small sections, rewetting as needed. Avoid circular motions—use straight, overlapping strokes for consistency. - Clean and Inspect the Glass
Once all adhesive is removed, wash the window with soapy water and a lint-free cloth. Inspect under direct light for missed patches. A final wipe with isopropyl alcohol ensures zero residue and prepares the surface for future applications.
Common Mistakes and How to Avoid Them
- Using cold water on heated glass – Sudden temperature changes can crack windows. Always match the temperature of cleaning solutions to the glass.
- Peeling too fast – Hurried removal leaves adhesive behind and risks tearing defroster lines. Patience improves results.
- Skipping protective gear – Wear gloves and eye protection when using chemicals or sharp tools.
- Using abrasive pads – Steel wool or scouring pads scratch glass permanently. Stick to soft cloths and plastic tools.
“I once had a customer who tried removing tint with a utility knife. They ended up slicing through the defroster grid on their rear windshield. That repair cost five times more than professional removal would have.” — Lisa Tran, Mobile Detailing Technician
Real-World Example: Removing Decades-Old Tint from a Classic Car
Mark, a vintage car restorer in Portland, faced heavily degraded tint on a 1978 Chevrolet Impala. The film was brittle, with layers of adhesive baked in by years of sun exposure. He began by heating each window with a steamer for 10 minutes, then used fishing line to slice through the middle layer, lifting the top sheet cleanly. For the remaining glue, he applied a heated vinegar solution and scraped with a credit card. The entire process took three hours—but saved him $400 in potential glass replacement costs. The restored windows now look factory-clear and are ready for modern ceramic-coated tint.
Do’s and Don’ts of Window Tint Removal
| Do’s | Don’ts |
|---|---|
| Use heat to soften adhesive | Peel film in freezing temperatures |
| Work in direct sunlight or warm garage | Use ammonia on plastic or polycarbonate |
| Test solvents on a small area first | Leave adhesive residue uncleaned |
| Replace weather stripping if damaged | Apply excessive pressure with scrapers |
Frequently Asked Questions
Can I remove window tint without heat?
Yes, but it’s significantly harder. Cold removal often results in fragmented film and increased scraping time. Without heat, adhesive remains tacky and difficult to clean. Using a steamer or hair dryer makes the job faster and safer.
Is vinegar as effective as commercial tint removers?
In most cases, yes. A mixture of equal parts white vinegar and water, especially when heated, breaks down adhesive effectively and is non-toxic. Commercial products may work slightly faster but often contain harsh chemicals that require ventilation and protective gear.
Will removing tint damage my rear defroster lines?
It can—if improper tools or techniques are used. Metal blades and aggressive scraping can scratch or sever the thin conductive wires embedded in the glass. Always use plastic tools, apply heat, and scrape parallel to the lines, not across them.
Final Tips for Success
- Start with the smallest window to practice your technique.
- Keep a second spray bottle with plain water to rinse after chemical application.
- If reapplying tint, wait 24 hours after full cleanup to ensure no moisture or residue remains.
Conclusion
Removing window tint doesn’t have to be a messy or risky job. With the right approach—using heat, proper solvents, and gentle tools—you can achieve a flawless finish that looks like the glass was never tinted. Whether you’re prepping for resale, upgrading to better film, or simply restoring clarity, this method protects your investment and delivers professional results. Take your time, follow each step carefully, and enjoy the satisfaction of a job done right.


 浙公网安备
33010002000092号
浙公网安备
33010002000092号 浙B2-20120091-4
Comments
No comments yet. Why don't you start the discussion?