
Garage door remotes are convenient, but over time they can lose their programming due to power outages, interference, or system upgrades. Whether you’ve replaced the battery, moved into a new home, or simply lost synchronization, knowing how to reset and reprogram your garage door remote is essential for consistent access. This comprehensive guide walks you through every step with clarity and precision—no technical expertise required.
Why Resetting Your Garage Door Remote Is Necessary
There are several reasons why your garage door remote might stop working:
- A recent power outage disrupted the opener’s memory.
- You’ve replaced the remote or added a second one.
- The remote has been accidentally unpaired during maintenance.
- Security concerns prompt a full reset (e.g., after moving in).
Resetting clears outdated codes and allows you to re-establish secure communication between the remote and the opener. Most modern systems use rolling code technology, which enhances security but requires proper syncing after any reset.
“Regular maintenance of your garage door system includes checking remote functionality at least twice a year.” — Alan Reeves, Residential Automation Technician
Tools and Information You’ll Need
Before starting, gather the following items:
- The garage door remote(s) you want to program
- A ladder (if accessing the opener motor unit)
- The owner’s manual for your garage door opener (model number usually on the back of the unit)
- A pen and paper to note settings (optional but helpful)
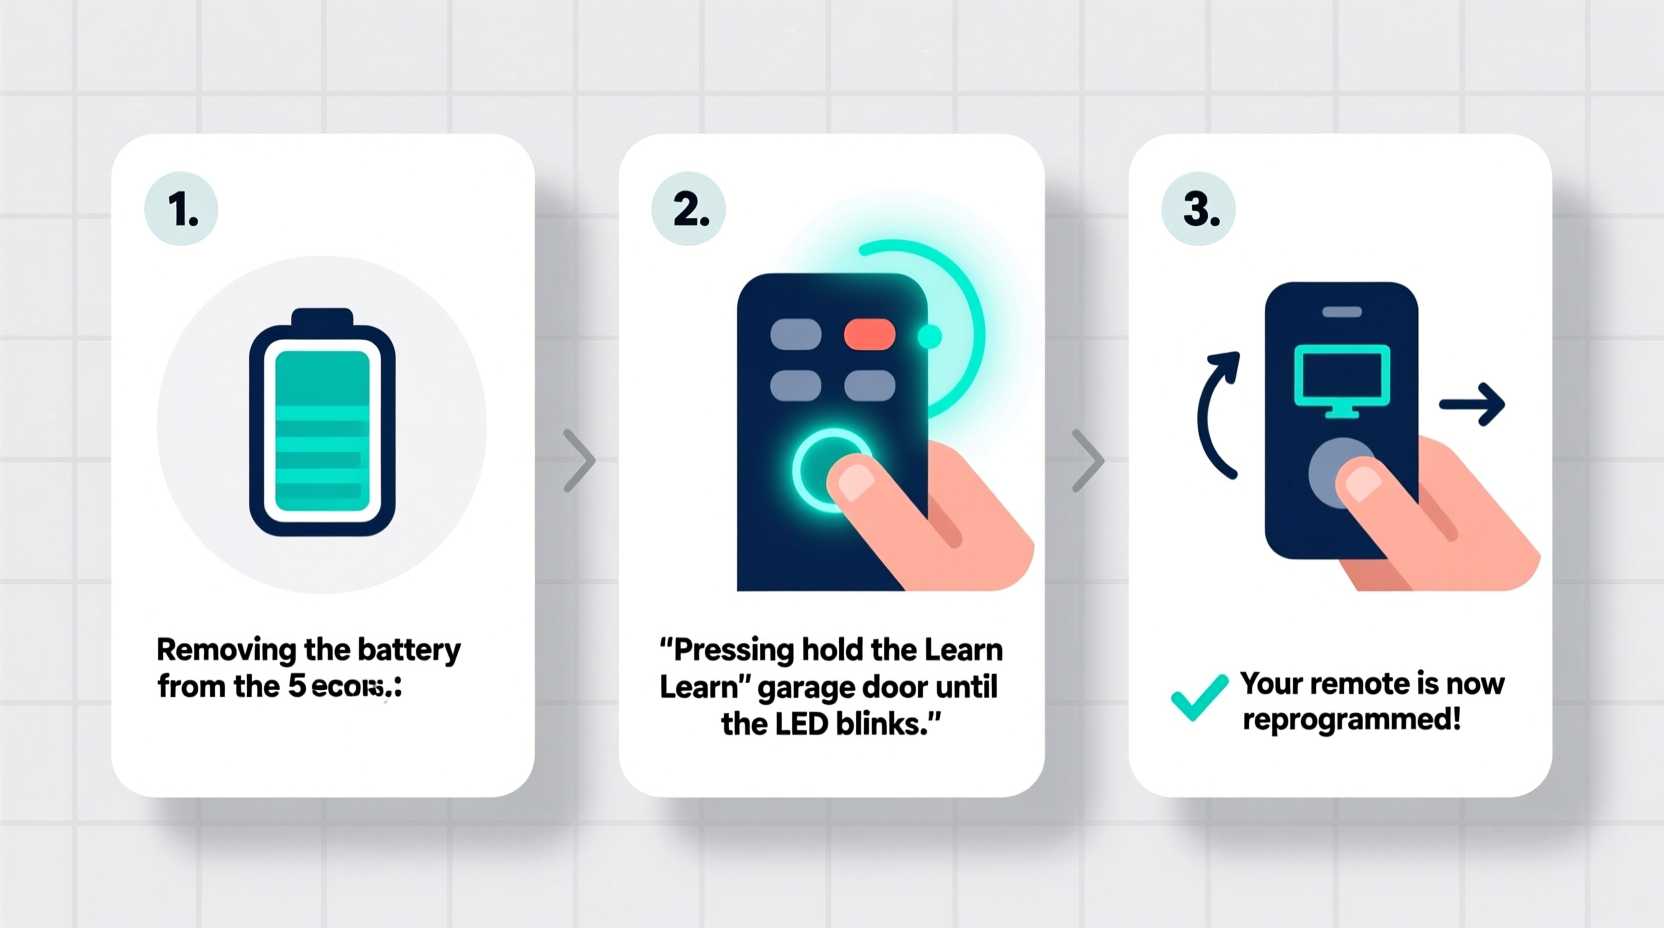
Step-by-Step Guide to Resetting and Reprogramming
Follow this universal process for most major brands including Chamberlain, LiftMaster, Genie, and Craftsman. While small variations exist, the core steps remain consistent across models.
- Locate the “Learn” Button on the Opener Unit
Use a ladder to reach the motor unit mounted on the ceiling. Look for a button labeled “Learn,” “Smart,” or “Program.” It’s often near the antenna wire and may be colored (typically orange, purple, or green). - Press and Release the “Learn” Button
Press it once. The indicator light beside it will glow steadily for about 30 seconds—this means the opener is ready to receive a new signal. - Go to Your Remote
Stand within 6 feet of the garage door opener. Press and hold the button on the remote you wish to program for 3–5 seconds. - Confirm Successful Syncing
The garage door should move slightly (open or close an inch), or the overhead light on the unit may flash. This confirms the remote has been accepted. - Test the Remote
Press the remote button again to open or close the door fully. If it works, programming is complete. - Repeat for Additional Remotes
Within 30 seconds of the first programming, press the “Learn” button again and repeat steps 3–5 for each additional remote. - Clear Old Codes (Optional Security Step)
To erase all previously paired remotes, press and hold the “Learn” button for 6 seconds until the LED turns off. Then restart the programming process.
Troubleshooting Common Issues
Even when following instructions precisely, issues can arise. Here’s what to do if your remote still isn’t working:
| Issue | Possible Cause | Solution |
|---|---|---|
| Remote doesn’t respond after programming | Battery low or inserted incorrectly | Replace battery; ensure correct polarity |
| Opener doesn’t accept signal | Out of range or interference | Stand closer; remove electronic devices nearby |
| Only one remote works | Others not programmed properly | Re-enter learn mode and reprogram each one |
| Light flashes but door doesn’t move | Safety sensors blocked or misaligned | Check sensor alignment; clean lenses |
| No light on “Learn” button | Power issue or faulty circuit board | Check power source; reset breaker if needed |
Real Example: Reclaiming Control After a Power Surge
Sarah from Portland experienced a thunderstorm that knocked out her home’s power. When electricity returned, her garage remote no longer worked. She assumed the remote was broken and almost ordered a replacement online. Instead, she checked her opener’s manual and discovered the need to reprogram after outages. Using the “Learn” button method, she had both remotes synced within five minutes. A simple fix saved her $40 and gave her peace of mind about future disruptions.
Do’s and Don’ts of Remote Programming
- Do:
- • Keep spare remotes programmed for emergencies.
- • Label remotes if you have multiple openers (e.g., main house, workshop).
- • Replace remote batteries annually as preventive maintenance.
- Don’t:
- • Hold the “Learn” button too long unless clearing codes.
- • Program remotes from outside the garage—signal strength drops significantly.
- • Share programming details publicly; this is a security risk.
FAQ: Common Questions About Remote Resetting
Can I reprogram my garage door remote without a ladder?
No, accessing the “Learn” button typically requires reaching the motor unit mounted overhead. For safety, always use a stable ladder and have someone spot you if possible.
How many remotes can I program to one opener?
Most modern openers support up to 8 remotes. Check your model specifications for exact limits. Older units may only allow 4.
Will resetting delete my keypad code?
Yes, in most cases. If you have a wireless keypad, you’ll need to reprogram it after a full reset. Follow the same “Learn” button process, then enter your desired 4-digit code on the keypad.
Final Checklist Before You Finish
- ✅ Verified the garage door opener is receiving power
- ✅ Located and tested the “Learn” button function
- ✅ Replaced remote batteries if needed
- ✅ Programmed all active remotes (including spares)
- ✅ Tested each remote from inside the garage
- ✅ Reprogrammed keypad if applicable
- ✅ Stored the owner’s manual in a safe, accessible place
Take Control of Your Garage Access Today
Resetting and reprogramming your garage door remote is a quick, empowering task that takes less than ten minutes. With the right approach, you regain seamless access and improve home security. Don’t wait for a malfunction to leave you stranded outside. Proactively test your remotes every few months and keep this guide handy for fast reference. Knowledge is the best tool—and now you have everything you need to stay in control.


 浙公网安备
33010002000092号
浙公网安备
33010002000092号 浙B2-20120091-4
Comments
No comments yet. Why don't you start the discussion?