
Updating your phone number on a Google Account is a routine task for many—whether you’ve switched carriers, lost a device, or simply changed numbers. While the process appears straightforward, doing it incorrectly can lead to temporary lockouts, failed verification attempts, or even unauthorized access if security steps are skipped. A misplaced digit or rushed confirmation can disrupt access to Gmail, YouTube, Google Drive, and other critical services tied to your account.
Google uses your phone number for multiple purposes: two-factor authentication (2FA), account recovery, login alerts, and personalized ads. Because of this, changing your number isn’t just about updating a contact field—it’s a security-sensitive action that requires careful handling. This guide walks you through every stage with precision, ensuring your transition is seamless and secure.
Why Updating Your Phone Number Matters
Your phone number is one of the primary recovery methods Google uses to verify your identity. If you lose access to your account due to a password reset or suspicious login attempt, Google may send a verification code via SMS or voice call. Without an active, correct number, regaining access becomes significantly harder—and in some cases, impossible without extended support interactions.
Beyond recovery, your number helps protect against unauthorized logins. When someone tries to sign in from a new device, Google sends a prompt or code to your registered phone. An outdated number means you won’t receive these alerts, leaving your account vulnerable.
“Always treat phone number updates like a security upgrade—not just a profile edit.” — Daniel Park, Cybersecurity Analyst at OpenID Trust
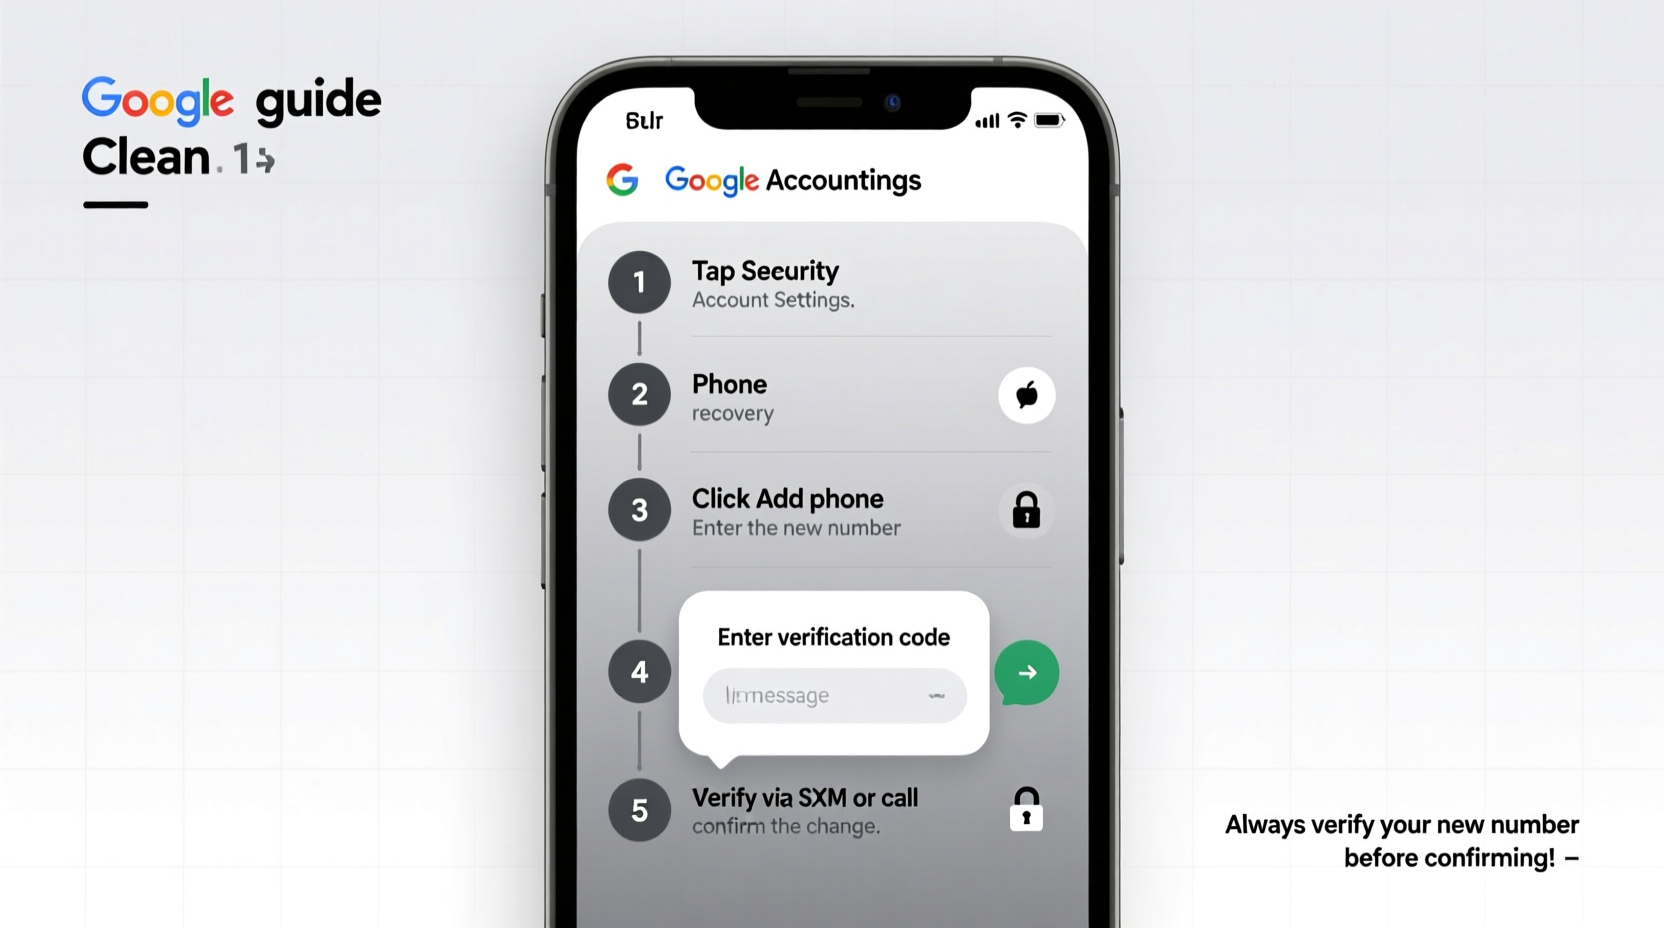
Step-by-Step Guide to Updating Your Google Account Phone Number
Follow this sequence carefully to ensure no gaps in access or protection. These instructions apply to personal Google Accounts (Gmail users), not Workspace-managed accounts.
- Sign in to your Google Account
Go to myaccount.google.com and log in using your current credentials. Use a trusted device and network to avoid triggering additional verification challenges. - Navigate to the “Security” section
On the left-hand menu, click “Security.” This hub controls all aspects of your account protection, including passwords, devices, and recovery options. - Locate “Recovery phone” under “Ways we can verify it’s you”
Click on “Phone” next to “Recovery phone.” You’ll see your current number listed. If none is shown, you’re adding one for the first time. - Select “Edit” and enter your new number
Click the pencil icon, choose your country code, and type your new mobile number. Double-check for accuracy—especially when entering international numbers. - Verify the new number immediately
Google will ask how you’d like to receive the verification code: via text message or automated voice call. Choose based on reliability. Enter the code once received. - Confirm and save changes
After successful verification, click “Save.” The system may require re-authentication with your password or backup method. - Review connected services
Some apps like Google Authenticator, third-party logins (e.g., social media), or banking apps that use Google 2FA might need manual reconfiguration after the change.
What to Do Before and After the Change
Updating your number involves more than just following on-screen prompts. Proactive preparation prevents complications down the line.
Before Updating: Preparation Checklist
- Ensure your current phone number still works and receives texts/calls.
- Back up any 2FA codes or app-specific passwords stored on your old device.
- Have a secondary recovery option ready—like a backup email or security key.
- Disable any SIM lock or carrier restrictions that could interfere with SMS delivery.
- Make sure your Google Account password is up to date and known to you.
After Updating: Post-Change Verification
- Test account recovery by initiating a sign-out and logging back in.
- Check that Google prompts appear correctly on your new device.
- Update your number in other linked accounts (e.g., Apple ID, Microsoft, banks) if used there.
- Remove the old number from sensitive platforms where it was used as a contact method.
- Monitor your account activity page for unexpected logins.
Common Pitfalls and How to Avoid Them
Even experienced users make mistakes when updating their contact details. The table below outlines frequent errors and how to prevent them.
| Do’s | Don’ts |
|---|---|
| Verify the new number immediately after entry | Don’t skip verification—even if the system allows saving without it |
| Keep the old SIM active for 24–48 hours post-change | Don’t deactivate your old number before confirming the new one works |
| Use the same country code format Google suggests | Don’t add extra digits like +1 (555) 123-4567—enter only numbers |
| Set up alternative recovery methods alongside the new number | Don’t rely solely on SMS—consider using authenticator apps or physical keys |
| Clear browser cache if verification fails repeatedly | Don’t attempt more than 5 verifications per hour—Google may temporarily block requests |
Real Example: Recovering Access After a Number Change Gone Wrong
Sarah, a freelance designer from Portland, upgraded her phone and transferred her number to a new carrier. Eager to get started, she deactivated her old SIM the same day she updated her Google Account. However, she entered the new number incorrectly—missing a single digit. When she tried to sign in later from her laptop, Google sent the verification code to a non-existent number.
With no backup email configured and her old SIM dead, Sarah couldn’t receive recovery codes. It took her nearly three days and multiple forms submitted through Google’s account recovery portal to regain access. Her work stalled, client emails went unanswered, and cloud files were unreachable.
The lesson? Always test both incoming and outgoing communication on your new number before disconnecting the old one. And never leave your account without at least two working recovery paths.
Frequently Asked Questions
Can I update my Google phone number without receiving a verification code?
No. Google requires verification of the new number to prevent abuse and ensure ownership. If you can’t receive SMS or calls, consider using a voice call instead or wait until the number is fully active. In rare cases, Google may allow alternative verification through your recovery email or security questions if previously set up.
Will changing my phone number affect my Google Authenticator setup?
Not directly. Google Authenticator generates time-based codes independently of your phone number. However, if you're switching devices entirely, you'll need to transfer or reconfigure your authenticator app separately. Be sure to back up your accounts before resetting the app.
How long does it take for the new number to become active for 2FA?
Once verified, the new number is effective immediately for two-factor authentication. You can test it by signing out and logging back in. If issues persist, clear your browser cookies or restart the app to refresh the session.
Final Steps: Secure Your Updated Account
Now that your phone number is updated, reinforce your account’s defenses. Visit the “Security Checkup” tool in your Google Account dashboard to review recent activity, remove unrecognized devices, and enable stronger second factors like a physical security key or Google Prompt.
Consider reducing reliance on SMS-based verification over time. While convenient, SMS is vulnerable to SIM-swapping attacks. Moving to app-based or hardware-based 2FA significantly improves long-term security.


 浙公网安备
33010002000092号
浙公网安备
33010002000092号 浙B2-20120091-4
Comments
No comments yet. Why don't you start the discussion?