
Digital clocks are essential for maintaining punctuality in homes, offices, and kitchens. The Kadio digital clock, known for its clear LED display and user-friendly interface, is a popular choice among consumers seeking reliability and simplicity. However, many users struggle with the initial setup or time adjustments due to unclear manuals or unfamiliar button layouts. This comprehensive guide walks you through every stage of configuring your Kadio digital clock with confidence, ensuring accurate timekeeping from day one.
Understanding Your Kadio Digital Clock
Before diving into settings, it’s important to recognize the key components of your Kadio model. Most variants feature a rectangular display with large, easy-to-read digits, powered either by AC adapter or battery backup (or both). Common buttons include “Mode,” “Set,” “Adjust,” “+,” and “–,” typically located on the top or side panel.
The display usually shows hours, minutes, and seconds, along with indicators for AM/PM, 12/24-hour format, and alarm status. Some models also include temperature readings or dual alarms. Familiarizing yourself with these elements ensures smoother navigation during setup.
Step-by-Step Guide to Setting the Time
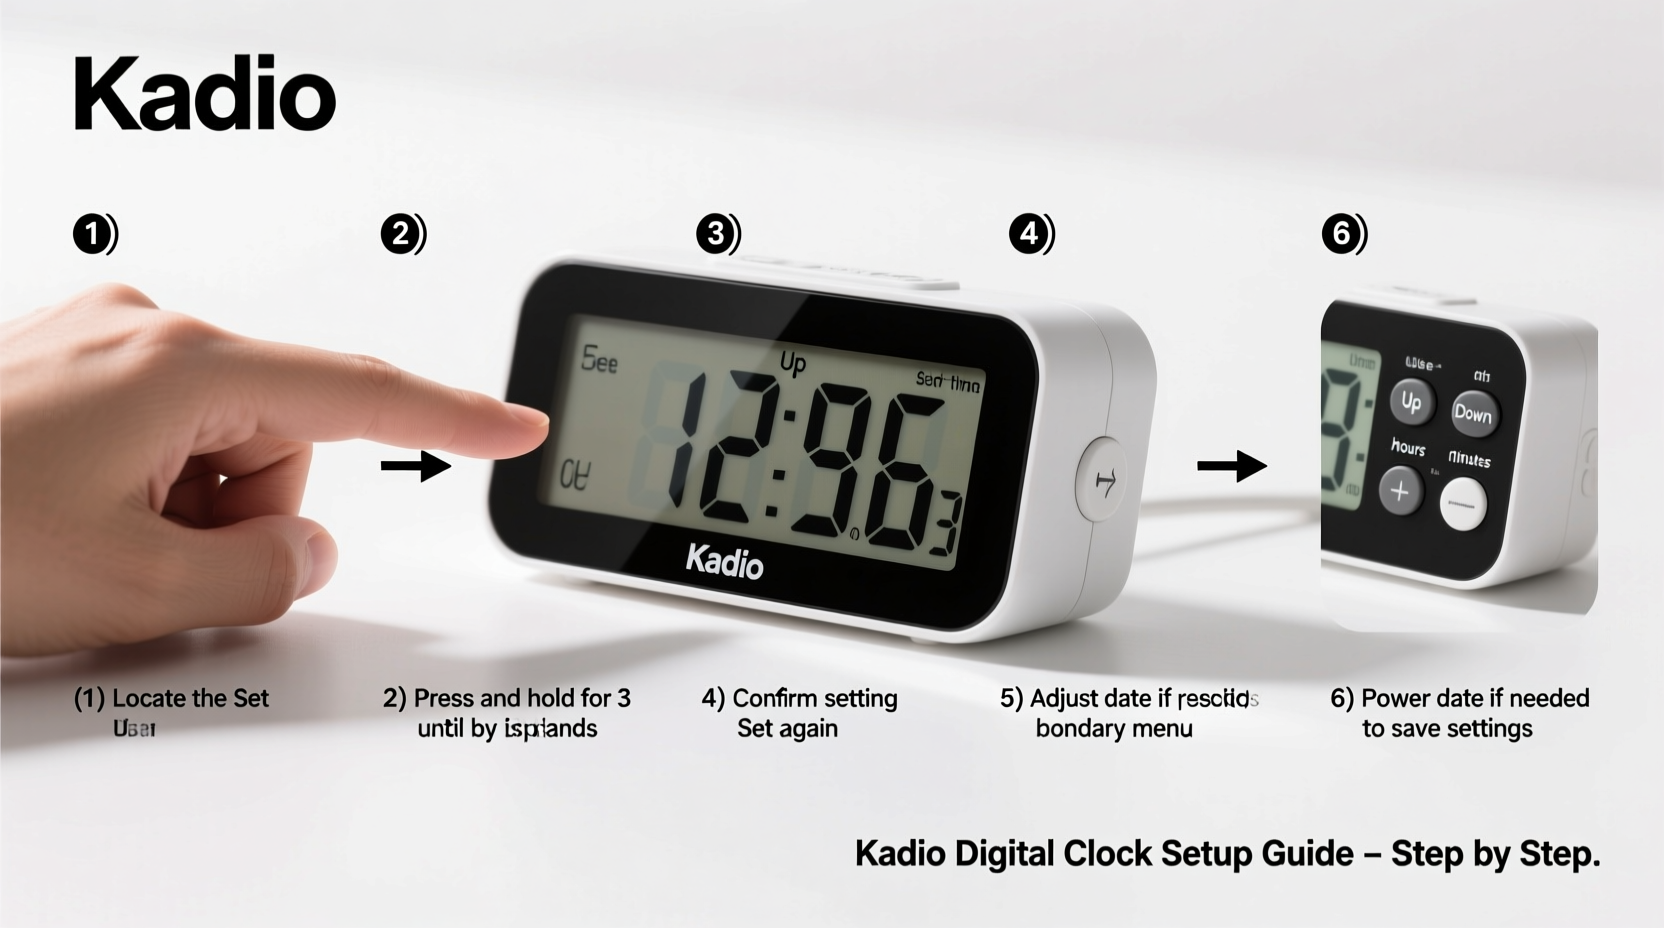
Follow this detailed sequence to set the correct time on your Kadio digital clock. These instructions apply to most standard models unless otherwise specified in your manual.
- Power On the Clock: Plug the clock into a wall outlet or insert the required batteries. The display should illuminate immediately. If using batteries, ensure they are inserted correctly according to the polarity symbols inside the compartment.
- Enter Setup Mode: Press and hold the “Mode” or “Set” button for 3–5 seconds until the hour digits begin to flash. This indicates the clock is ready for input.
- Adjust the Hour: Use the “+” or “–” button to increase or decrease the hour value. Be mindful of AM vs. PM—most clocks default to AM when set between 1–11. For noon, select 12, then confirm whether it's AM or PM as needed.
- Confirm and Move to Minutes: Once the correct hour is displayed, press “Mode” or “Set” again. The minute digits will now blink. <5> Set the Minutes: Adjust using the same “+” and “–” buttons. Wait until the current actual time matches your reference (e.g., smartphone or official time website).
- Finalize the Time: After setting minutes, press “Mode” or “Set” once more. The flashing stops, and the clock resumes normal operation, counting seconds in real time.
If your model supports 24-hour format, refer to the next section for conversion guidance.
Choosing Between 12-Hour and 24-Hour Format
Kadio clocks often allow switching between 12-hour (AM/PM) and 24-hour (military) time formats. This preference depends on personal or regional habits. In the U.S., 12-hour format dominates; in Europe and military contexts, 24-hour is standard.
To change the format:
- While in setup mode (after setting minutes), continue pressing “Mode” until you see an option labeled “12H” or “24H” on the screen.
- Use “+” or “–” to toggle between the two modes.
- Press “Set” to confirm. The display will update accordingly.
| 12-Hour Time | 24-Hour Equivalent | Notes |
|---|---|---|
| 1:00 AM | 01:00 | No change in early hours |
| 12:00 PM (noon) | 12:00 | Marks midday transition |
| 1:00 PM | 13:00 | Add 12 to PM times after noon |
| 11:59 PM | 23:59 | Last minute before midnight |
| 12:00 AM (midnight) | 00:00 | Start of new day |
Setting the Alarm Function
Most Kadio digital clocks come equipped with one or two independent alarms. Here’s how to configure them properly:
- Press and hold the “Alarm” or “A/M” button until the alarm hour begins to flash.
- Use “+” and “–” to set the desired wake-up hour.
- Press “Alarm” again to switch to minutes and adjust accordingly.
- Press “Alarm” once more to save. A small bell icon should appear on the display, indicating the alarm is active.
- To deactivate, press “Alarm” until the bell disappears.
Note: Some models require you to select which alarm (Alarm 1 or Alarm 2) you’re adjusting. Cycle through options using the “Mode” button before making changes.
“Accurate time setting isn’t just about convenience—it supports better sleep hygiene and daily productivity.” — Dr. Alan Reeves, Sleep and Circadian Rhythm Researcher
Troubleshooting Common Issues
Even with careful setup, minor issues can arise. Below are frequent problems and their solutions:
- Clock resets frequently: Likely caused by weak backup battery or unstable power source. Replace the CR2032 coin cell battery (if present) and ensure the main power connection is secure.
- Buttons not responding: Check for debris under buttons or try resetting the unit by removing all power sources for one minute.
- Incorrect time drifts over days: While rare, internal oscillator inaccuracies may occur. Re-sync the time weekly or keep a reference device nearby.
- Alarm doesn’t sound: Verify that the alarm is enabled and volume (if adjustable) is turned up. Also, ensure the snooze function isn’t interfering.
Mini Case Study: Maria’s Morning Routine Fix
Maria, a nurse working rotating shifts, purchased a Kadio digital clock to help manage her inconsistent sleep schedule. Initially frustrated because the alarm went off at the wrong time, she realized she had accidentally set it in 12-hour mode without confirming AM/PM. After consulting this guide, she switched to 24-hour format, clearly distinguishing between 07:00 (morning) and 19:00 (evening). She also enabled Alarm 2 for weekend reminders. Within a week, her punctuality improved significantly, and she reported feeling more in control of her routine.
Essential Checklist for First-Time Setup
Use this checklist each time you install or reset your Kadio digital clock:
- ✅ Insert batteries or plug into power source
- ✅ Confirm display lights up and digits show
- ✅ Hold “Set” or “Mode” to enter time setup
- ✅ Set correct hour and minute using “+” / “–”
- ✅ Choose 12-hour or 24-hour format based on preference
- ✅ Set primary alarm with proper AM/PM designation
- ✅ Test alarm sound and snooze function
- ✅ Place clock in visible, glare-free location
Frequently Asked Questions
Can I set the clock without using the buttons?
No, Kadio digital clocks do not support automatic time syncing via Wi-Fi or radio signals. All configurations must be done manually using the physical controls.
Why does my clock lose time after a power outage?
If your model lacks a backup battery, it will reset when unplugged or during outages. Installing a functional backup battery preserves settings even during brief interruptions.
Is there a way to dim the brightness at night?
Some advanced Kadio models include auto-dimming sensors or manual brightness controls. Check your model’s side buttons for a “Dim” or “Light” option. If unavailable, consider placing the clock face slightly away from direct eye level to reduce glare.
Final Thoughts and Next Steps
Setting your Kadio digital clock doesn’t have to be confusing. With a clear understanding of the buttons, modes, and display indicators, you can achieve precise timekeeping in under five minutes. Whether used in a bedroom, kitchen, or office, a well-configured clock enhances organization and reduces daily stress.
Now that your clock is running smoothly, take a moment to teach others in your household how to use it—especially children or elderly family members who may benefit from visual time cues. Small actions like regular battery checks and weekly time verification go a long way in maintaining accuracy.


 浙公网安备
33010002000092号
浙公网安备
33010002000092号 浙B2-20120091-4
Comments
No comments yet. Why don't you start the discussion?