
Swapping your Galaxy Watch band is one of the easiest ways to refresh your wearable’s look, improve comfort, or match your outfit. Whether you're upgrading to a sportier silicone strap, a sleek leather option, or a durable metal link band, the process should be simple and secure. However, improper installation can lead to discomfort, instability, or even damage to your device. This comprehensive guide walks you through every step—from selecting the right band to securing it properly—so your Galaxy Watch stays safe on your wrist.
Understanding Galaxy Watch Band Compatibility
Before purchasing a new band, confirm compatibility with your specific Galaxy Watch model. Samsung uses standardized quick-release pins across most modern models, but sizing varies. For example, the Galaxy Watch 4 Classic (45mm) requires a different band size than the Watch 6 (40mm). Bands are typically labeled with their compatible case sizes (e.g., 40–44mm or 45–47mm).
The key connector type used in most recent Galaxy Watches is the 20mm or 22mm spring bar system. These small metal pins snap into slots on either side of the watch case and hold the band in place. Always verify the pin width and lug spacing when buying third-party bands.
“Using an incompatible band may not only fit poorly but can stress the lugs over time, risking structural damage.” — David Kim, Wearable Device Technician
Tools You’ll Need for Installation
Luckily, no special tools are required for most Galaxy Watch band swaps. The design uses a tool-free quick-release mechanism. However, having the right items on hand ensures a smoother experience:
- Clean microfiber cloth – To protect the watch face during handling.
- Fine-tipped tweezers or plastic pry tool (optional) – Helpful if the release mechanism is stiff.
- New compatible band – Ensure both sides have proper connectors.
Some premium bands come with a tiny removal tool, but it’s rarely necessary. Avoid using metal objects like paperclips, as they can scratch the casing or bend internal components.
Step-by-Step Guide to Installing Your New Galaxy Watch Band
Follow this precise sequence to safely remove your old band and attach the new one without damaging your device.
- Power down your watch (optional but recommended)
While not required, turning off the watch reduces the risk of accidental input during handling. - Lay the watch face-down on a soft surface
Use a microfiber cloth or clean towel to prevent scratches on the display. - Locate the release button on the band attachment point
On each side of the watch case, near where the band connects, you’ll see a small circular indentation. Pressing this releases the spring bar. - Firmly press the release button while gently pulling the band away
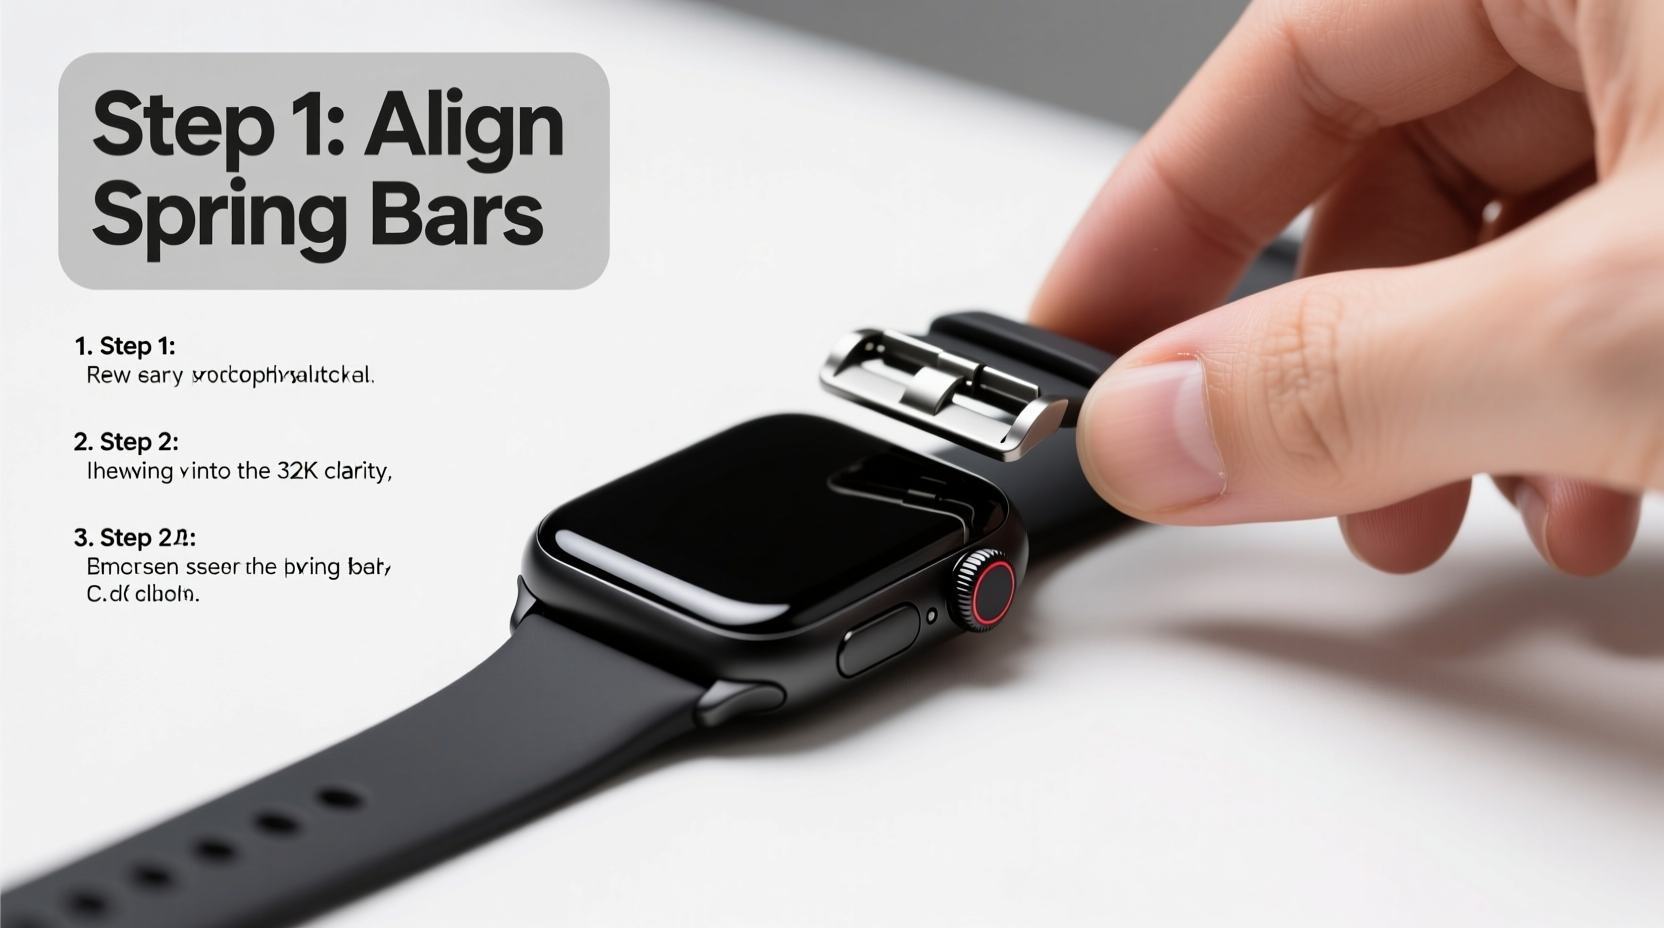
Apply steady pressure with your fingertip or a plastic tool. The entire band should detach smoothly from one side first, then the other. - Align the new band’s connector with the slot
Take the new band and insert the male end into the watch’s lug hole until it clicks. - Press the release button on the opposite side and slide in the second connector
Once aligned, push gently until you hear or feel a click. Release the button—the band is now locked in place. - Test the connection by gently tugging on the band
Pull slightly on both ends to ensure there’s no wobbling or looseness.
Do’s and Don’ts When Changing Your Galaxy Watch Band
| Do’s | Don’ts |
|---|---|
| ✓ Clean your hands and workspace before starting | ✗ Use excessive force when inserting or removing bands |
| ✓ Inspect the connectors for debris or wear | ✗ Leave the watch face exposed on hard surfaces |
| ✓ Match band width and compatibility to your model | ✗ Mix left and right connectors incorrectly (some bands are directional) |
| ✓ Store old bands in a dry, dust-free container | ✗ Attempt installation with wet or greasy fingers |
Real-World Example: Upgrading for Fitness Tracking
Sarah, a fitness instructor from Austin, replaced her original leather Galaxy Watch 5 band with a breathable fluoroelastomer strap before starting her summer bootcamp classes. She noticed the leather absorbed sweat quickly and began cracking after two months. After switching to a sport band using the steps above, she found the watch stayed securely in place during high-intensity workouts and was easier to wipe clean post-session. “It took less than three minutes to change,” she said. “Now my watch survives spin class and still looks great at dinner afterward.”
Expert Tips for Long-Term Band Care
Even the best-installed band will degrade over time without proper maintenance. Sweat, UV exposure, and friction all contribute to wear. Here’s how to extend the life of any Galaxy Watch band:
- Wipe down silicone or rubber bands weekly with a damp cloth and mild soap.
- Avoid prolonged sun exposure, which can fade colors and weaken materials.
- For metal bands, check links monthly for looseness and clean crevices with a soft brush.
- Rotate between multiple bands to reduce strain on individual connectors.
“Just like shoes, rotating your watch bands prevents premature fatigue and keeps them looking newer longer.” — Lena Park, Smartwatch Accessory Designer
FAQ: Common Questions About Galaxy Watch Bands
Can I use third-party bands on my Galaxy Watch?
Yes, as long as the band matches your watch’s case size and uses the correct quick-release mechanism (typically 20mm or 22mm). Many reputable brands like Mobvoi, Spigen, and Nomad offer high-quality alternatives to Samsung originals.
Why does my new band feel loose after installation?
This usually means the spring bar hasn’t fully clicked into place. Remove the band and reinsert it, ensuring you press the release button completely while sliding it in. A faint ‘click’ indicates proper seating.
How often should I replace my watch band?
There’s no fixed timeline—it depends on usage. Active users may need to replace silicone bands every 6–12 months due to sweat degradation, while leather or metal bands can last years with care.
Final Checklist Before Wearing Your Watch
📋 Installation Verification Checklist- ✅ Both band connectors are fully inserted and clicked into place
- ✅ No visible gaps between the band and watch case
- ✅ Band lies flat against the wrist without twisting
- ✅ Watch remains responsive and undamaged after reassembly
- ✅ Time and notifications display normally once powered back on
Conclusion: Refresh Your Style with Confidence
Changing your Galaxy Watch band is more than just a fashion statement—it's a practical way to enhance comfort, hygiene, and functionality. With the right knowledge, anyone can perform this task quickly and securely. Now that you understand compatibility, installation techniques, and maintenance practices, you’re equipped to switch bands whenever needed—whether for sport, work, or a night out.


 浙公网安备
33010002000092号
浙公网安备
33010002000092号 浙B2-20120091-4
Comments
No comments yet. Why don't you start the discussion?