
Over time, every Mac user accumulates applications that no longer serve a purpose—trial software, outdated tools, or apps downloaded once and forgotten. While simply dragging an app to the Trash may seem sufficient, it often leaves behind preference files, caches, and support data that clutter your system. These remnants consume storage space and can interfere with performance. A thorough removal process ensures your Mac stays clean, fast, and secure. This guide walks you through proven methods to eliminate unwanted apps completely, avoid common pitfalls, and maintain optimal system health.
Why Dragging to Trash Isn’t Enough
macOS doesn’t store all application-related data inside the app bundle itself. Supporting files are scattered across several directories in your Library folder, including:
~/Library/Preferences– Stores app settings and user-specific configurations.~/Library/Application Support– Contains databases, templates, plugins, and other essential resources.~/Library/Caches– Holds temporary files that may persist even after uninstalling./Library/LaunchAgentsor~/Library/LaunchAgents– May include background processes that run at startup.
If these components remain, they continue to occupy disk space and could cause conflicts if you reinstall the same app later. Worse, some apps install helper tools or kernel extensions that require special handling to remove safely.
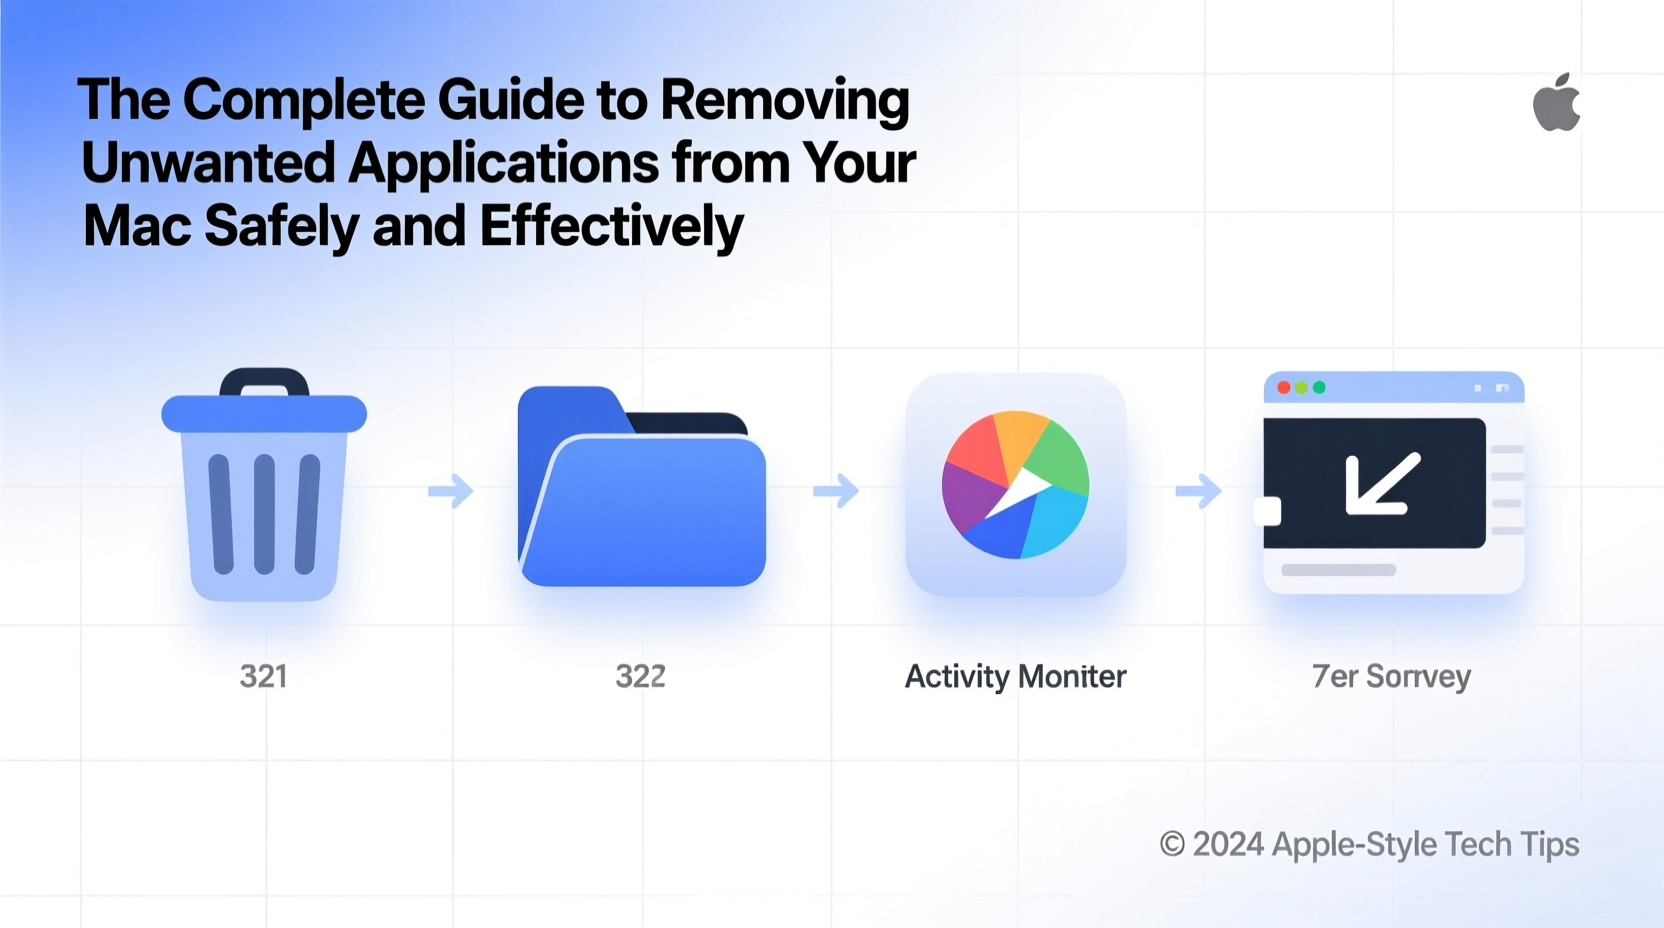
Step-by-Step Guide to Complete App Removal
To fully remove an application, follow this systematic approach:
- Quit the Application: Ensure the app is not running. Use Force Quit (Cmd+Option+Esc) if necessary.
- Delete the App Bundle: Open Finder, go to Applications, locate the app, and drag it to the Trash.
- Empty the Trash Immediately: Right-click on the Trash icon and select “Empty Trash” to prevent accidental restoration.
- Remove Associated Files: Open Finder, press Cmd+Shift+G, and enter each of the following paths one by one:
- ~/Library/Preferences
- ~/Library/Application Support
- ~/Library/Caches
- ~/Library/Saved Application State
- Check for Login Items: Go to System Settings > General > Login Items. Remove any entries linked to the uninstalled app.
- Scan for Launch Agents or Daemons: In Terminal or via Go to Folder, check:
- ~/Library/LaunchAgents
- /Library/LaunchAgents
- /Library/LaunchDaemons
“Many performance issues stem from orphaned app components. Cleaning these out can reclaim hundreds of megabytes—and sometimes gigabytes—of hidden space.” — David Lin, macOS Systems Analyst
Do’s and Don’ts When Removing Apps
| Do’s | Don’ts |
|---|---|
| Always quit the app before removal | Don’t delete system apps like Safari or Mail |
| Use Spotlight (Cmd+Space) to search for related files | Don’t manually delete items from /System or /usr unless instructed |
| Verify file ownership before removing LaunchAgents | Don’t rely solely on third-party uninstallers without review |
| Back up important data before deep cleanup | Don’t skip emptying the Trash after deletion |
Real Example: Removing Adobe Creative Cloud Completely
Adobe apps are notorious for leaving behind large amounts of data. A user installed Photoshop for a short project but found over 5 GB of residual files months later despite having deleted the app.
Here’s how they cleaned it thoroughly:
- Uninstalled Creative Cloud via its official uninstaller tool (recommended by Adobe).
- Manually removed leftover folders:
- ~/Library/Application Support/Adobe
- ~/Library/Preferences/com.adobe.*
- ~/Library/Caches/Adobe
- /Library/PreferencePanes/Adobe*.prefPane
- Deleted launch agents under ~/Library/LaunchAgents matching com.adobe.ARM*.
- Used Disk Inventory X to verify no major Adobe-related files remained.
The result? Over 6.2 GB reclaimed and improved system responsiveness during startup.
Using Trusted Tools to Simplify Removal
While manual removal gives full control, specialized tools can streamline the process—especially for less technical users. The key is choosing reliable software that doesn’t bundle ads or collect data.
Recommended utilities:
- AppCleaner (Free): Scans for associated files when you drag an app into its window. Lightweight and transparent.
- CleanMyMac X (Paid): Offers app uninstallation, system junk scanning, and privacy tools. Notarized by Apple.
- OnyX (Free): Advanced maintenance tool that includes selective cleanup options—best for experienced users.
Regardless of the tool, always review what will be deleted before confirming. Some apps share frameworks or libraries, and overzealous cleaners might remove files needed by other programs.
Checklist: Full App Removal Verification
After uninstalling any application, use this checklist to confirm completeness:
- ✅ App is no longer in Applications folder
- ✅ All related files removed from ~/Library/Preferences
- ✅ Application Support and Caches folders cleared
- ✅ No login items referencing the app remain
- ✅ LaunchAgents or Daemons tied to the app are deleted
- ✅ Storage usage has decreased noticeably (check via About This Mac > Storage)
- ✅ No error messages appear on reboot or when launching similar apps
Frequently Asked Questions
Can I reinstall an app after completely removing it?
Yes. Once you’ve removed all traces, you can safely reinstall the app fresh from the developer or Mac App Store. This is often helpful for resolving bugs or configuration issues.
Is it safe to delete files in the Library folder?
Generally, yes—if you’re certain they belong to an uninstalled app. Never modify files in /System/Library or /usr/bin. Stick to user-specific Library paths (~/Library) and double-check filenames.
What should I do if an app won’t delete?
If the app is “in use,” restart your Mac in Safe Mode (hold Shift during boot). Safe Mode disables non-essential extensions and often allows locked files to be deleted. You can also use Terminal: sudo rm -rf /Applications/AppName.app, replacing \"AppName\" with the actual name.
Conclusion: Take Control of Your Mac’s Performance
A clutter-free Mac isn’t just about available storage—it’s about efficiency, speed, and peace of mind. Unwanted applications, even when seemingly gone, can linger in the background and degrade your experience over time. By adopting a disciplined approach to app removal, you protect your system’s integrity and extend its usable life. Whether you prefer manual precision or trusted tools, the goal remains the same: complete, safe elimination of digital bloat. Start reviewing your Applications folder today. One thorough cleanup could be the difference between a sluggish machine and a responsive, reliable companion.


 浙公网安备
33010002000092号
浙公网安备
33010002000092号 浙B2-20120091-4
Comments
No comments yet. Why don't you start the discussion?