
Brake pads are one of the most critical safety components in your vehicle. Over time, they wear down due to friction, reducing braking efficiency and increasing stopping distances. Replacing them promptly isn’t just about performance—it’s about protecting yourself, your passengers, and others on the road. While many drivers rely on mechanics, changing brake pads is a manageable DIY task when approached with care, the right tools, and proper knowledge. This guide walks you through every step to ensure the job is done safely, correctly, and efficiently.
Why Timely Brake Pad Replacement Matters
Ignoring worn brake pads can lead to rotor damage, reduced control, and costly repairs. Most manufacturers recommend inspecting brakes every 12,000 miles, though actual lifespan varies based on driving habits, terrain, and pad material. Signs of wear include squealing noises, vibration during braking, increased pedal travel, or a dashboard warning light.
According to the National Highway Traffic Safety Administration (NHTSA), faulty brakes contribute to over 20% of mechanical-related crashes annually. Regular maintenance significantly reduces this risk.
Tools and Materials You’ll Need
Before starting, gather all necessary tools to avoid interruptions mid-job. Working under a lifted vehicle demands preparation and focus.
- Socket wrench and lug wrench
- Jack and jack stands (never rely solely on a hydraulic jack)
- C-clamp or brake caliper tool
- Replacement brake pads (ensure correct fit for your make/model)
- Brake cleaner spray
- Anti-seize lubricant (for slide pins)
- Wire brush
- Gloves and safety glasses
- Flashlight or work light
“Always use jack stands rated for your vehicle’s weight. A single point of failure with improper support can be fatal.” — Carlos Mendez, ASE-Certified Master Technician
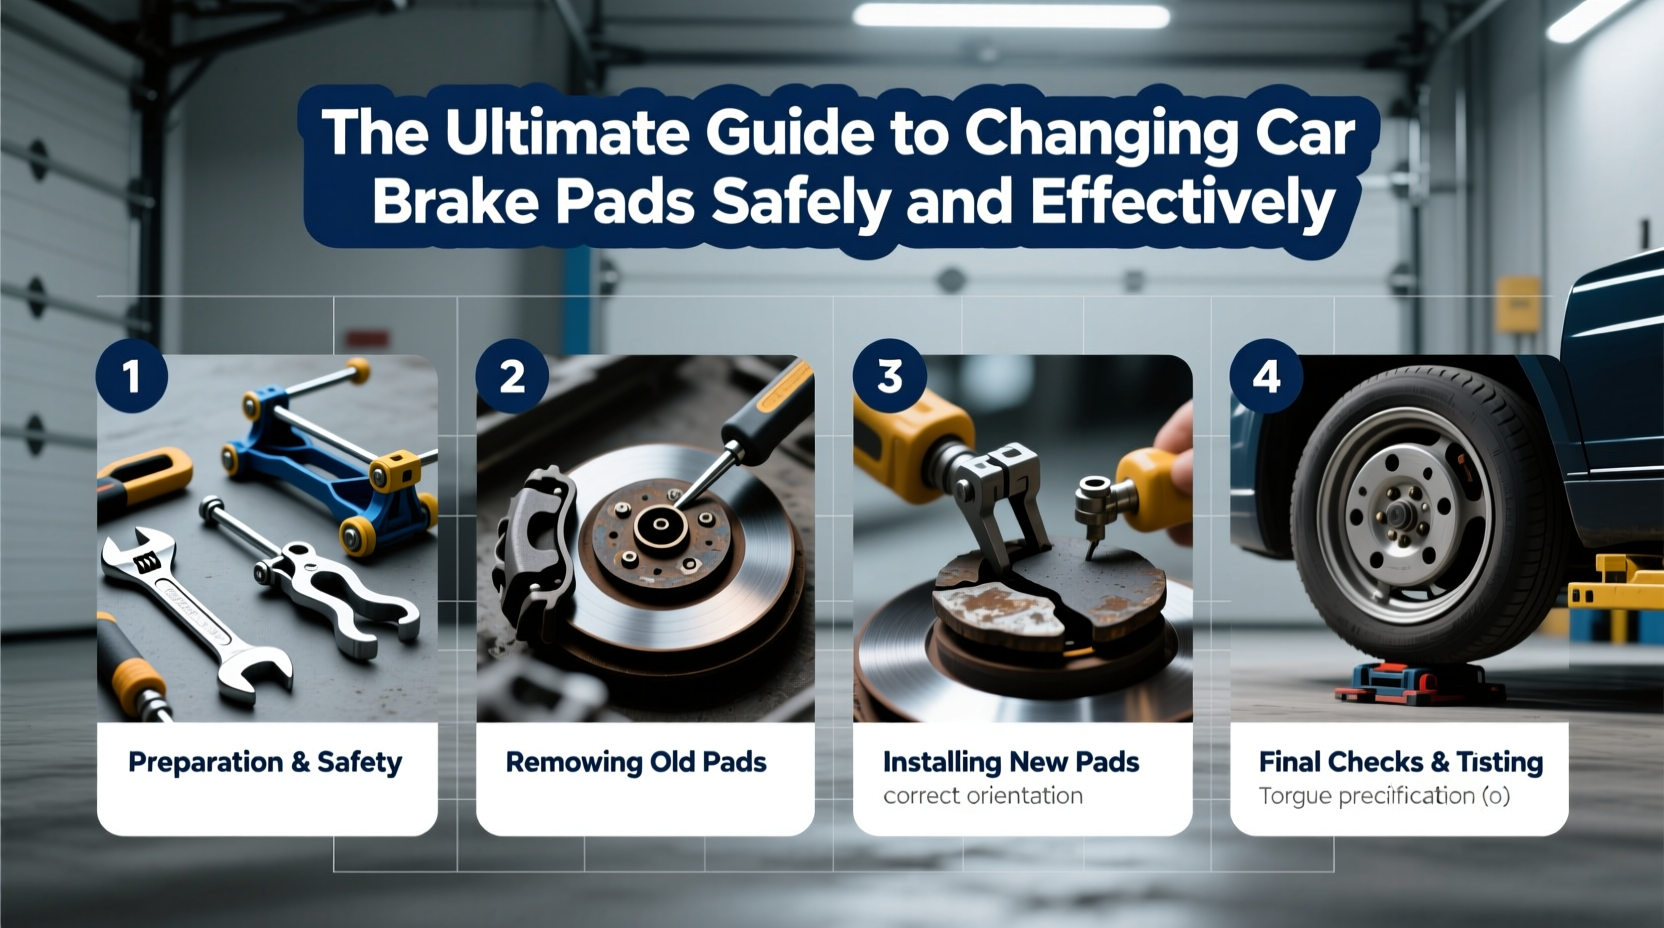
Step-by-Step Guide to Changing Brake Pads
Follow this sequence carefully. Work on one wheel at a time to keep reference points intact, especially if reinstalling hardware.
- Park on a flat surface and engage the parking brake. Place wheel chocks behind the rear tires to prevent rolling.
- Loosen lug nuts slightly while the car is still on the ground. Do not remove them yet.
- Lift the vehicle using a floor jack at the manufacturer-recommended lift point. Confirm stability before sliding underneath.
- Place jack stands under reinforced frame points and lower the car gently onto them. Double-check stability.
- Remove the wheel completely to expose the brake caliper and rotor.
- Inspect the caliper and mounting bolts. Look for corrosion or seized components. Clean with brake cleaner if needed.
- Remove the caliper bolts using a socket wrench. Carefully hang the caliper with a bungee cord or wire—do not let it dangle by the brake hose.
- Take out the old brake pads. Note their orientation; some have inner and outer variations.
- Compress the caliper piston using a C-clamp or dedicated tool. This makes room for thicker new pads. Watch the brake fluid reservoir—don’t let it overflow.
- Insert the new brake pads following the original alignment. Ensure retaining clips or shims are properly seated.
- Reattach the caliper and torque bolts to manufacturer specifications (typically 20–30 ft-lbs).
- Reinstall the wheel and hand-tighten lug nuts.
- Lower the vehicle and fully tighten lug nuts in a star pattern to recommended torque.
- Repeat for remaining wheels, then pump the brake pedal several times before starting the engine to restore pressure.
- Test drive at low speed in a safe area. Listen for noise and feel for responsiveness. Allow 50–100 miles for new pads to bed in properly.
Do’s and Don’ts During Brake Replacement
| Do’s | Don’ts |
|---|---|
| Use torque specifications from your vehicle’s manual | Never reuse damaged or corroded hardware |
| Lubricate caliper slide pins with brake-specific grease | Don’t compress the caliper piston without opening the bleeder valve if resistance is high |
| Inspect rotors for warping or deep grooves | Don’t touch brake surfaces with bare hands—oil residue reduces friction |
| Clean rotor surface with brake cleaner before reassembly | Don’t skip the test drive or assume brakes are ready immediately |
When to Replace Rotors Alongside Pads
Brake pads press against rotors to create friction. If rotors are scored, cracked, or thinner than the manufacturer’s minimum thickness (usually stamped on the edge), they must be replaced. Warped rotors cause pulsation in the pedal and reduce braking effectiveness.
Saving money by reusing compromised rotors risks premature pad wear and unsafe conditions. Resurfacing (turning) rotors was once common, but modern vehicles often use thinner, one-time-use rotors not suitable for machining.
Real Example: Avoiding a Costly Mistake
Mark, a DIY enthusiast in Colorado, decided to change his brake pads after noticing a grinding sound. He removed the caliper, replaced the pads, and reassembled everything without checking the rotors. After driving 20 miles, the noise returned—worse than before. Upon inspection, he found that the inner pad had worn down to metal because the rotor was severely grooved, preventing even contact. The repair cost doubled due to rotor replacement and additional caliper damage. His oversight? Skipping a full system inspection. Always examine all components, not just the obvious ones.
Brake Pad Types: Choosing the Right One
Not all brake pads are created equal. Selecting the right type affects noise, dust production, longevity, and performance.
- Organic pads: Quieter and softer on rotors but wear faster. Best for city driving.
- Semi-metallic pads: Durable and heat-resistant, ideal for heavier vehicles or hilly areas. May produce more dust.
- Ceramic pads: Offer low noise, minimal dust, and long life. Typically more expensive but preferred for daily drivers.
Match your choice to your driving style. Aggressive drivers or those towing frequently benefit from semi-metallic, while commuters may prefer ceramic.
Frequently Asked Questions
How often should I replace my brake pads?
Most last between 30,000 and 70,000 miles, depending on material and driving habits. Frequent stop-and-go traffic accelerates wear. Inspect them every 10,000–15,000 miles for best results.
Can I change brake pads without removing the caliper?
No. The caliper must be unmounted or pivoted to access and remove the old pads. Some designs allow partial removal, but full access ensures proper inspection and installation.
Why are my new brakes squeaking?
Some noise is normal during the bedding-in period (first 100 miles). Persistent squeaking may indicate improper installation, lack of anti-squeal compound, or low-quality pads. Ensure all hardware is secure and lubricated.
Final Checklist Before You Drive
After completing the job, verify the following:
- All lug nuts are torqued to specification
- Brake fluid level is within the “min/max” range
- No tools or parts were left behind
- Caliper is securely mounted and aligned
- Brakes feel firm after several pedal pumps
- Test drive completed at low speed with no abnormalities
Conclusion: Take Control of Your Vehicle’s Safety
Changing brake pads is more than a maintenance chore—it’s an investment in safety and reliability. With the right preparation, attention to detail, and respect for the process, you can perform this task confidently and save on service costs. Remember, brakes are not something to cut corners on. Every bolt, every measurement, and every test matters. Whether you're maintaining a daily commuter or prepping for winter driving, mastering this skill puts you in greater control of your vehicle’s performance.


 浙公网安备
33010002000092号
浙公网安备
33010002000092号 浙B2-20120091-4
Comments
No comments yet. Why don't you start the discussion?