
VHS tapes were once the cornerstone of home video—capturing birthdays, holidays, weddings, and everyday moments that families still cherish. But time is not kind to magnetic tape. After decades in storage, many reels suffer from color fading, tracking errors, or complete signal loss. The solution? Digitization. Converting VHS tapes to digital files ensures your memories survive beyond the lifespan of aging hardware and fragile media.
This guide walks you through every phase of the process: from gathering the right equipment to editing, storing, and backing up your newly preserved videos. Whether you’re a beginner with one treasured tape or managing an entire collection, this methodical approach will deliver high-quality results without requiring technical expertise.
Why You Should Digitize Your VHS Collection Now
Magnetic tape deteriorates over time, even under ideal storage conditions. The binder that holds magnetic particles to the tape breaks down—a phenomenon known as “sticky shed syndrome.” Once it starts, playback becomes unreliable, and recovery grows difficult. Additionally, VCRs are becoming obsolete. Repair parts are scarce, and functional units grow harder to find each year.
Digital preservation stops further decay. Once converted, your videos can be copied infinitely, shared with family, uploaded to cloud storage, or edited into modern formats like MP4 or MOV. Digital files also eliminate wear from repeated playback. A single successful conversion safeguards decades of footage for future generations.
“Digitizing analog video isn’t just about technology—it’s about cultural continuity. Every tape lost is a story erased.” — Dr. Lena Torres, Media Archivist at the National Film Preservation Foundation
Equipment and Software Checklist
Before starting, gather the necessary tools. Most components are affordable and widely available online or at electronics retailers.
- VHS Player: A working rear-loading VCR with AV output (yellow, red, and white RCA jacks).
- Capture Device: USB video capture dongle (e.g., Elgato Video Capture, Diamond VC50, or generic USB 2.0 AV-to-Digital converter).
- Cables: RCA cables (if not built into the capture device) to connect VCR to the converter.
- Computer: Windows or Mac with USB port, sufficient storage, and basic processing power.
- Software: Free options like OBS Studio, VLC, or paid tools such as Adobe Premiere Elements or iMovie (Mac).
- External Hard Drive (optional but recommended): For backup storage.
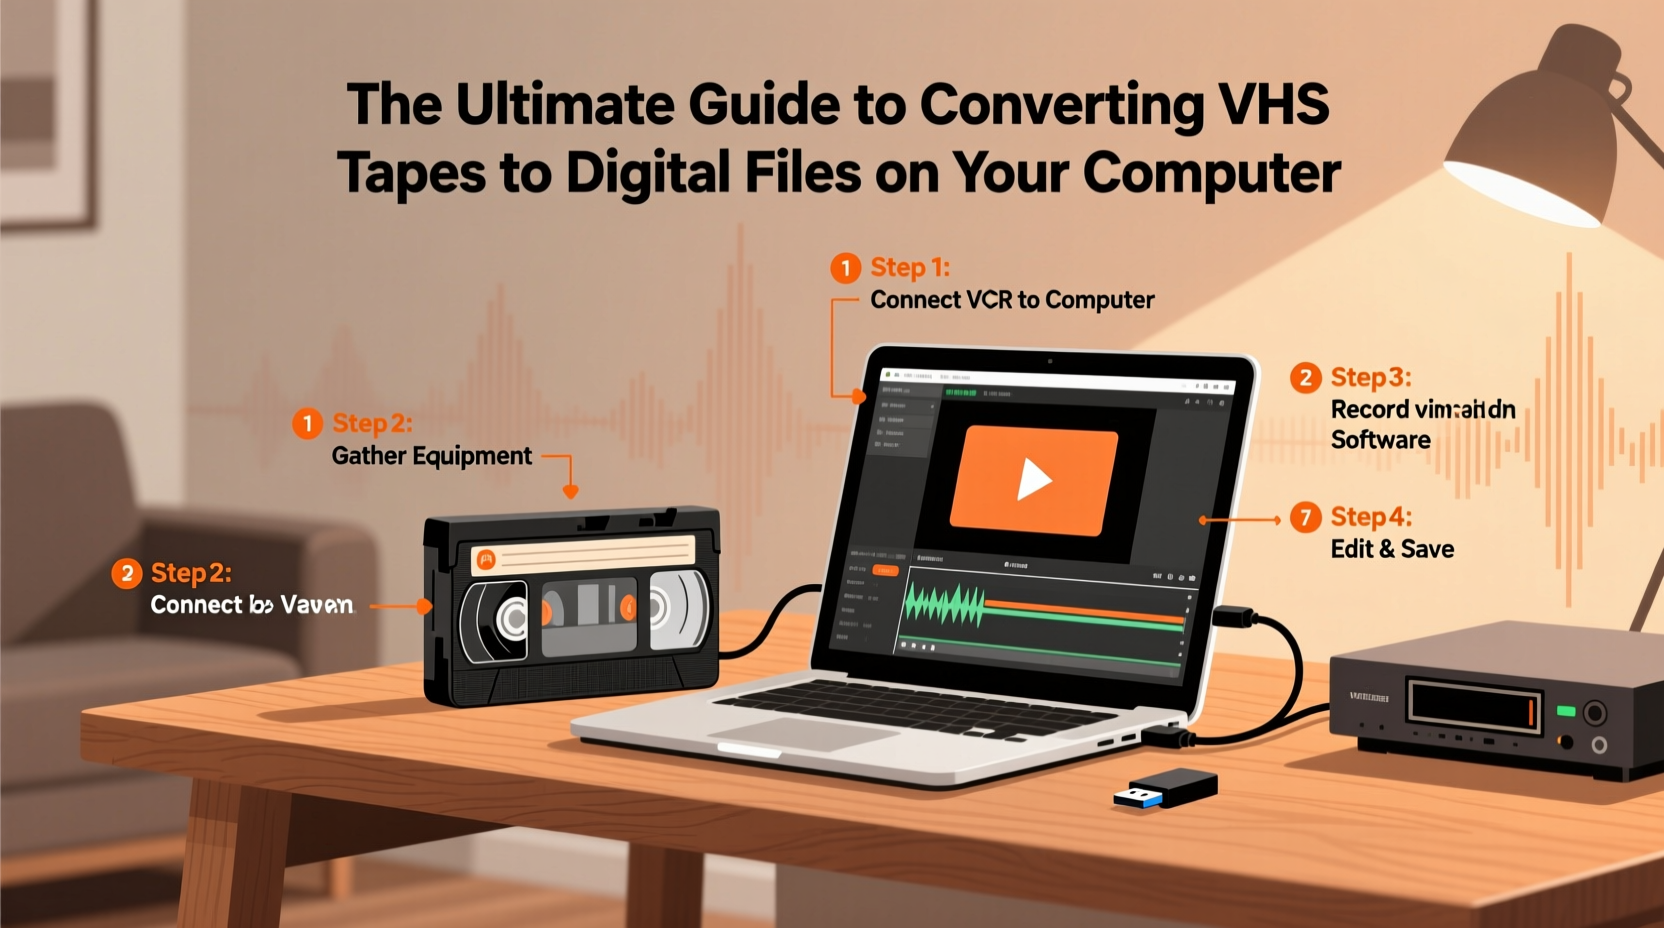
Step-by-Step Conversion Process
- Prepare the VCR and Tape: Clean the VCR heads using a dry cleaning tape. Rewind the VHS fully, then fast-forward to the beginning to reduce tension issues during playback.
- Connect Hardware: Plug the yellow (video), red (right audio), and white (left audio) RCA cables from the VCR’s output to the input on your capture device. Connect the capture device to your computer via USB.
- Install and Launch Software: Open your chosen capture software. In OBS Studio, add a “Video Capture Device” source and select your converter from the list.
- Test Signal: Play the VHS and confirm video and audio appear in the software preview. Adjust audio levels if needed to prevent distortion.
- Start Recording: Hit record in the software, then press play on the VCR. Let the tape play through entirely. Avoid pausing or rewinding mid-capture.
- Stop and Save: When the tape ends, stop recording. Save the file in a high-quality format like AVI or MOV for archival purposes.
- Convert to Accessible Format: Use free tools like HandBrake to compress large files into MP4 (H.264) for easier sharing and streaming.
Do’s and Don’ts During Conversion
| Do’s | Don’ts |
|---|---|
| Use a well-ventilated area to prevent overheating the VCR. | Leave tapes unattended for long periods during capture. |
| Monitor audio levels to avoid clipping. | Use damaged or moldy tapes without cleaning first. |
| Save original captures before editing. | Store digital files only on one device—always back up. |
| Label both physical tapes and digital files clearly. | Assume all tapes are in good condition—inspect them first. |
Enhancing and Organizing Your Digital Archive
Raw captures often contain blank sections, tracking noise, or inconsistent brightness. Editing improves watchability and reduces file size. Simple cuts to remove silence or duplicates help streamline longer recordings. Tools like DaVinci Resolve (free version) allow color correction, noise reduction, and audio cleanup without a steep learning curve.
Create a consistent folder structure: /Family_Videos/1990s/Weddings/ or /Home_Movies/Children_Playing/. Include a text file with metadata—date recorded, people featured, location—for context. This turns a disorganized set of clips into a searchable personal archive.
Mini Case Study: Preserving a Family Legacy
Sarah Thompson inherited eight VHS tapes from her late father, including his 1987 European tour and her childhood birthday parties. Concerned about deterioration, she purchased a $35 USB capture device and used OBS Studio on her laptop. Over three weekends, she digitized all tapes, spending extra time removing static at the beginning and end of each recording. She compressed the final files and uploaded them to Google Drive, sharing access with cousins and siblings. One clip—a surprise 10th birthday party—sparked dozens of messages and became a centerpiece at a family reunion. “It felt like he was still there,” Sarah said. “Now everyone can see it, anytime.”
Frequently Asked Questions
How long does it take to convert one VHS tape?
A full-length tape (typically 2–3 hours) takes exactly that long to play through. Real-time capture cannot be rushed. Plan for additional time for setup, troubleshooting, and post-processing.
Can I improve the quality of a poor VHS recording?
Digital enhancement can reduce noise, stabilize color, and sharpen edges slightly—but it cannot create detail that wasn’t recorded. The best results come from clean tapes played on well-maintained VCRs.
Is it legal to convert VHS tapes I own?
Yes, for personal use. Under U.S. copyright law (fair use), you may digitize media you legally own for private backup and viewing. Distributing copyrighted commercial tapes (e.g., rented movies) digitally is not permitted.
Final Steps: Storage and Long-Term Preservation
Once digitized, protect your files against data loss. Follow the 3-2-1 backup rule: keep three copies, on two different media (e.g., computer + external drive), with one offsite (cloud storage like Dropbox, Backblaze, or iCloud).
Revisit your digital archive every 3–5 years. File formats and storage media evolve. Re-encoding videos into current standards prevents obsolescence, just as you prevented it with VHS.
“Preservation isn’t a one-time project. It’s a habit of care across generations.” — National Archives Digital Stewardship Guidelines
Take Action Before It’s Too Late
Your VHS tapes won’t last forever. Machines fail. Tapes demagnetize. Moments fade. But with a few hundred dollars and a weekend of focused effort, you can rescue decades of irreplaceable memories. Start with one tape. Learn the process. Scale up as you go. Share the results with loved ones who remember those days—or who never got the chance to meet the people on screen.
The past doesn’t have to be lost. Convert, preserve, and pass it forward.


 浙公网安备
33010002000092号
浙公网安备
33010002000092号 浙B2-20120091-4
Comments
No comments yet. Why don't you start the discussion?