
Custom die cut stickers are no longer limited to professional print shops. With the right tools, materials, and techniques, anyone can design and produce high-quality, uniquely shaped stickers from the comfort of their home. Whether you're branding a small business, personalizing gifts, or launching a creative side hustle, mastering the art of DIY die cut stickers opens up a world of possibilities. This comprehensive guide walks you through every stage—from concept to final product—with practical advice that ensures professional results.
Understanding Die Cut Stickers
Unlike standard rectangular stickers, die cut stickers are trimmed precisely along the outline of the design, allowing for custom shapes. This precision cutting enhances visual appeal and makes your sticker stand out. The process involves printing your artwork onto adhesive vinyl and then using a cutting tool to follow the shape's edge—either manually or with digital assistance.
Home-based production has become increasingly accessible thanks to affordable cutting machines and printable sticker paper. While commercial printers use industrial dies (metal templates), hobbyists and small creators rely on digital cutting plotters that replicate the same effect without the need for physical dies.
“With modern cutting machines, the quality of home-produced die cut stickers can rival professionally printed ones—especially when attention is paid to material choice and alignment.” — Jordan Lee, DIY Product Designer & Educator
Essential Tools and Materials
To create custom die cut stickers at home, you’ll need a few core supplies. Investing in quality components ensures durability, clean cuts, and vibrant colors.
| Tool/Material | Purpose | Recommended Options |
|---|---|---|
| Digital Cutting Machine | Cuts precise shapes from printed sticker sheets | Cricut Explore series, Silhouette Cameo, Brother ScanNCut |
| Printable Vinyl Sticker Paper | Adhesive base for printing and cutting | Permanent or removable matte/glossy vinyl from brands like Orajet or A-Color |
| Inkjet or Laser Printer | Prints your design onto sticker paper | Laser preferred for smudge resistance; inkjet works with waterproof settings |
| Design Software | Creates and prepares artwork for cutting | Adobe Illustrator, Inkscape (free), Cricut Design Space, Silhouette Studio |
| Weeding Tools | Removes excess vinyl around the design | Pick-up tool, tweezers, scribe tool |
| Laminator (Optional) | Adds protective layer for outdoor use | Pocket laminator or self-adhesive laminate sheets |
Step-by-Step Guide to Making Your First Sticker
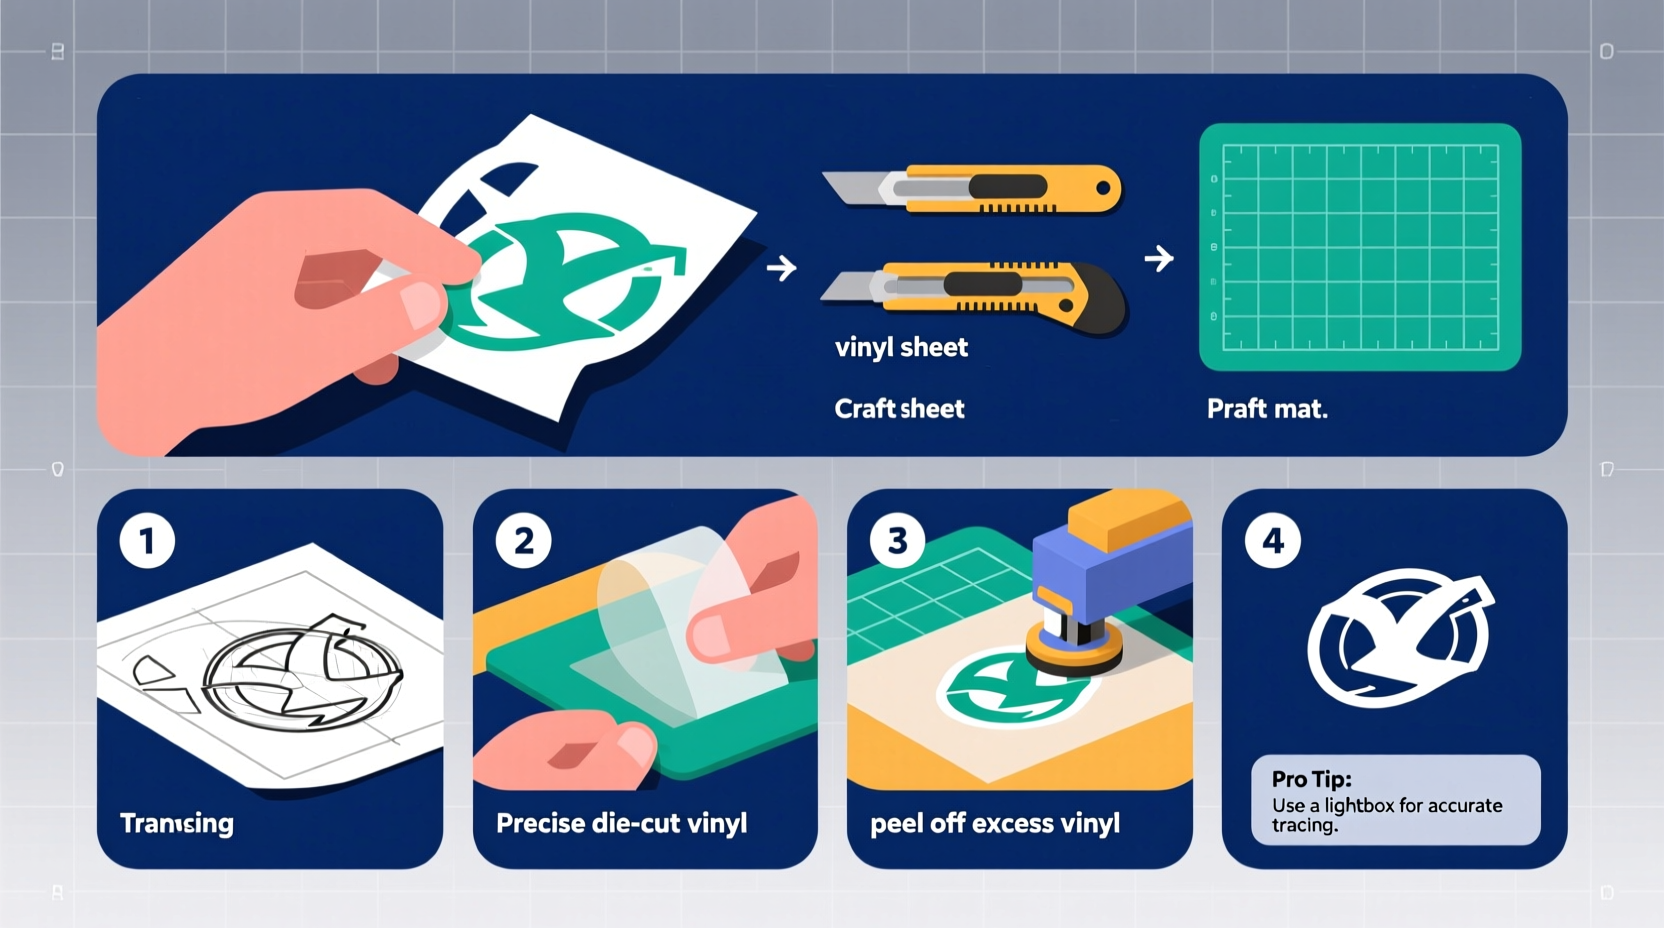
- Design Your Artwork: Use vector-based software to create your sticker. Keep lines closed and avoid overly intricate details that may not cut cleanly. Export as PNG or SVG with a transparent background.
- Prepare the Print Layout: Import your design into your cutting machine’s companion software. Resize to desired dimensions and arrange multiple copies if needed. Add a registration mark if using print-then-cut features.
- Print the Design: Load printable vinyl into your printer. Select high-quality, matte or glossy settings depending on finish preference. Let ink dry completely—especially with inkjet—to prevent smudging during cutting.
- Load and Cut: Place the printed sheet onto the cutting mat, aligning it properly. Set machine parameters based on material type (e.g., “matte sticker paper” preset). Initiate the cut.
- Weed Excess Vinyl: Carefully peel away the surrounding vinyl using a weeding tool. For small interior areas (like letters “O” or “A”), gently lift with the tip. Work slowly under good lighting.
- Apply Transfer Tape: Lay transfer tape over the sticker. Smooth with a squeegee or credit card to adhere the design. Peel tape upward—your sticker should lift cleanly from the backing.
- Apply to Surface: Position the sticker on your chosen surface. Press firmly from center outward to eliminate air bubbles. Slowly remove the transfer tape at a low angle.
Choosing the Right Materials for Durability
The longevity of your sticker depends heavily on material selection. Not all printable vinyls are created equal—some are designed for indoor use only, while others withstand sun, rain, and abrasion.
- Permanent Matte Vinyl: Ideal for notebooks, walls, and office equipment. Resists fingerprints but not prolonged UV exposure.
- Glossy Outdoor Vinyl: Offers superior weather resistance. Great for water bottles, car decals, and outdoor gear.
- Removable Vinyl: Leaves no residue, perfect for temporary branding or rental spaces.
- Clear Sticker Paper: Allows designs to blend into backgrounds—ideal for windows or colored surfaces.
Mini Case Study: Launching a Small Business Brand with DIY Stickers
Sophie Ramirez, a ceramic artist from Portland, wanted affordable packaging solutions for her handmade mugs. Instead of outsourcing labels, she invested $250 in a Cricut Maker and began making her own circular die cut stickers featuring her logo and website.
She used black permanent vinyl with white inkjet printing, laminated each sticker, and applied them to kraft paper bags. Within three months, customers began asking where they could buy the stickers separately. Sophie launched a sticker pack as a new revenue stream—generating an additional $400/month with minimal overhead.
Her key insight? “Start simple. One well-designed sticker can elevate your entire brand perception.”
Avoiding Common Mistakes
Even experienced crafters encounter issues. Knowing what to watch for saves time and materials.
| Mistake | Why It Happens | How to Fix |
|---|---|---|
| Blade tears the vinyl | Blade too deep or dull | Reduce blade depth; replace blade regularly |
| Design doesn’t cut fully | Insufficient pressure or worn mat | Adjust cut settings; refresh cutting mat with tape |
| Sticker lifts off during weeding | Weak adhesive or incorrect paper type | Use higher-quality vinyl; ensure proper printer compatibility |
| Colors bleed after application | Ink not waterproof or dried improperly | Allow 10–15 minutes drying time; use pigment-based ink |
Checklist: Before You Start Your Next Batch
- ☐ Confirm your design is finalized and saved in high resolution (300 DPI)
- ☐ Calibrate your cutting machine and check blade condition
- ☐ Test print on regular paper to verify size and layout
- ☐ Clean the cutting mat with lint roller to improve grip
- ☐ Ensure your workspace is dust-free to prevent adhesion issues
- ☐ Have transfer tape, weeding tools, and squeegee ready
Frequently Asked Questions
Can I make die cut stickers without a cutting machine?
Yes, but with limitations. You can print designs and cut by hand using precision scissors or an X-Acto knife. However, accuracy drops significantly, especially for complex shapes. Hand-cut stickers work best for large, simple outlines and one-off projects.
What file format should I use for my design?
For best results, use SVG (Scalable Vector Graphics) when working with cutting machines. If printing only, PNG at 300 DPI is sufficient. Avoid JPEG due to compression artifacts that affect print clarity.
How long do homemade stickers last?
Indoor stickers typically last 2–5 years. Outdoor-rated vinyl with lamination can endure 5+ years in sunlight and moderate weather. Avoid placing stickers on uneven or porous surfaces for maximum adhesion.
Final Thoughts: Turn Creativity Into Tangible Value
Creating custom die cut stickers at home blends creativity with practicality. Once you’ve mastered the workflow, you can produce branded merchandise, personalized gifts, or marketing tools faster and more affordably than ever before. The initial learning curve pays off in flexibility, cost savings, and creative control.


 浙公网安备
33010002000092号
浙公网安备
33010002000092号 浙B2-20120091-4
Comments
No comments yet. Why don't you start the discussion?