
Custom kits are more than just collections of useful items—they're solutions in a box. Whether you're preparing for a weekend hike, managing remote work from a coffee shop, or assembling emergency supplies for your family, a well-designed kit saves time, reduces stress, and ensures readiness. The real power lies not in buying pre-made sets, but in designing personalized kits that reflect your lifestyle, environment, and goals. This guide walks through the principles, processes, and practical examples of building effective custom kits for any scenario.
Why Custom Kits Outperform Off-the-Shelf Solutions
Pre-packaged kits often miss the mark. A generic first aid kit might include items you’ll never use while omitting essentials specific to your allergies or medical history. Similarly, a standard travel toiletry bag may not account for climate, trip duration, or personal grooming routines. Customization turns a one-size-fits-none into a precision tool.
When you build your own kit, you control the quality, quantity, and relevance of each component. You also gain confidence knowing exactly what’s inside and how to use it. Over time, this leads to better preparedness, cost efficiency, and peace of mind.
“Personalization is the future of preparedness. A kit built around actual behavior and risk profiles is infinitely more effective than a mass-market alternative.” — Dr. Lena Torres, Disaster Preparedness Researcher, National Resilience Institute
The 5-Step Framework for Building Any Custom Kit
Regardless of purpose, all successful kits follow a logical development process. Use this repeatable framework to design, test, and refine your kits over time.
- Define the Purpose and Scope: What problem does this kit solve? Who uses it? When and where will it be deployed?
- Inventory Core Components: List every essential item based on function, frequency of use, and necessity.
- Select Containers and Organization System: Choose durable, portable, and accessible packaging that suits the environment.
- Assemble and Label: Pack items logically, group by category, and label clearly for quick identification.
- Test, Use, and Iterate: Deploy the kit in real-world conditions and adjust based on feedback and gaps.
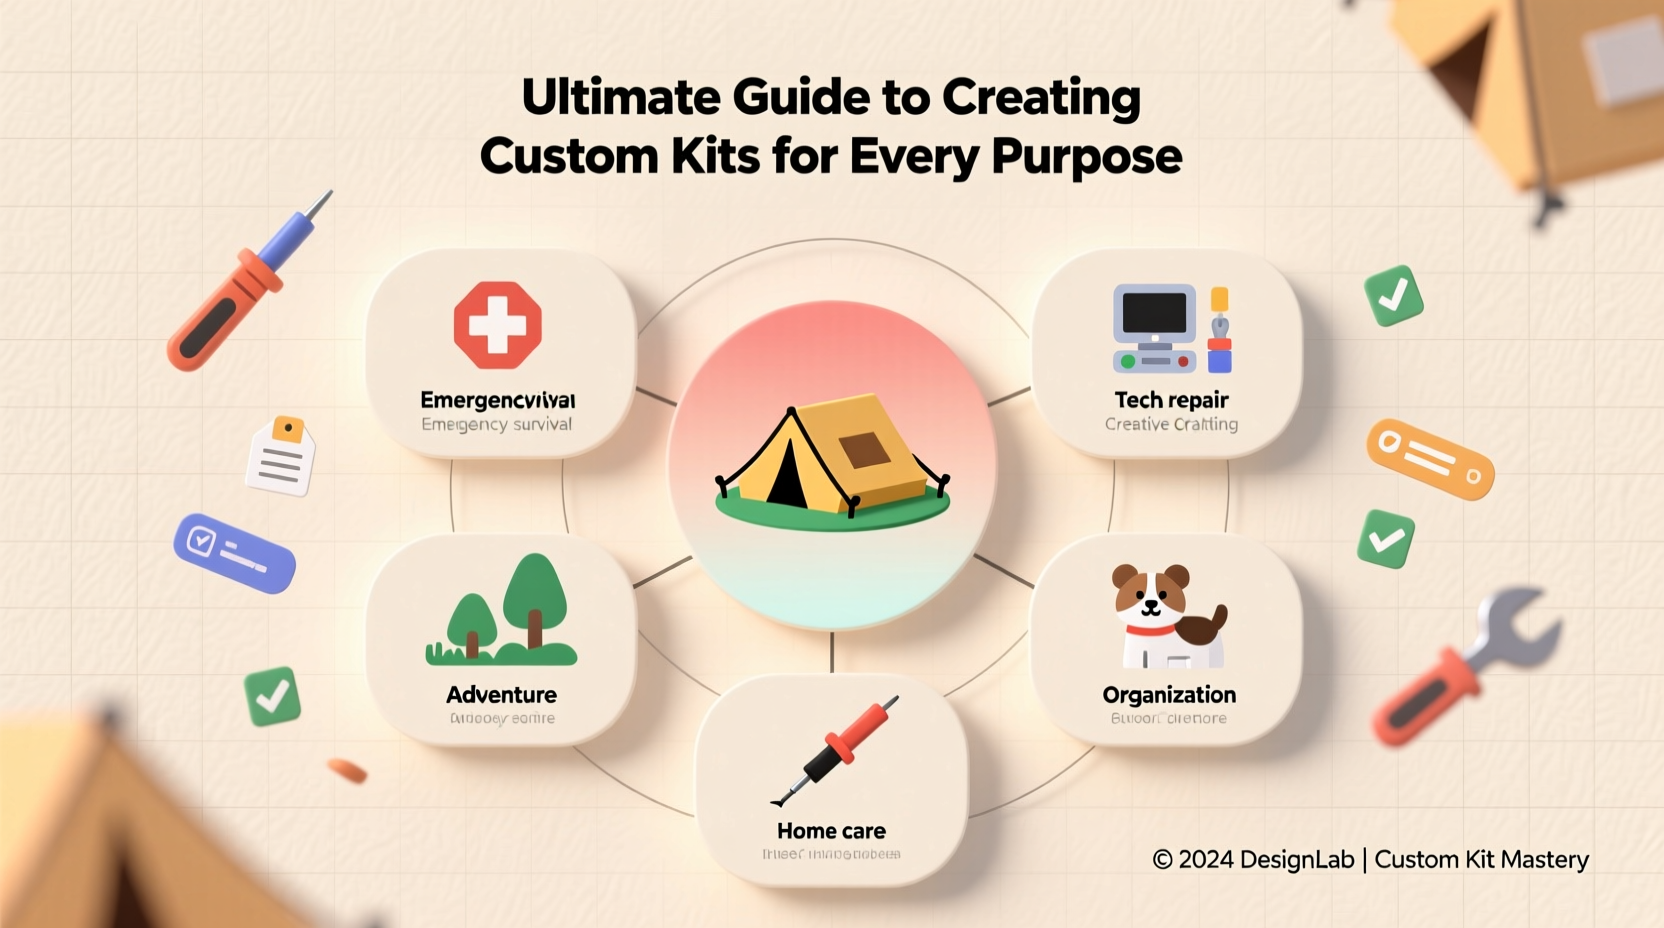
Essential Kit Types and Real-World Applications
Different situations demand different tools. Below are three foundational categories with actionable insights and customization ideas.
1. Personal Emergency Kit (Home & Travel)
A compact emergency kit should sustain you for at least 72 hours during disruptions like power outages, natural disasters, or evacuations. Customize based on household size, regional risks (e.g., earthquakes, floods), and mobility needs.
| Category | Standard Items | Custom Additions |
|---|---|---|
| Water & Food | 3-day water supply, non-perishable meals | Baby formula, pet food, dietary-specific rations |
| Shelter & Warmth | Emergency blanket, tent, poncho | Extra blankets for elderly, reflective vest |
| Medical | Bandages, antiseptic, gloves | EpiPen, prescription meds, glucose monitor |
| Tools | Flashlight, multi-tool, radio | Solar charger, whistle, fire starter |
2. Work-From-Anywhere Kit
For digital nomads or hybrid workers, this kit ensures productivity regardless of location. Focus on connectivity, comfort, and adaptability.
- Universal power adapter with surge protection
- Foldable laptop stand and ergonomic keyboard
- Noise-canceling earbuds and portable Wi-Fi hotspot
- Mini whiteboard and sticky notes for brainstorming
- Compact notebook with contact list and access codes
3. Outdoor Adventure Kit (Hiking, Camping, Backpacking)
Tailor this kit to terrain, season, and group size. Prioritize weight, durability, and redundancy for critical functions like navigation and fire.
Mini Case Study: The Urban Teacher’s Classroom Repair Kit
Jamal Rivera, a middle school science teacher in Chicago, noticed recurring classroom disruptions due to broken chairs, loose projector mounts, and malfunctioning lab equipment. Instead of waiting for maintenance, he created a “Classroom Fix-It Kit” containing:
- Adjustable wrench, hex keys, screwdrivers
- Zip ties, duct tape, wood glue
- Extra light bulbs, AA/AAA batteries
- Labeled compartments for electronics vs. furniture repairs
Housed in a rugged plastic toolbox under his desk, the kit reduced downtime by 60% over one semester. He now trains student aides to assist with minor fixes, turning maintenance into a hands-on learning opportunity. Jamal’s success highlights how targeted customization solves niche problems efficiently.
Do’s and Don’ts of Kit Design
| Do’s | Don’ts |
|---|---|
| Start small and expand based on real use | Overload with redundant or rarely used items |
| Use modular containers for easy swapping | Store batteries loose or mix old/new ones |
| Label everything—including expiration dates | Forget environmental factors like heat or humidity |
| Include instructions or QR codes to tutorials | Use flimsy bags that tear or open accidentally |
Checklist: Building Your First Custom Kit
Follow this step-by-step checklist to create a functional, reliable kit in under two hours:
- Choose one area of frequent need or frustration (e.g., car emergencies, gym gear, baby outings).
- List the top 5 problems you want this kit to solve.
- Gather existing supplies you already own.
- Purchase only what’s missing—prioritize multipurpose tools.
- Select a container with compartments and portability.
- Organize items by frequency and function (e.g., most-used on top).
- Add labels, a checklist taped inside the lid, and contact info if applicable.
- Test the kit in a real scenario within one week.
- After use, review and remove unnecessary items; replace worn components.
- Document the final version so you can replicate or scale it.
FAQ
How often should I update my custom kits?
Review and refresh kits every 3–6 months. Check expiration dates, battery life, and wear on materials. Seasonal changes (e.g., winter vs. summer) may require full swaps for outdoor or emergency kits.
Can I make a shared kit for multiple people?
Yes, but only if user needs are aligned. For families or teams, assign roles and personalize sub-pouches within a master kit. For example, a family emergency bag could have color-coded sections for each member’s medications and documents.
What’s the best container for a multi-use kit?
Rugged, waterproof cases with customizable foam inserts (like Pelican-style boxes) offer maximum protection. For everyday carry, consider EDC pouches made from ripstop nylon with MOLLE compatibility for attachment options.
Conclusion
Creating custom kits isn’t about perfection—it’s about progress. The most effective kits evolve through use, feedback, and refinement. Whether you’re packing a diaper bag, preparing for disaster, or equipping a mobile workspace, thoughtful assembly transforms chaos into control. Start with one kit, solve one problem, and build from there. Your future self—rushing out the door, facing an outage, or miles from help—will thank you.


 浙公网安备
33010002000092号
浙公网安备
33010002000092号 浙B2-20120091-4
Comments
No comments yet. Why don't you start the discussion?