
The Sims 3 offers a rich, customizable gameplay experience that extends far beyond its base mechanics. One of the most powerful ways to enhance your game is through mods—custom files created by the community to add new features, fix bugs, or overhaul gameplay systems. Whether you're using a Windows PC, a Mac, or navigating compatibility with expansion packs, this guide walks you through every essential step to safely and effectively install mods across all platforms.
Understanding What Mods Are and Why They Matter
Mods (short for modifications) are user-created content that alters how The Sims 3 behaves. These can range from small tweaks like disabling aging or increasing skill gains, to major overhauls such as realistic weather systems, improved AI behavior, or entirely new build/buy items. Unlike custom content (CC), which typically includes new objects, clothing, or hairstyles, mods often change core game mechanics via script adjustments.
Modding has kept The Sims 3 vibrant long after its official support ended. With tools like NRaas mods, MasterController, and Overwatch, players enjoy smoother gameplay, deeper simulation, and greater creative freedom. However, improper installation can lead to crashes, save file corruption, or conflicts between mods.
“Mods transform The Sims 3 from a static life simulator into a living world shaped by player choice.” — Alex Rivera, Longtime Sims Modder & Community Moderator
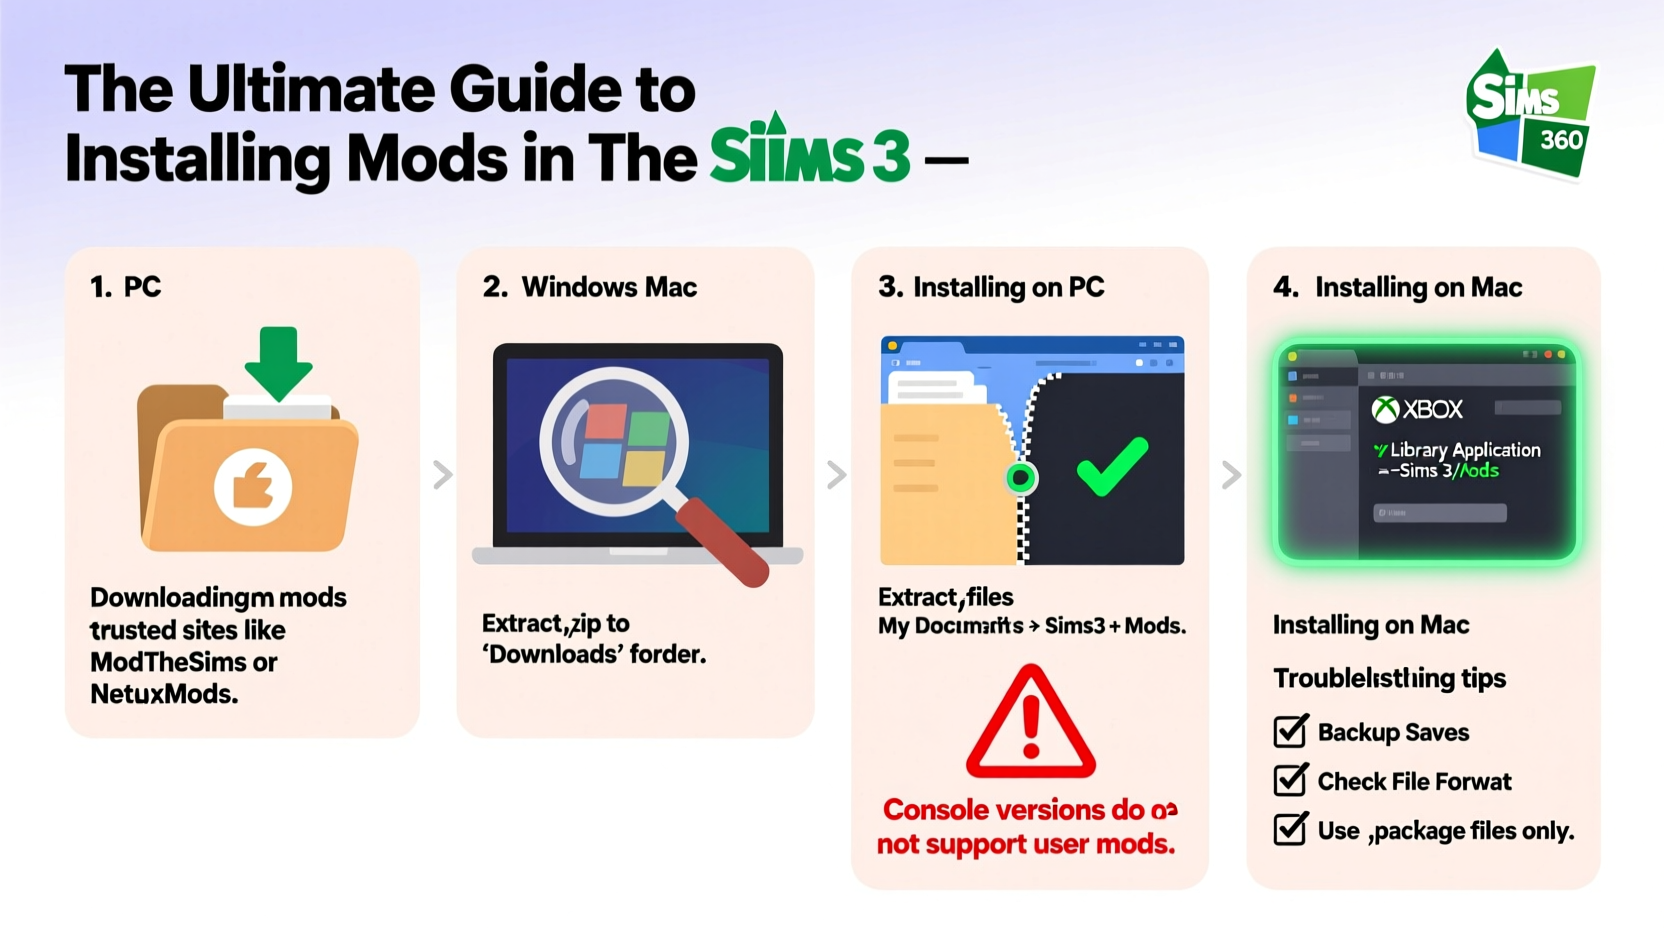
Step-by-Step Guide to Installing Mods on Any Platform
Installing mods requires careful attention to file structure, platform differences, and version compatibility. Follow this timeline-based process regardless of whether you're on Windows or macOS.
- Backup Your Game and Saves: Before making any changes, navigate to your Saves folder (usually located at
C:\\Users\\[YourName]\\Documents\\Electronic Arts\\The Sims 3\\Saveson PC or/Users/[YourName]/Documents/Electronic Arts/The Sims 3/Saveson Mac). Copy the entire folder to an external drive or cloud storage. - Ensure You’re Using the Correct Game Version: Most modern mods require at least patch 1.67. If you're running an older version, update through Origin or your installed launcher before proceeding.
- Download Trusted Mods Only: Use reputable sites like ModTheSims, The Sims Resource (TSR), or specific creator blogs. Avoid third-party aggregators with pop-up ads or suspicious download buttons.
- Extract the Downloaded Files: Most mods come in .zip or .rar format. Use extraction software like 7-Zip (Windows) or The Unarchiver (Mac) to open them. Never run .exe files unless they’re officially provided installers from trusted authors.
- Locate Your Game’s Mods Folder: This is critical. The correct path is:
- PC:
C:\\Users\\[YourName]\\Documents\\Electronic Arts\\The Sims 3\\Mods\\ - Mac:
/Users/[YourName]/Documents/Electronic Arts/The Sims 3/Mods/
- PC:
- Copy Package Files into the Mods Folder: Script mods usually come as .package files. Drag these directly into the Mods folder. Do not place them inside subfolders unless instructed.
- Launch the Game: Start The Sims 3 normally. Some mods display confirmation messages on startup; others work silently in the background.
- Test Thoroughly: Load a saved game and check if the mod functions as expected. Look for error logs or unexpected behaviors.
Platform-Specific Considerations
While the core modding process is similar across systems, subtle differences affect success rates and troubleshooting.
| Platform | Installation Notes | Common Issues | Solutions |
|---|---|---|---|
| Windows (PC) | Fully supports .package mods. Easy access to file paths via Documents. | Permission errors, antivirus blocking scripts | Add exceptions in security software; run game as administrator |
| macOS | Same file structure but case-sensitive filesystem may cause issues. | Mods not loading due to incorrect capitalization or hidden files | Double-check folder names; use Terminal to verify paths if needed |
| Laptops with Integrated Graphics | No direct impact on mod functionality | Performance lag when using visual-heavy mods | Limit high-poly object usage; prioritize performance mods like FPS Boost |
Essential Checklist Before Launching a Modded Game
To ensure stability and avoid frustration, complete this checklist every time you install new mods:
- ✅ Backed up current saves
- ✅ Verified game is updated to latest patch
- ✅ Downloaded mods only from trusted sources
- ✅ Extracted files correctly without altering internal structure
- ✅ Placed .package files directly into the Mods folder
- ✅ Read installation instructions included in readme files
- ✅ Disabled conflicting mods or duplicates
- ✅ Cleared cache files (optional but recommended—delete localthumbcache.package)
Real Example: Fixing Persistent Crashes After Mod Installation
Jamie, a longtime Sims player, downloaded several popular gameplay mods including NRaas Overwatch, Debug Enabler, and a no-bills patch. After launching the game, it crashed during neighborhood loading. Initially frustrated, Jamie reviewed each mod’s dependency list and realized NRaas Core was missing—the foundation required for all other NRaas mods. After downloading and placing NRaas Core.package into the Mods folder, the game launched without issue. A quick scan of the mod descriptions would have prevented the problem, highlighting the importance of reading documentation.
Frequently Asked Questions
Can I use mods with all expansion and stuff packs installed?
Yes. In fact, having all expansions increases compatibility with advanced mods. However, always confirm that the mod author lists support for your specific game configuration. Some older mods may need updates after major patches.
Will mods delete my saves or corrupt my game?
Well-tested mods from reputable creators rarely cause corruption. That said, never skip backups. Script errors or incompatible versions are the most common causes of instability—not the concept of modding itself.
Are there risks to using mod managers or automated installers?
Some third-party tools promise one-click installs but may bundle unwanted software or misplace files. Stick to manual installation unless using well-known, community-vetted tools like Samba’s Mod Installer (discontinued but still safe if sourced properly).
Final Tips for a Smooth Modding Experience
Successful modding hinges on organization, patience, and respect for the technical side of the game. Keep a text file listing every mod you’ve installed, along with its purpose and source. This log becomes invaluable when diagnosing issues or reinstalling after a system reset. Also, consider joining active forums like ModTheSims.info or Reddit’s r/thesims3, where experienced users share fixes and updates even years after the game's release.
“The best modded games aren’t those with the most downloads, but the ones carefully curated for stability and enjoyment.” — Lena Park, Sims Archivist & Content Curator
Conclusion
Modding The Sims 3 opens doors to endless creativity and control over your virtual world. By following these precise steps, respecting platform nuances, and maintaining disciplined installation habits, you can safely enhance every aspect of gameplay—on PC, Mac, or any setup. The journey begins with a single .package file, but leads to a deeply personalized experience only possible through community-driven innovation.


 浙公网安备
33010002000092号
浙公网安备
33010002000092号 浙B2-20120091-4
Comments
No comments yet. Why don't you start the discussion?