
Hummingbirds are among nature’s most captivating creatures—tiny, energetic, and endlessly fascinating. Their rapid wingbeats and iridescent feathers draw bird lovers to their gardens year after year. One of the best ways to support these high-metabolism flyers is by providing a reliable source of nectar. While commercial hummingbird feeders and pre-made nectars are widely available, many contain preservatives, dyes, or unnecessary additives that can do more harm than good. The safest, most cost-effective, and nutritionally sound option? Making your own hummingbird food at home.
With just two ingredients—white granulated sugar and water—you can create a nectar that closely mimics the natural sugars found in flowers. But getting it right matters. Incorrect ratios, poor hygiene, or using the wrong ingredients can lead to health risks for hummingbirds or even discourage them from visiting your yard. This comprehensive guide walks you through every essential detail: the science-backed recipe, preparation steps, storage tips, and common pitfalls to avoid.
The Science Behind Hummingbird Nutrition
Hummingbirds consume up to half their body weight in sugar each day. In the wild, they feed on flower nectar, which typically contains 20–25% sucrose. This concentration provides enough energy to sustain their extreme metabolic rate—one of the highest in the animal kingdom. Replicating this balance is key when preparing homemade nectar.
Sucrose (table sugar) is chemically identical to the sugar found in nectar, making it the ideal base. Unlike honey, agave, or artificial sweeteners, refined white sugar does not ferment quickly or promote harmful fungal growth when properly prepared. It’s also free of contaminants that could compromise bird health.
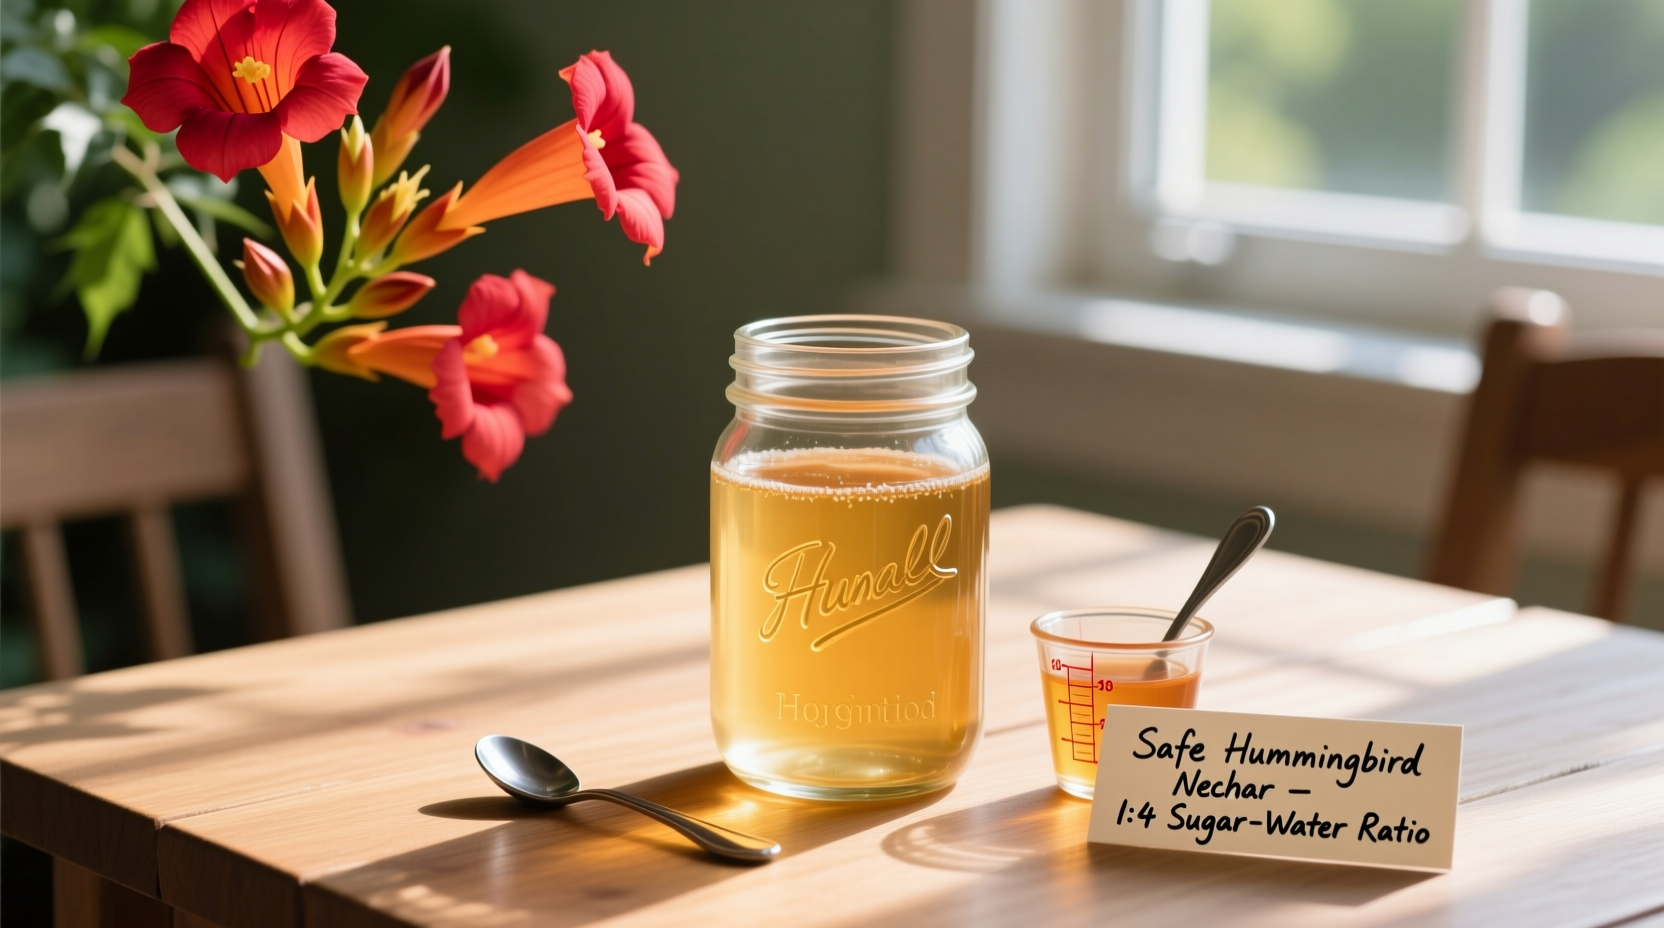
“Homemade nectar with a 4:1 water-to-sugar ratio matches the caloric density of natural floral nectar and supports optimal hummingbird metabolism.” — Dr. Laura Navarro, Avian Ecologist, Cornell Lab of Ornithology
Step-by-Step Guide to Making Perfect Hummingbird Nectar
Creating safe and effective hummingbird food is simple, but precision ensures quality. Follow this timeline for consistent results:
- Gather supplies: Use clean measuring cups, a saucepan, stirring spoon, and a funnel if needed.
- Measure ingredients: Combine 1 part white granulated sugar with 4 parts water (e.g., 1 cup sugar to 4 cups water).
- Heat gently: Bring the mixture to a light boil for 1–2 minutes to dissolve sugar and kill potential microbes. Do not over-boil.
- Cool completely: Allow the solution to reach room temperature before filling feeders. Hot nectar can warp plastic or harm birds.
- Fill and place feeders: Pour into clean feeders and hang in shaded areas to slow fermentation.
- Replace every 3–5 days: Change nectar regularly, more often in hot weather (above 75°F/24°C).
Do’s and Don’ts of Homemade Hummingbird Food
| Do | Don’t |
|---|---|
| Use pure white granulated sugar and tap or filtered water | Add red dye or food coloring—even “natural” dyes |
| Boil the mixture briefly to sterilize | Use honey, molasses, or agave syrup—they promote deadly fungal infections |
| Clean feeders thoroughly every time you refill | Leave nectar out longer than 5 days (3 in hot climates) |
| Store extra nectar in the fridge for up to 2 weeks | Use metal feeders that may leach toxins or corrode |
| Place feeders in partial shade to reduce spoilage | Assume organic or raw sugar is safer—it’s not |
Real Example: How One Garden Transformed with Proper Nectar
In suburban Asheville, North Carolina, homeowner Maria Thompson struggled for years to attract hummingbirds. She used store-bought red nectar and cleaned her feeder only once a month. After learning about mold risks and artificial dyes, she switched to homemade 4:1 nectar, boiled and cooled properly, and began cleaning her feeder weekly with a vinegar-water solution.
Within three weeks, ruby-throated hummingbirds returned—and stayed. She now sees up to six individuals daily during peak season. “I didn’t realize how much the old nectar was turning them away,” she said. “Once I made the switch, it was like flipping a switch. They came back in force.”
Storage and Shelf Life Tips
Batch-making hummingbird nectar saves time and ensures consistency. However, proper storage is critical to prevent bacterial growth.
- Refrigerate unused nectar in a sealed glass container for up to 14 days.
- Label containers with the date to track freshness.
- Thaw frozen nectar slowly in the refrigerator—never microwave.
- If mold, cloudiness, or odor develops, discard immediately.
Frequently Asked Questions
Can I use less sugar to make it healthier?
No. A weaker solution (like 5:1 or 6:1) doesn’t provide enough calories for hummingbirds’ energy needs. Stick to the proven 4:1 ratio. Too little sugar forces birds to work harder for energy, which can be dangerous during migration or cold snaps.
Why shouldn’t I add red dye to attract hummingbirds?
Red dye offers no nutritional benefit and has been linked to organ damage in birds. Instead, use feeders with red parts (flowers, bases, or ports) to attract hummingbirds naturally—their instinct draws them to the color red.
How often should I clean my feeder?
Clean your feeder every time you refill, especially in warm weather. Use a solution of one part white vinegar to four parts water, scrub all ports with a bottle brush, and rinse thoroughly. Residue and mold buildup can sicken or deter hummingbirds.
Essential Checklist for Safe Hummingbird Feeding
- ✅ Weekly Routine:
-
- Empty and clean feeder with vinegar solution
- Rinse thoroughly with clean water
- Refill with fresh homemade nectar (4:1 ratio)
- Inspect for cracks, leaks, or mold
- ✅ Seasonal Actions:
-
- Start feeding in early spring (March–April in most regions)
- Continue through fall migration (September–October)
- Remove feeder briefly in winter unless you’re in a tropical zone
- Sanitize and store feeders properly during off-season
Final Thoughts: Responsibility Meets Reward
Making hummingbird food at home is more than a backyard hobby—it’s an act of stewardship. When done correctly, it supports local pollinators, enhances biodiversity, and deepens our connection to nature. But with that privilege comes responsibility. Every drop of nectar you provide should be safe, fresh, and scientifically sound.
By following the 4:1 sugar-to-water ratio, avoiding harmful additives, maintaining rigorous cleanliness, and monitoring feeder conditions, you create a sanctuary hummingbirds will return to year after year. Your efforts don’t just feed birds—they help sustain ecosystems.


 浙公网安备
33010002000092号
浙公网安备
33010002000092号 浙B2-20120091-4
Comments
No comments yet. Why don't you start the discussion?