
For most iPhone users, taking a screenshot is a simple reflex: press two buttons and move on. But behind that quick action lies a powerful set of tools, shortcuts, and hidden capabilities Apple has quietly built into iOS. Whether you're troubleshooting, sharing information, or preserving digital moments, mastering the art of the iPhone screenshot can dramatically improve your efficiency and creativity.
This guide dives deep into everything from basic capture methods to advanced editing techniques, overlooked settings, and clever workarounds that even long-time users might not know. By the end, you’ll treat screenshots not just as snapshots—but as tools.
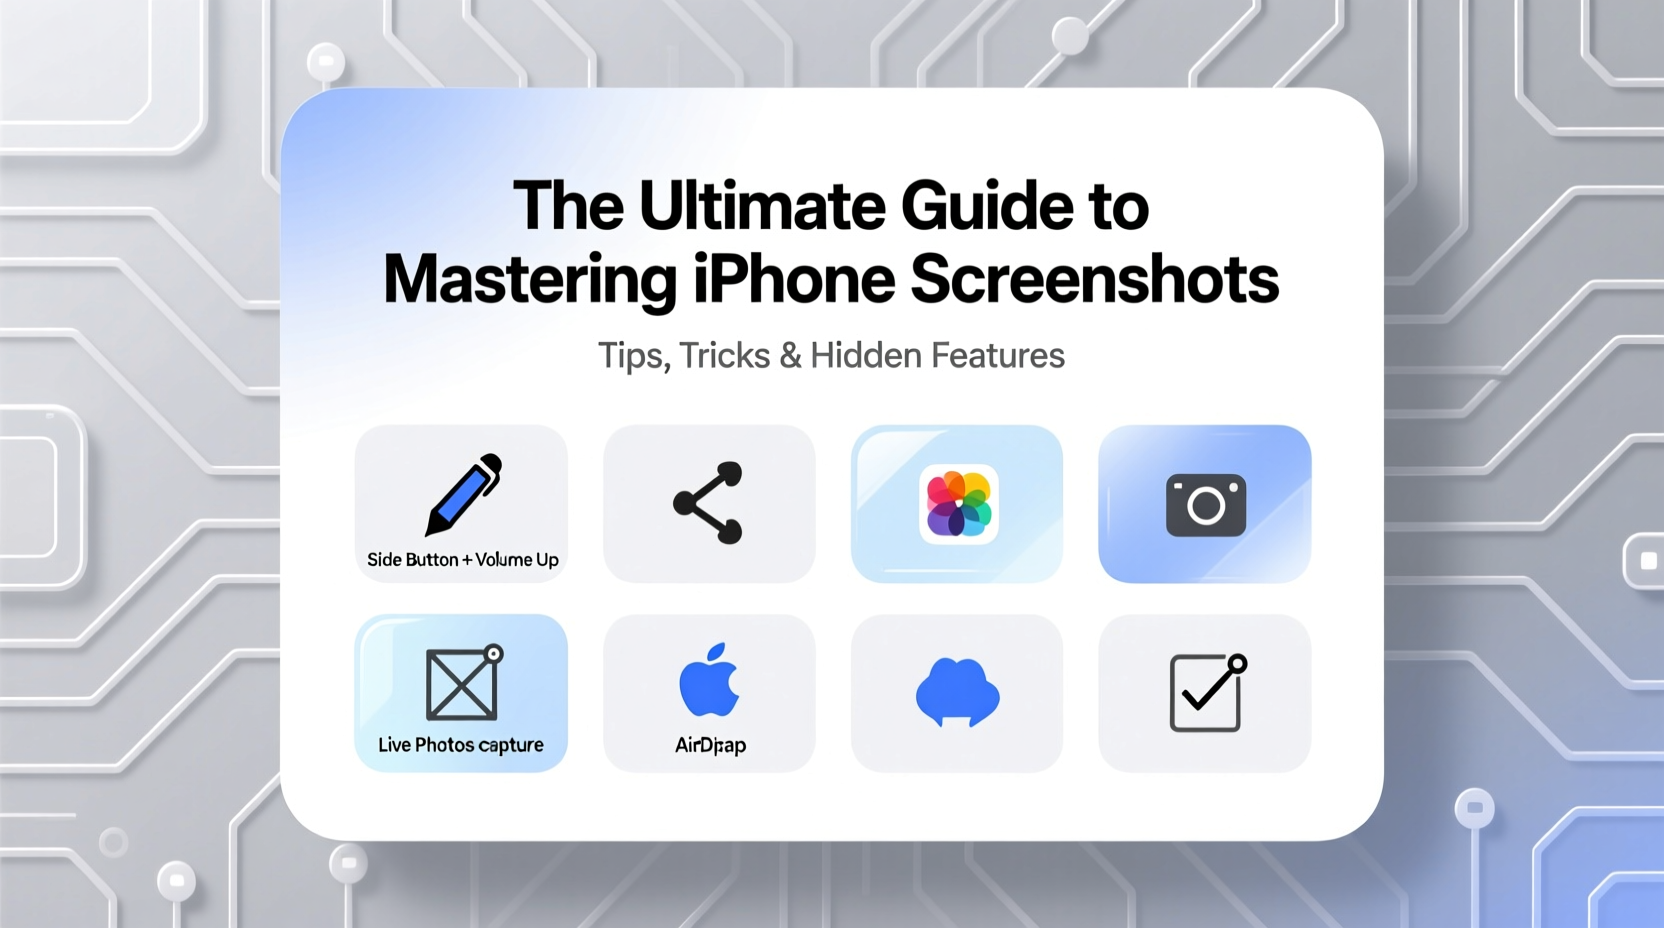
The Basics: How to Take a Screenshot on Any iPhone
The foundation of screenshot mastery starts with knowing how to capture your screen reliably across different iPhone models. Apple has maintained consistent logic, but button combinations vary slightly.
- iPhone with Face ID (iPhone X and later): Press and quickly release the Side button and Volume Up button together.
- iPhone with Home Button (iPhone 8 and earlier): Press and quickly release the Side (or Top) button and the Home button simultaneously.
A flash and a shutter sound confirm the capture. A thumbnail appears in the lower-left corner of the screen—tap it to edit, share, or mark up immediately.
Advanced Capture Techniques You Should Know
Beyond the standard full-screen grab, iOS offers several enhanced ways to capture more useful content.
Scrolling Screenshots (Long Screenshots)
Available in Safari, Messages, and select apps, scrolling screenshots let you capture an entire webpage or conversation—not just what fits on one screen.
- Take a regular screenshot in Safari.
- Tap the thumbnail that appears.
- Select “Full Page” at the top of the editor.
- Scroll through the preview to include all sections.
- Tap “Done,” then choose “Save PDF to Files” or “Save to Photos.”
This feature is particularly valuable when saving articles, receipts, or long text threads without stitching multiple images manually.
Screenshotting Within Apps
Some native apps like Messages, Notes, and Mail support selective screenshot capture during conversations or document review. When you take a screenshot in Messages, for example, tapping the thumbnail allows you to instantly convert the message thread into a clean visual quote card—ideal for sharing highlights.
Edit Like a Pro: Built-in Markup Tools
Apple’s markup suite is surprisingly robust, offering instant access to annotation, cropping, and highlighting—all without leaving your phone.
After capturing a screenshot, tap the thumbnail to open the editor. From there:
- Draw or write using your finger or Apple Pencil (on compatible devices).
- Add shapes like rectangles, circles, or arrows with automatic alignment.
- Use the magnifier to zoom into specific areas.
- Insert text boxes for labels or captions.
- Highlight sensitive info with the marker tool, then obscure it permanently by exporting.
| Tool | Best Use Case |
|---|---|
| Pencil | Freehand notes or signatures |
| Marker | Blurring or redacting text |
| Text Box | Adding titles or explanations |
| Instant Shape Detection | Drawing perfect rectangles or arrows |
Hidden Features and Settings That Change Everything
Most users never adjust screenshot settings—yet a few tweaks can make a big difference in usability.
Disable the Thumbnail Preview (For Power Users)
If you find the pop-up thumbnail distracting, go to Settings > Photos > Show Preview After Quick Commands and toggle it off. The screenshot will save directly to your library.
Change Default Save Format
By default, iPhone saves screenshots as PNG files with embedded metadata (time, location if enabled). To manage storage or privacy:
- Go to Settings > Camera > Formats.
- Select “Compatible” for wider file support or “High Efficiency” to reduce size via HEIC compression.
Use Back Tap to Screenshot
A lesser-known accessibility shortcut lets you trigger a screenshot by tapping the back of your iPhone.
- Navigate to Settings > Accessibility > Touch > Back Tap.
- Choose “Double Tap” or “Triple Tap.”
- Select “Screenshot” from the action list.
This is ideal for one-handed use or when physical buttons are hard to reach.
“Most people don’t realize that a well-edited screenshot can replace a dozen words in communication. It’s visual precision.” — David Lin, UX Designer at a leading mobile app studio
Real-World Example: Solving a Customer Service Issue
Sarah needed to dispute a double charge on her bank app. Instead of describing the transaction in text, she took a screenshot, circled the duplicate entry with the markup tool, added a note saying “Charged twice on 5/12,” and sent it directly through her bank’s secure messaging portal.
The support team resolved the issue within hours—no confusion, no back-and-forth. The clarity of the annotated screenshot made all the difference.
Checklist: Optimize Your Screenshot Workflow
Apply these steps to get the most out of every screenshot:
- ✅ Practice the correct button timing for your iPhone model.
- ✅ Always check the thumbnail preview before dismissing it.
- ✅ Use Full Page capture in Safari for long articles or forms.
- ✅ Redact personal data before sharing screenshots publicly.
- ✅ Enable Back Tap for hands-free captures when convenient.
- ✅ Organize important screenshots into Albums in the Photos app.
- ✅ Export critical full-page screenshots as PDFs for archiving.
Frequently Asked Questions
Why don’t I hear a sound when I take a screenshot?
The screenshot sound is disabled when your iPhone is muted or in Silent mode. This is normal behavior. The mute switch (on the side) controls this—flip it to unmute if you want audio feedback.
Can I take a screenshot during a FaceTime call?
Yes. Simply use the standard button combination. However, the other person won’t be notified, so do so only when appropriate and respectful of privacy.
Where do my screenshots go?
All screenshots are automatically saved to your Photos app under “Recents” and also appear in the “Screenshots” album. If you use iCloud Photos, they sync across your devices.
Final Thoughts: Turn Simple Snaps Into Powerful Tools
Mastering iPhone screenshots isn’t about memorizing shortcuts—it’s about rethinking how you interact with digital content. Every tap, markup, and scroll capture can save time, enhance communication, and preserve context in ways plain text cannot.
From resolving disputes to teaching others, documenting bugs, or simply remembering where you left off in a long article, the screenshot remains one of iOS’s most underrated utilities. Now that you know its full potential, start using it intentionally.


 浙公网安备
33010002000092号
浙公网安备
33010002000092号 浙B2-20120091-4
Comments
No comments yet. Why don't you start the discussion?