
Ceramic tissue boxes are more than just functional—they’re decorative accents that elevate the look of any living space, bathroom, or bedroom. Over time, however, they accumulate dust, fingerprints, grime, and even mildew, especially around the rim where tissues pass through. Unlike plastic or metal containers, ceramic is porous and often hand-painted or glazed, making it vulnerable to damage from harsh cleaners or abrasive tools. Cleaning it properly ensures longevity, hygiene, and visual appeal. This guide provides a thorough, safe method for cleaning your ceramic tissue box at home using everyday supplies, while preserving its finish and structural integrity.
Why Regular Cleaning Matters
A tissue box may seem like a low-maintenance item, but it's one of the most frequently touched surfaces in your home. Hands transfer oils, bacteria, and dirt every time someone pulls out a tissue. In humid environments—like bathrooms—moisture can linger inside the box, encouraging mold and mildew growth. Dust settles on top and in crevices, dulling the appearance of even the most beautiful ceramic piece. Regular cleaning prevents buildup, maintains hygiene, and keeps your decor looking intentional and cared for.
“Ceramic items in high-touch areas should be cleaned at least once every two weeks to prevent microbial accumulation.” — Dr. Lena Patel, Home Hygiene Researcher, National Institute of Environmental Health
Step-by-Step Guide to Cleaning Your Ceramic Tissue Box
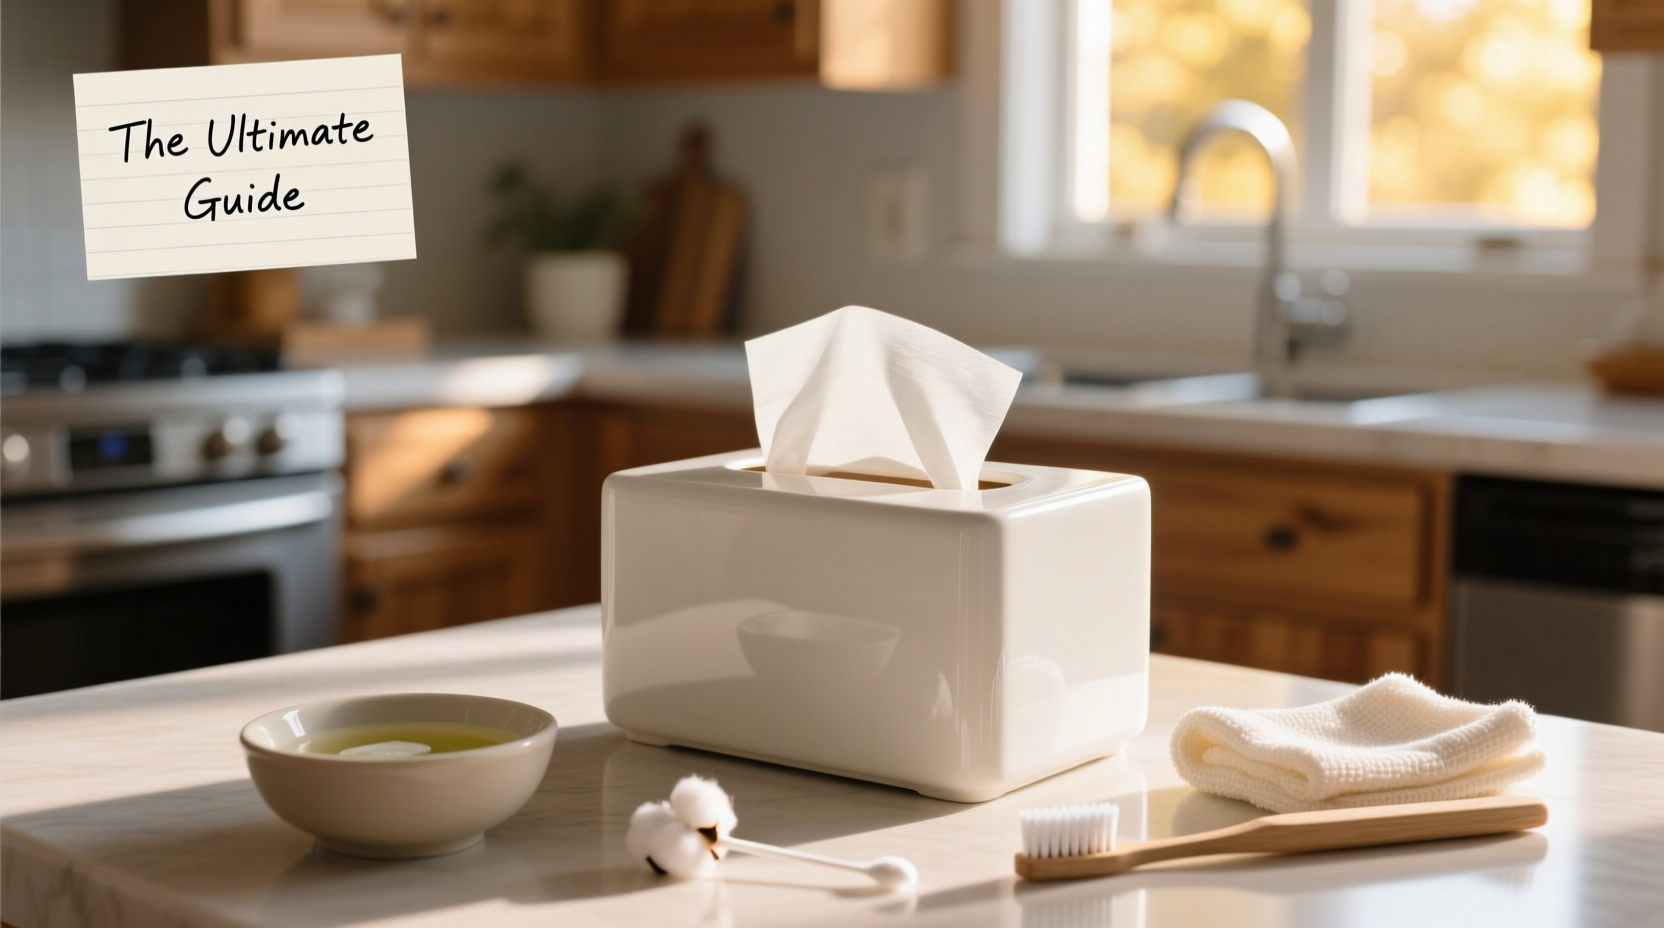
Cleaning a ceramic tissue box doesn’t require specialty products or professional tools. With the right approach, you can restore its luster without risking cracks, fading, or glaze damage. Follow this detailed process for optimal results.
- Empty and Prepare the Area: Remove all tissues and place them in a sealed bag or drawer. Work on a soft surface like a towel to prevent accidental chipping if the box slips.
- Dust the Exterior: Use a microfiber cloth or a soft duster to remove loose particles. Pay attention to carved details, handles, or raised patterns where dust accumulates.
- Mix a Gentle Cleaning Solution: In a bowl, combine one cup of warm water with half a teaspoon of mild dish soap. Avoid bleach, ammonia, or vinegar-based cleaners unless specified safe for your ceramic type.
- Clean the Interior: Dip a soft sponge or cloth into the solution, wring it out well, and gently wipe the inside of the box. Focus on the opening where tissues pass through—this area often harbors residue.
- Tackle Stains or Mildew: For stubborn spots or faint mold, make a paste of baking soda and water. Apply with a soft toothbrush, scrub lightly, then rinse immediately with a damp cloth.
- Wipe the Exterior: Using the same soapy cloth, clean the outside surface. If your box has metallic accents or painted designs, avoid prolonged moisture exposure.
- Rinse and Dry Thoroughly: Wipe away soap residue with a clean, damp cloth. Then dry immediately with a lint-free towel. Let the box air-dry completely (at least 30 minutes) before refilling.
- Sanitize (Optional): For deeper disinfection, use a 70% isopropyl alcohol wipe on non-porous glazed surfaces only. Do not soak or spray alcohol directly onto the ceramic.
Do’s and Don’ts When Cleaning Ceramic
To protect your investment and maintain aesthetic quality, follow these essential guidelines. The wrong cleaner or tool can permanently mar the finish or compromise durability.
| Do’s | Don’ts |
|---|---|
| Use a soft microfiber cloth or sponge | Use steel wool, scouring pads, or abrasive brushes |
| Clean with pH-neutral dish soap | Use bleach, oven cleaner, or undiluted vinegar |
| Dry thoroughly after cleaning | Leave the interior damp or store while wet |
| Spot-test cleaners on hidden areas first | Apply commercial degreasers or acidic sprays |
| Store away from direct sunlight and humidity | Place near radiators, windowsills, or showers |
Real-Life Example: Reviving a Neglected Bathroom Ceramic Box
Sarah, a homeowner in Portland, noticed her white ceramic tissue box in the guest bathroom had developed yellowish streaks and a musty odor. She initially tried wiping it with a disinfectant wipe, which left a hazy film on the glaze. After researching safe methods, she followed the gentle cleaning steps outlined here: she used warm soapy water, a soft sponge, and a baking soda paste for the stained rim. After drying it overnight on a shelf away from steam, the box looked nearly new. “I didn’t realize how much grime built up,” she said. “Now I clean it every other week—it makes the whole room feel fresher.”
Special Considerations for Decorative or Antique Pieces
If your ceramic tissue box is hand-painted, vintage, or part of a collectible set, extra caution is necessary. These pieces often have delicate finishes that react poorly to moisture or friction. Always avoid soaking or aggressive scrubbing. Instead, use a dry microfiber cloth for routine maintenance. For light cleaning, slightly dampen the cloth with distilled water and immediately buff dry. Never use alcohol or chemical wipes on antique ceramics—these can strip protective coatings or fade pigments.
Preventive Maintenance Checklist
- ✔ Wipe down the exterior weekly with a dry microfiber cloth
- ✔ Deep clean the interior every 2–3 weeks
- ✔ Replace tissues promptly to avoid moisture retention
- ✔ Keep the box away from sinks, showers, and humidifiers
- ✔ Inspect for cracks or chips monthly—repair early to prevent worsening
- ✔ Store spare tissue boxes in a dry cabinet when not in use
Frequently Asked Questions
Can I put my ceramic tissue box in the dishwasher?
No. Dishwashers expose ceramics to high heat, strong detergents, and mechanical agitation, which can cause cracking, crazing (fine surface cracks), or glaze deterioration. Hand-washing is always safer.
What should I do if mold appears inside the box?
For minor mold, clean with a baking soda paste and rinse thoroughly. For persistent growth, use a cloth dampened with a solution of one part white vinegar to three parts water (only on fully glazed surfaces), then dry immediately. Ensure the box remains in a well-ventilated area afterward.
How can I remove hard water stains from the rim?
Create a paste of baking soda and a few drops of water. Gently rub the stain with a soft toothbrush in circular motions. Rinse with a barely damp cloth and dry completely. Avoid vinegar on unglazed ceramic, as it can be absorbed and weaken the material.
Final Thoughts and Action Steps
A clean ceramic tissue box enhances both hygiene and home aesthetics. By treating it with the care it deserves—using gentle cleaners, proper drying techniques, and regular maintenance—you extend its life and keep your spaces feeling fresh. Start today by removing the tissues, inspecting for buildup, and giving your box a thorough yet safe cleaning. Small habits lead to lasting results.


 浙公网安备
33010002000092号
浙公网安备
33010002000092号 浙B2-20120091-4
Comments
No comments yet. Why don't you start the discussion?