
A tire that keeps losing air is more than just an inconvenience—it's a safety risk. Underinflated tires reduce fuel efficiency, impair handling, increase stopping distances, and raise the chance of a blowout. While occasional pressure drops can happen due to temperature changes, persistent air loss signals an underlying issue. Identifying the root cause quickly and taking corrective action ensures your vehicle remains safe and efficient on the road.
Understanding Normal vs. Abnormal Air Loss
All tires lose a small amount of air over time—about 1 to 2 psi per month is considered normal due to natural permeability of rubber. However, if you're refilling a tire every few days or notice a drop of more than 3 psi in a week, something is wrong. Unlike slow seepage, rapid or consistent deflation usually points to mechanical failure, damage, or improper installation.
Before assuming internal damage, rule out external factors. Temperature fluctuations alone can affect tire pressure. For every 10°F (5.5°C) drop in ambient temperature, tire pressure decreases by about 1 psi. This means seasonal shifts—especially from summer to winter—can trigger low-pressure warnings without any leak.
Common Causes of Tire Air Loss
Several components can contribute to a deflating tire. Some issues are visible; others require closer inspection or professional diagnosis.
1. Valve Stem Leaks
The valve stem is a small but critical part that seals the pressurized air inside the tire. Over time, rubber stems degrade, crack, or become loose. A damaged or improperly sealed valve core (the tiny pin inside the stem) can also allow air to escape slowly.
2. Bead Leaks
The bead is the edge of the tire that seals against the wheel rim. If the seal is compromised—due to corrosion, dirt buildup, or impact damage—air can escape between the tire and rim. This often occurs after curb strikes or driving on underinflated tires.
3. Punctures and Embedded Objects
Nails, screws, glass shards, or sharp stones lodged in the tread are common culprits. Some punctures don’t cause immediate flatting because the object temporarily plugs the hole. Once removed, however, air escapes rapidly.
4. Wheel Rim Damage
Cracks, dents, or corrosion on alloy or steel rims disrupt the airtight seal. Off-road driving, potholes, or curbs can bend or crack the rim, especially on lightweight alloy wheels.
5. Faulty TPMS Sensor
Modern vehicles use Tire Pressure Monitoring Systems (TPMS), which include sensors mounted inside each wheel. These sensors have seals and batteries. A failing sensor or degraded O-ring can leak air just like a valve stem.
6. Sidewall or Tread Damage
Bubbles, cuts, or bulges in the sidewall indicate structural failure. Even minor gashes can grow under pressure, leading to sudden air loss. Unlike tread punctures, sidewall damage cannot be safely repaired and requires tire replacement.
“Over 60% of chronic tire deflation cases we see stem from valve stem or bead seal issues—not tread punctures.” — Carlos Mendez, ASE-Certified Master Technician
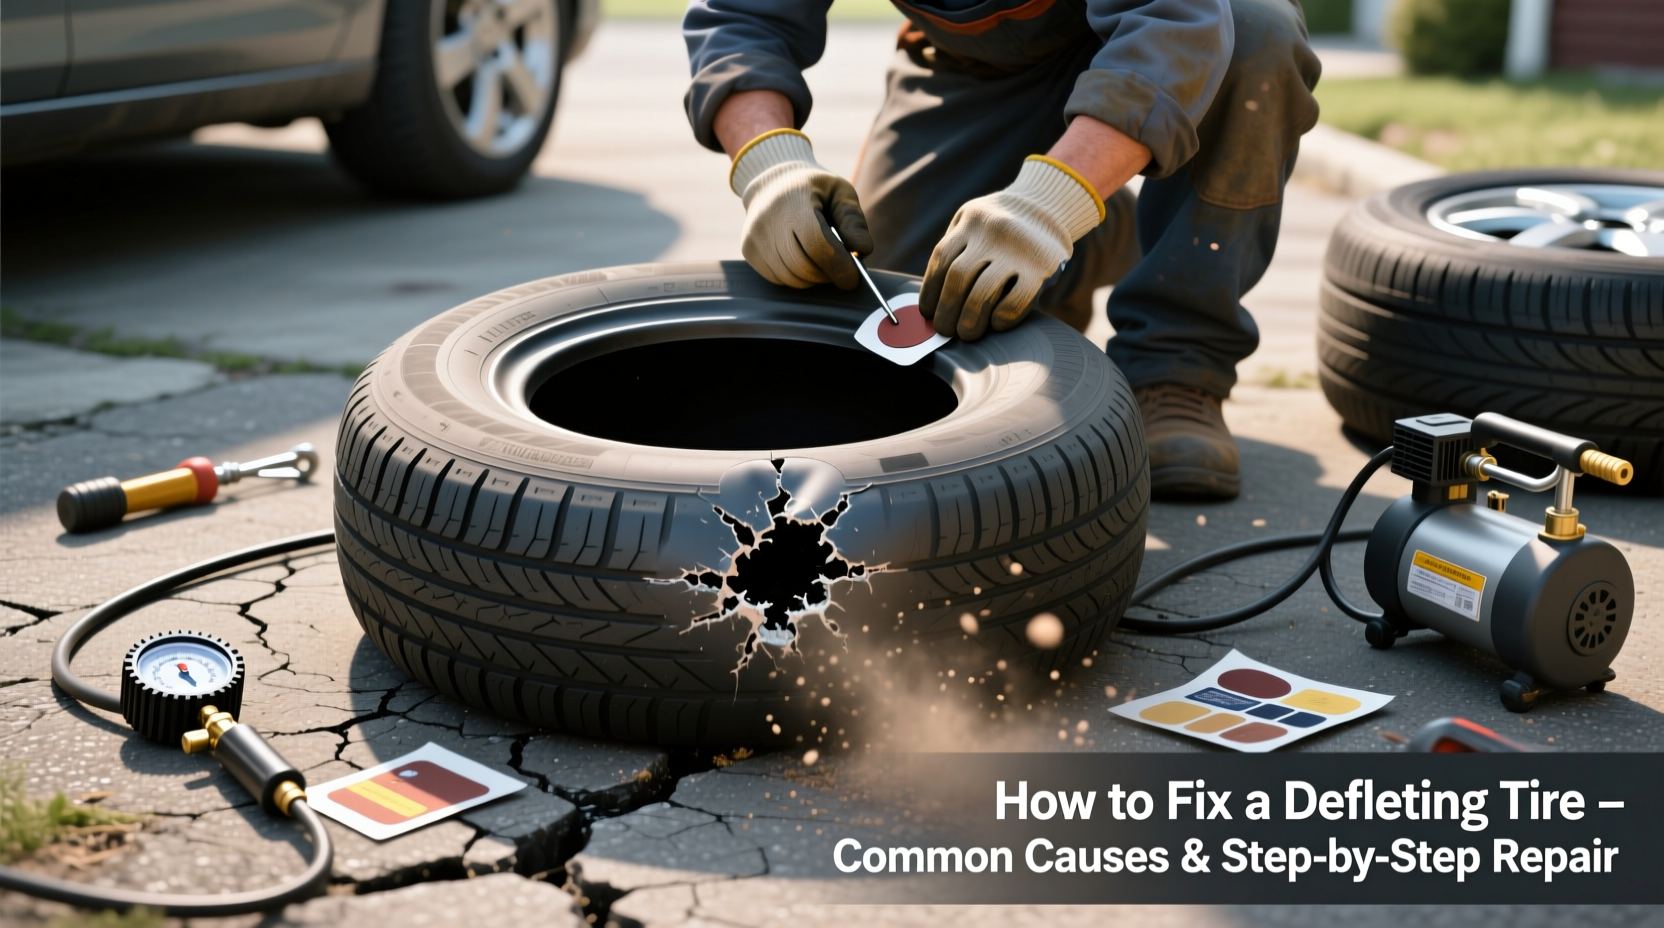
Step-by-Step Guide to Diagnose and Fix a Deflating Tire
Finding the source of air loss doesn't always require a mechanic. With basic tools, you can identify and sometimes resolve the issue yourself.
- Inspect Visually: Look for nails, glass, or visible damage in the tread and sidewall. Rotate the tire slowly while checking all angles.
- Check the Valve Stem: Apply soapy water to the valve cap and base. Bubbles indicate a leak. Replace the valve core or entire stem if needed.
- Examine the Rim: Clean the wheel with soapy water, focusing on the outer edge where the tire bead sits. Bubbles along the rim suggest a bead leak.
- Submerge Suspect Areas (if possible): Remove the wheel and dip sections in a tub of water to pinpoint bubbles. This is most effective for rim and bead leaks.
- Monitor Pressure Over Time: After inflating to recommended PSI, recheck after 24–48 hours. A drop confirms a leak even if not visibly detectable.
- Visit a Professional: If the leak isn’t found, a technician can perform a dye or pressure test to locate hidden cracks or internal separations.
Do’s and Don’ts When Dealing with Air Loss
| Do’s | Don’ts |
|---|---|
| Check tire pressure monthly using a reliable gauge. | Ignore low-pressure warning lights. |
| Clean rims before mounting new tires to ensure a proper seal. | Drive long distances on a temporarily plugged tire without professional assessment. |
| Replace valve stems when installing new tires. | Use duct tape or sealants as permanent fixes for bead leaks. |
| Have tires professionally balanced and seated after repair. | Over-tighten lug nuts, which can warp rims and cause leaks. |
Real-World Example: The Case of the Mysterious Leak
Mark, a delivery driver in Chicago, noticed his right front tire dropping 6 psi weekly. He replaced the tire twice, assuming manufacturing defects. Each time, the problem returned within days. Frustrated, he brought the vehicle to a specialty shop. The technician discovered corrosion on the aluminum rim caused by road salt exposure. The oxidized surface prevented a proper bead seal. After sanding the contact area and applying a sealing compound, the leak stopped entirely. Mark learned that environmental conditions combined with infrequent wheel cleaning led to the recurring issue.
This case highlights how non-obvious problems—like rim corrosion—can mimic internal tire failure. Regular wheel maintenance is just as important as tire care.
When to Repair vs. Replace
Not all leaks can be fixed. Safety standards dictate when a tire must be replaced rather than repaired.
- Repairable: Punctures up to ¼ inch in the tread area, provided the inner liner is intact and no prior damage exists.
- Not Repairable: Sidewall punctures, large gashes, tread separation, or tires with less than 2/32-inch tread depth.
Repairs should follow the “plug and patch” method: a rubber plug fills the hole from the outside, while an internal patch seals the inner lining. Rubber cement and proper vulcanization ensure a lasting bond. Simple plug-only fixes are temporary and risky at highway speeds.
Preventive Checklist for Long-Term Tire Health
Follow this checklist monthly to minimize the risk of unexpected air loss:
- ✅ Check all tire pressures (including spare) with a calibrated gauge.
- ✅ Inspect tread for embedded objects and sidewalls for bulges or cuts.
- ✅ Clean valve caps and ensure they’re tightly secured.
- ✅ Examine rims for cracks, dents, or signs of corrosion.
- ✅ Rotate tires every 5,000–7,000 miles to promote even wear.
- ✅ Replace TPMS valve stems every 5–7 years or during tire changes.
- ✅ Avoid potholes and curbs to prevent rim and sidewall trauma.
Frequently Asked Questions
Can a tire lose air without a visible hole?
Yes. Air can escape through micro-cracks in the valve stem, degraded bead seals, or tiny pores in corroded rims. These leaks may not be visible without diagnostic testing.
Is it safe to drive with a tire that slowly loses air?
No. Even gradual deflation increases rolling resistance, overheating risk, and reduces control. Continued driving can lead to catastrophic failure. Address the issue immediately.
Why does my tire keep going flat after I repaired it?
Possible reasons include improper repair technique, secondary damage not detected, or a separate leak in the valve or rim. Always have post-repair pressure monitored for at least 48 hours.
Final Thoughts and Action Steps
A tire losing air is a warning sign that demands attention. While some causes are simple to fix—like a faulty valve stem—others, such as rim damage or sidewall failure, require professional evaluation or replacement. Ignoring the issue compromises safety, accelerates tire wear, and increases fuel costs.
Start today: inspect your tires, check pressure, and look for signs of wear or damage. If you find a leak, use the step-by-step guide to diagnose it or consult a trusted technician. Consistent maintenance extends tire life, improves performance, and keeps you safer on every journey.


 浙公网安备
33010002000092号
浙公网安备
33010002000092号 浙B2-20120091-4
Comments
No comments yet. Why don't you start the discussion?