
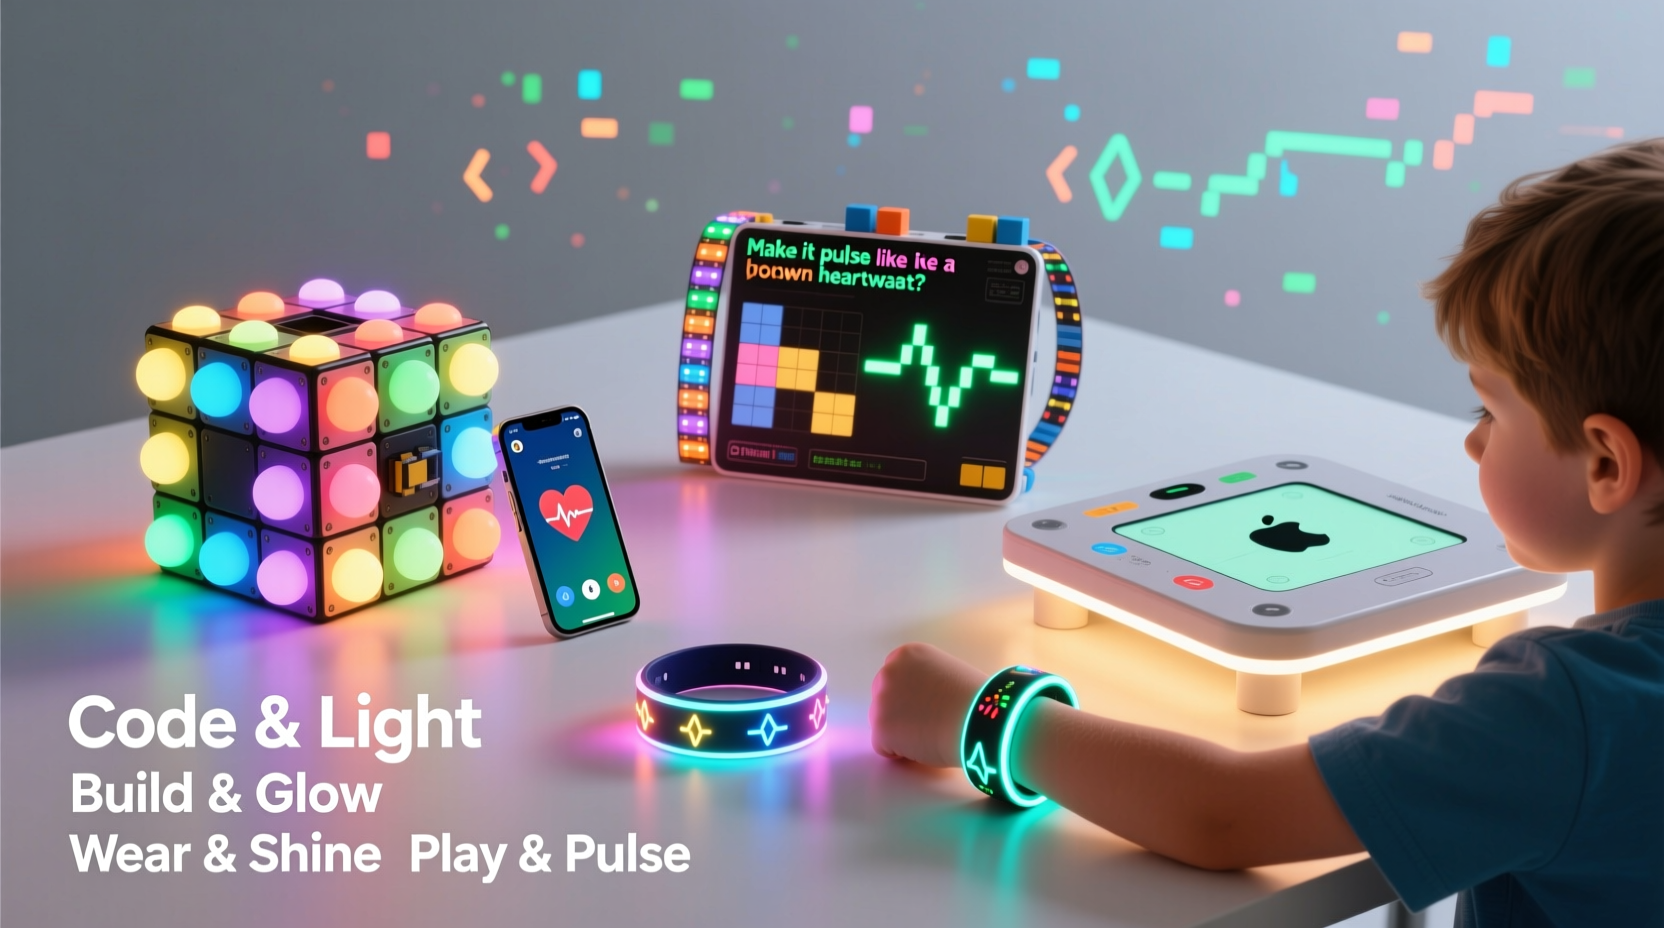
For children fascinated by glowing lights, colorful patterns, and the magic of making things come alive through code, the right tech gift can spark a lifelong passion for engineering, design, and computational thinking. Unlike passive screen time, these tools encourage hands-on creation, problem-solving, and experimentation. From programmable LED strips to modular robotics kits that respond to music or motion, today’s market offers an impressive range of options tailored specifically for young inventors.
The convergence of art and technology is particularly evident in light-based projects. Kids aren’t just learning how to write code—they’re using it as a creative medium. Whether they’re designing synchronized holiday light shows, building ambient room lighting with mood-sensing capabilities, or crafting interactive wearables, each project reinforces logic, sequencing, and persistence. The best part? Many of these tools grow with the child, offering beginner-friendly interfaces while supporting advanced programming as skills develop.
Why Light-Based Tech Projects Matter for Young Learners
Coding light displays isn’t just about visual appeal—it’s a gateway to deeper STEM (Science, Technology, Engineering, and Math) engagement. When children program LEDs, they work directly with variables, loops, conditionals, and real-time feedback. These are foundational concepts in computer science, but when applied to something as immediate and expressive as color and brightness, they become tangible and exciting.
Moreover, light projects often involve physical construction. Kids might solder components, wire circuits, assemble enclosures, or integrate sensors. This blend of digital and physical creation fosters spatial reasoning and fine motor skills. It also teaches resilience: if a pixel doesn’t light up, they must troubleshoot wiring, power supply, or code syntax—a process that mirrors real-world engineering challenges.
“Kids learn fastest when they’re emotionally invested in the outcome. A blinking rainbow pattern they designed themselves? That’s motivation.” — Dr. Lena Patel, Educational Technologist at MIT Media Lab
Parents and educators alike have observed that children engaged in maker-style projects show improved focus, increased curiosity, and greater confidence in tackling complex problems. And because many light-based systems support collaboration—such as group installations or networked displays—social learning becomes part of the experience too.
Top 7 Tech Gifts for Aspiring Light Engineers
Choosing the right gift depends on age, prior experience, and whether the child prefers plug-and-play simplicity or deep customization. Below are seven standout products that combine fun, education, and scalability.
- LEGO SPIKE Prime + Light Matrix Expansion
A natural evolution from LEGO Mindstorms, SPIKE Prime introduces text-based coding alongside drag-and-drop blocks. With optional add-ons like the Color Light Matrix, kids can create dynamic facial expressions on robots or choreograph moving light sequences. Ideal for ages 10–14. - Adafruit Circuit Playground Express
This compact board features 10 built-in NeoPixel LEDs, motion and temperature sensors, and mini speakers. Using MakeCode or Python, kids can code wearable jewelry, sound-reactive hats, or gesture-controlled light games. Comes with alligator clips for easy prototyping—perfect for beginners. - micro:bit v2 with Neopixel Ring Bundle
The BBC micro:bit remains one of the most accessible entry points into hardware programming. Paired with a 12-LED Neopixel ring, it allows for circular animations, compass indicators, or even simple clocks. Free online tutorials guide users from blinking one LED to creating full light shows. - LittleBits Smart Home Kit
Modular magnetic circuits snap together without tools. This kit includes smart bulbs, motion detectors, and cloud-connected modules so kids can build automated lighting systems controlled by apps or schedules. Great for understanding IoT (Internet of Things) principles. - Raspberry Pi Pico W with Addressable LED Strip
For older teens or advanced learners, this combo opens the door to Wi-Fi-enabled lighting. They can code web interfaces to control room lighting remotely, sync lights to music via microphone input, or set sunrise alarms. Requires basic soldering and familiarity with MicroPython. - Kano Harry Potter Coding Kit
Wave a wand and cast spells that trigger colorful light effects. Behind the magic is real block-based coding: kids modify spell behaviors, adjust glow duration, and invent new incantations. Appeals strongly to imaginative learners aged 6–11. - ServoCity Pixel Panelyzer
A grid-based panel system where each cell holds an individually addressable LED. Kids design pixel art, animate scrolling messages, or simulate video walls. Best used with Arduino IDE for full control over timing and transitions.
How to Choose Based on Skill Level and Interests
Not every child will jump straight into writing Python scripts. Matching the tool to developmental readiness ensures sustained interest rather than frustration. Consider the following framework when selecting a gift:
| Skill Level | Recommended Tools | Learning Outcomes |
|---|---|---|
| Beginner (Ages 6–9) | Kano Kit, LittleBits, basic micro:bit setups | Introduction to cause-and-effect logic, sequencing, and sensor interaction |
| Intermediate (Ages 10–13) | Circuit Playground Express, LEGO SPIKE, Neopixel rings | Understanding loops, variables, event triggers, and basic circuitry |
| Advanced (Ages 14+) | Raspberry Pi Pico, Arduino Nano, custom PCBs | Network communication, data parsing, multithreading, and independent debugging |
Also consider the child’s preferred mode of expression. Some enjoy storytelling through light (e.g., animating scenes from books), while others prefer technical challenges like maximizing brightness efficiency or minimizing latency in response times. Artistic kids may gravitate toward color theory applications, such as blending hues dynamically or mimicking natural phenomena like auroras.
Real Example: Maya’s Science Fair Breakthrough
Maya, a 12-year-old from Portland, entered her school’s science fair with a project titled “Mood Mirror: Emotion-Sensing Ambient Lighting.” Using a micro:bit, she programmed a mirror frame lined with RGB LEDs to shift colors based on user input selected via buttons—happy (yellow), calm (blue), energetic (red). She later added a light sensor so brightness adjusted automatically at night.
What started as a simple idea evolved into a week-long exploration of human-computer interaction. Her teacher noted that Maya not only mastered conditional statements but also learned empathy-driven design: “She interviewed classmates about how colors made them feel before finalizing her palette.” The project won first place and inspired two peers to start their own light-based builds.
Getting Started: A Step-by-Step Setup Guide
Even with the perfect gift, getting started can feel overwhelming. Follow this timeline to ensure a smooth launch into light programming.
- Day 1: Unbox and Explore
Lay out all components. Identify parts: main board, LEDs, wires, power source. Let the child handle pieces safely—no need to connect yet. - Day 2: Install Software
Download the recommended editor (e.g., Microsoft MakeCode, Mu Editor, Arduino IDE). Test connectivity by running a sample “Blink” program. - Day 3: First Circuit
Connect one external LED to confirm signal output. Use breadboards or clip leads if available. Observe changes when modifying delay times in code. - Day 5: Add Color Control
Introduce RGB values. Have them experiment with mixing red, green, and blue intensities to create custom shades. - Day 7: Integrate Sensors
Attach a motion or sound sensor. Code reactions: e.g., lights flash when clapping is detected. - Week 2: Build a Mini Project
Design a themed display—holiday countdown, heartbeat simulator, or music visualizer. Encourage documentation with notes or photos. - Week 3+: Expand and Share
Add wireless control, increase LED count, or collaborate on a larger installation. Present results at home or school.
Common Pitfalls and How to Avoid Them
While rewarding, light-based projects come with predictable hurdles. Awareness helps both parents and kids navigate them confidently.
- Power issues: Long LED strips demand more current than USB ports provide. Always check voltage requirements and use external power supplies when needed.
- Frustration with syntax errors: A missing semicolon or mismatched bracket can halt progress. Recommend using editors with syntax highlighting and error detection.
- Overcomplication: Starting with too many LEDs or sensors leads to confusion. Begin small—even one light can demonstrate core concepts effectively.
- Lack of documentation: Without labeling wires or saving code versions, revisiting a project weeks later becomes difficult. Encourage simple labeling and folder organization.
“One of the biggest mistakes we see is skipping fundamentals. You don’t need 500 LEDs to make something beautiful. Start with three.” — Carlos Mendez, Founder of YouthHacks Workshop
Checklist: Preparing for a Successful Build
Before beginning any project, verify you have the essentials:
- ✔️ Main controller board (e.g., micro:bit, Circuit Playground)
- ✔️ LEDs or LED strip (addressable type recommended)
- ✔️ Power source (battery pack or wall adapter with correct voltage)
- ✔️ Connection method (alligator clips, jumper wires, breadboard)
- ✔️ Computer with internet access for coding
- ✔️ Basic tools (wire cutters, tape, glue dots)
- ✔️ Printed quick-reference guide for pinouts and commands
- ✔️ Notebook or digital doc for logging ideas and bugs
Frequently Asked Questions
Can my 8-year-old really code a light display?
Absolutely. With visual programming platforms like MakeCode or Scratch-based interfaces, children as young as 7 can create functional, engaging light programs. The key is starting with guided templates and celebrating incremental success—like making a single LED change color—before advancing to complex sequences.
Are these kits safe for kids?
Yes, when used as directed. Most beginner kits operate at low voltages (3–5V) and include short-circuit protection. Avoid exposing circuits to water, and supervise soldering activities. For younger children, opt for no-solder systems like LittleBits or clip-based connectors.
Will this help with school or future careers?
Directly and indirectly. These projects strengthen critical thinking, attention to detail, and perseverance—all transferable skills. More concretely, exposure to coding and electronics lays groundwork for fields like robotics, game development, electrical engineering, and industrial design. Some high schools even accept maker portfolios for credit.
Conclusion: Ignite Curiosity, One Pixel at a Time
The joy of seeing a line of code transform into a shimmering arc of light is unmatched. For kids drawn to creativity and technology, building and coding their own light displays offers more than entertainment—it builds identity, competence, and vision. Each flicker, fade, and flash represents a decision, a calculation, a moment of discovery.
These gifts do more than occupy afternoons; they open pathways. A child who codes a birthday message in twinkling letters today might design energy-efficient urban lighting tomorrow. The tools are accessible, the learning is profound, and the impact lasts far beyond the initial wow factor.


 浙公网安备
33010002000092号
浙公网安备
33010002000092号 浙B2-20120091-4
Comments
No comments yet. Why don't you start the discussion?