
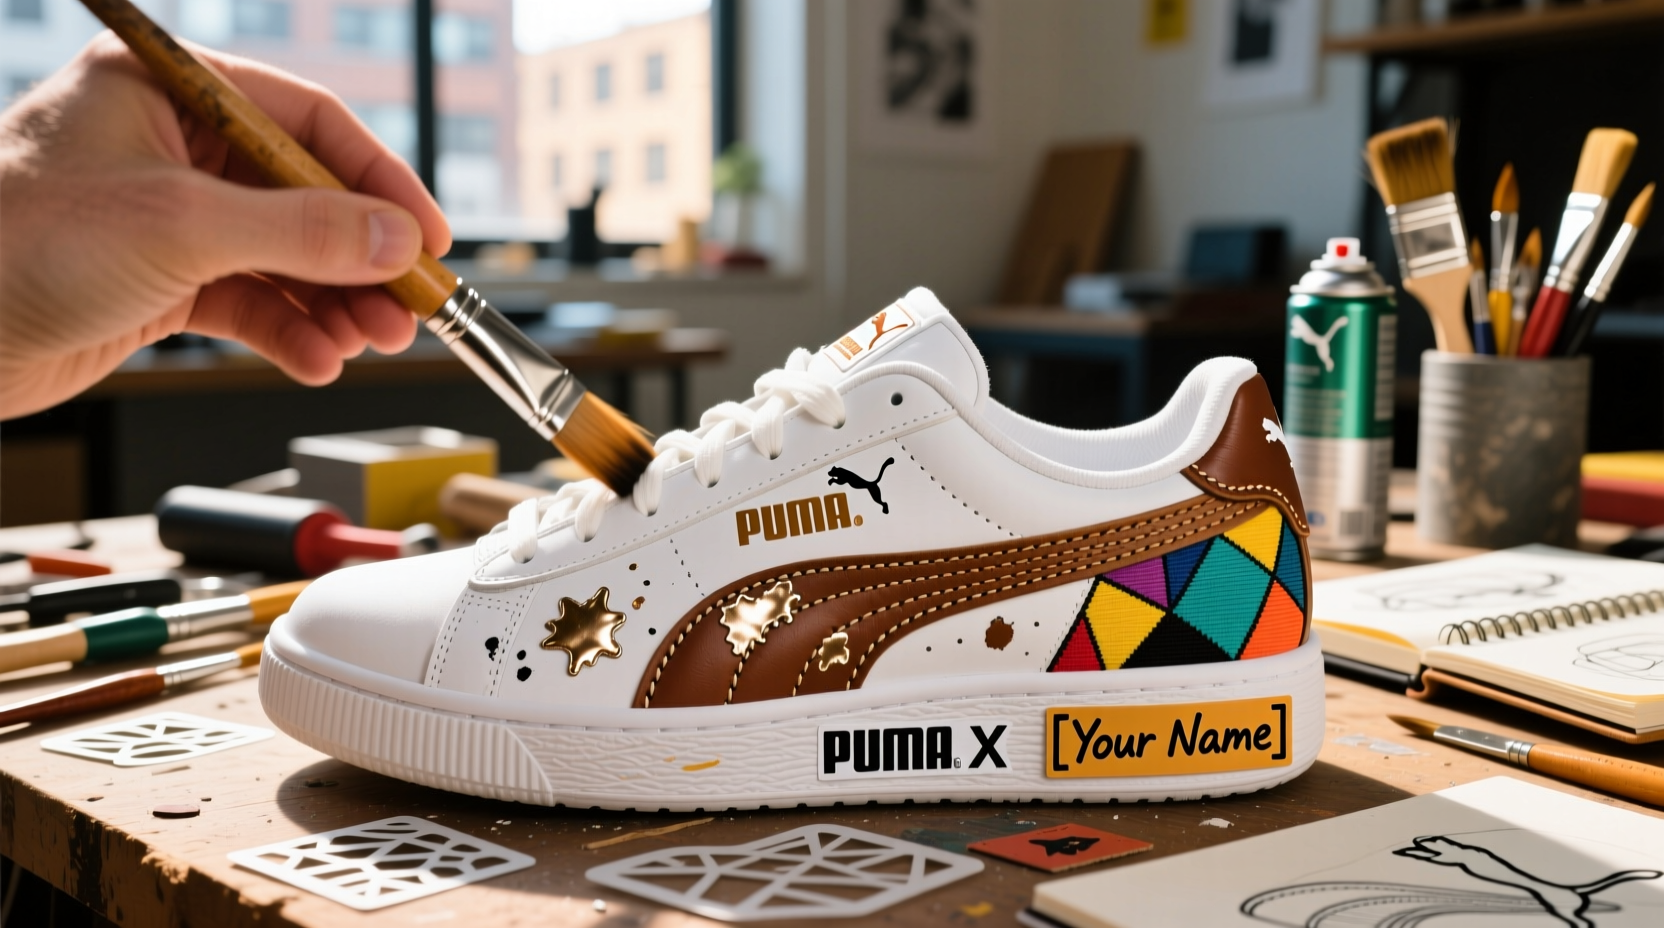
Puma shoes are known for their sleek design, comfort, and athletic heritage. But what if you could transform them into a true extension of your personality? Customization turns a standard pair of sneakers into wearable art—unique, expressive, and deeply personal. Whether you're an artist, a fashion enthusiast, or simply someone who wants to stand out, personalizing your Puma shoes offers endless creative potential. This guide walks you through proven methods, essential tools, and insider tips to customize your footwear with confidence and style.
Why Customize Your Puma Shoes?
Mass-produced sneakers rarely reflect individuality. Customization bridges that gap. By altering color, texture, and detail, you create something no one else owns. Beyond aesthetics, the act of personalization fosters a deeper connection to your footwear. It’s not just about looking good—it’s about ownership, creativity, and self-expression.
Puma’s minimalist silhouettes—like the Suede Classic, RS-X, or Mayze—lend themselves exceptionally well to modification. Their clean lines and accessible materials make them ideal canvases for paint, embroidery, or material swaps.
Essential Tools and Materials
Successful customization begins with preparation. Using the right supplies ensures durability and professional-looking results. Below is a checklist of essentials based on technique.
Basic Kit for All Projects
- Soft-bristle brushes (various sizes)
- Mild sneaker cleaner and microfiber cloth
- Painter’s tape (for clean lines)
- Acetone-free alcohol wipes (to prep surfaces)
- Masking paper or newspaper (protects work area)
- Gloves (to avoid smudging)
Material-Specific Supplies
| Technique | Key Materials | Recommended Brands |
|---|---|---|
| Painting | Fabric paint, sealant, fine-tipped brush | FabriColor, Angelus, Liquitex |
| Embroidery | Needle, embroidery floss, thimble | DIMENSIONS, Madeira |
| Heat Transfer | Vinyl sheets, heat press or iron | Cricut, Siser |
| Distressing | Sandpaper, wire brush, bleach spray | 3M, Clorox |
| Patches & Appliqués | Felt, denim scraps, fabric glue or sewing thread | Oaktag, Aleene’s Fabric Fusion |
“Customization isn’t just decoration—it’s storytelling. Every stitch or stroke should reflect intent.” — Jamal Rivers, Footwear Designer & Educator
Step-by-Step Guide to Painting Your Pumas
Painting is the most popular method for customizing sneakers. When done correctly, it can yield gallery-worthy results that last.
- Remove laces and insoles. Clean both thoroughly. Use a damp cloth and sneaker-specific cleaner. Let dry completely.
- Disinfect the surface. Wipe down leather, canvas, or synthetic panels with acetone-free alcohol wipes to remove oils and residue.
- Tape off areas you don’t want painted. Use painter’s tape to protect soles, logos, or adjacent sections.
- Apply base coat (if needed). For dark-to-light transformations, use a white fabric primer to ensure color vibrancy.
- Paint in thin layers. Use small strokes and allow each layer to dry before adding the next. Avoid heavy application to prevent cracking.
- Add details with fine brushes. Use contrasting colors for outlines, patterns, or signatures.
- Seal the design. After 24 hours of drying, apply 2–3 layers of flexible fabric sealant. Allow full curing between coats.
- Reassemble and condition. Reinsert insoles and laces. If using leather, apply a conditioner to maintain suppleness.
Creative Techniques Beyond Paint
While painting dominates the customization world, alternative methods offer fresh textures and visual interest.
Embroidery for Texture and Depth
Adding hand-stitched designs to canvas or suede panels introduces tactile dimension. Choose bold motifs like stars, initials, or abstract shapes. Use a needle with a large eye and tightly twisted floss for durability. Secure knots internally to prevent wear.
Vinyl Heat Transfers
Digital cutters like Cricut allow precise vinyl application. Ideal for typography, geometric shapes, or gradients. Cut your design, weed excess, and apply with a household iron (use parchment paper). Press firmly for 30 seconds per section.
Material Swaps
Replace original laces with glow-in-the-dark, braided paracord, or velvet ribbons. Swap out tongue padding or heel tabs with contrasting fabrics. Ensure new materials are securely fastened with strong adhesive or stitching.
Distressed Aesthetic
For a vintage or streetwear edge, lightly sand toe boxes, heels, and sides. Focus on high-wear zones. Use fine-grit sandpaper in circular motions. Bleach diluted 1:3 with water can create subtle fade effects on canvas.
Patchwork Personalization
Sew or glue fabric patches featuring band logos, flags, or embroidered badges. Layer different textures—denim over nylon, felt over leather—for visual contrast. Use fabric glue for temporary flair or machine stitching for permanence.
Mini Case Study: From Bland to Brand
Maya, a graphic design student in Portland, wanted to represent her Mexican heritage at a portfolio showcase. She selected a pair of white Puma Suedes and spent a weekend creating a tribute to Oaxacan folk art. Using red, green, and gold Angelus paints, she hand-painted intricate alebrije patterns—mythical creatures with swirling lines—along the sides and heel. She sealed the design with a matte finish to preserve authenticity. The customized shoes became conversation starters at her event and later went viral on Instagram, earning features from indie sneaker blogs. Maya’s project proved that thoughtful customization can elevate personal branding.
Do’s and Don’ts of Sneaker Customization
| Do’s | Don’ts |
|---|---|
| Work in a dust-free, well-lit space | Use regular acrylic paint (it cracks and peels) |
| Let each layer dry fully before continuing | Soak the shoe in water during cleaning |
| Seal painted surfaces with a flexible finish | Apply thick globs of paint |
| Sketch designs lightly with pencil first | Customize without planning the final look |
| Store finished shoes in breathable containers | Wear heavily customized shoes in rain or mud |
Frequently Asked Questions
Can I wash my customized Puma shoes?
Hand-wash only. Never machine wash, as agitation can damage paint, embroidery, or glued elements. Use a soft brush, mild soap, and cold water. Avoid submerging painted areas. Air dry away from direct heat.
How long will a painted design last?
With proper sealing and care, a painted design can last 6 months to 2 years, depending on wear frequency. Avoid excessive friction and store flat when not in use.
Is customization reversible?
Most techniques are permanent. Paint and embroidery cannot be undone without damaging the shoe. Vinyl and patch applications may be removable, though residue or fabric wear might remain.
Final Thoughts: Make Your Mark
Personalizing your Puma shoes isn’t just a craft—it’s a declaration of identity. Each technique, from meticulous brushwork to bold fabric swaps, allows you to imprint your vision onto a functional object. The process teaches patience, precision, and creative risk-taking. More than the end result, the journey of creation adds value far beyond aesthetics.
Start small. Try a single accent stripe or monogram. As your confidence grows, so can your ambition. Whether you’re designing for yourself or gifting a one-of-a-kind pair, remember: true style isn’t bought—it’s built.


 浙公网安备
33010002000092号
浙公网安备
33010002000092号 浙B2-20120091-4
Comments
No comments yet. Why don't you start the discussion?