
Cycling performance begins with proper tire pressure. Underinflated tires increase rolling resistance, reduce traction, and raise the risk of pinch flats. Overinflated tires sacrifice comfort and grip, especially on rough terrain. The Blackburn Mountain Air pump is engineered to deliver reliable, high-volume airflow for mountain bike tires, but its full potential is only realized when used correctly. This guide breaks down the optimal process for setup, inflation, and maintenance—ensuring you get the most from every stroke.
Understanding the Blackburn Mountain Air Pump Design
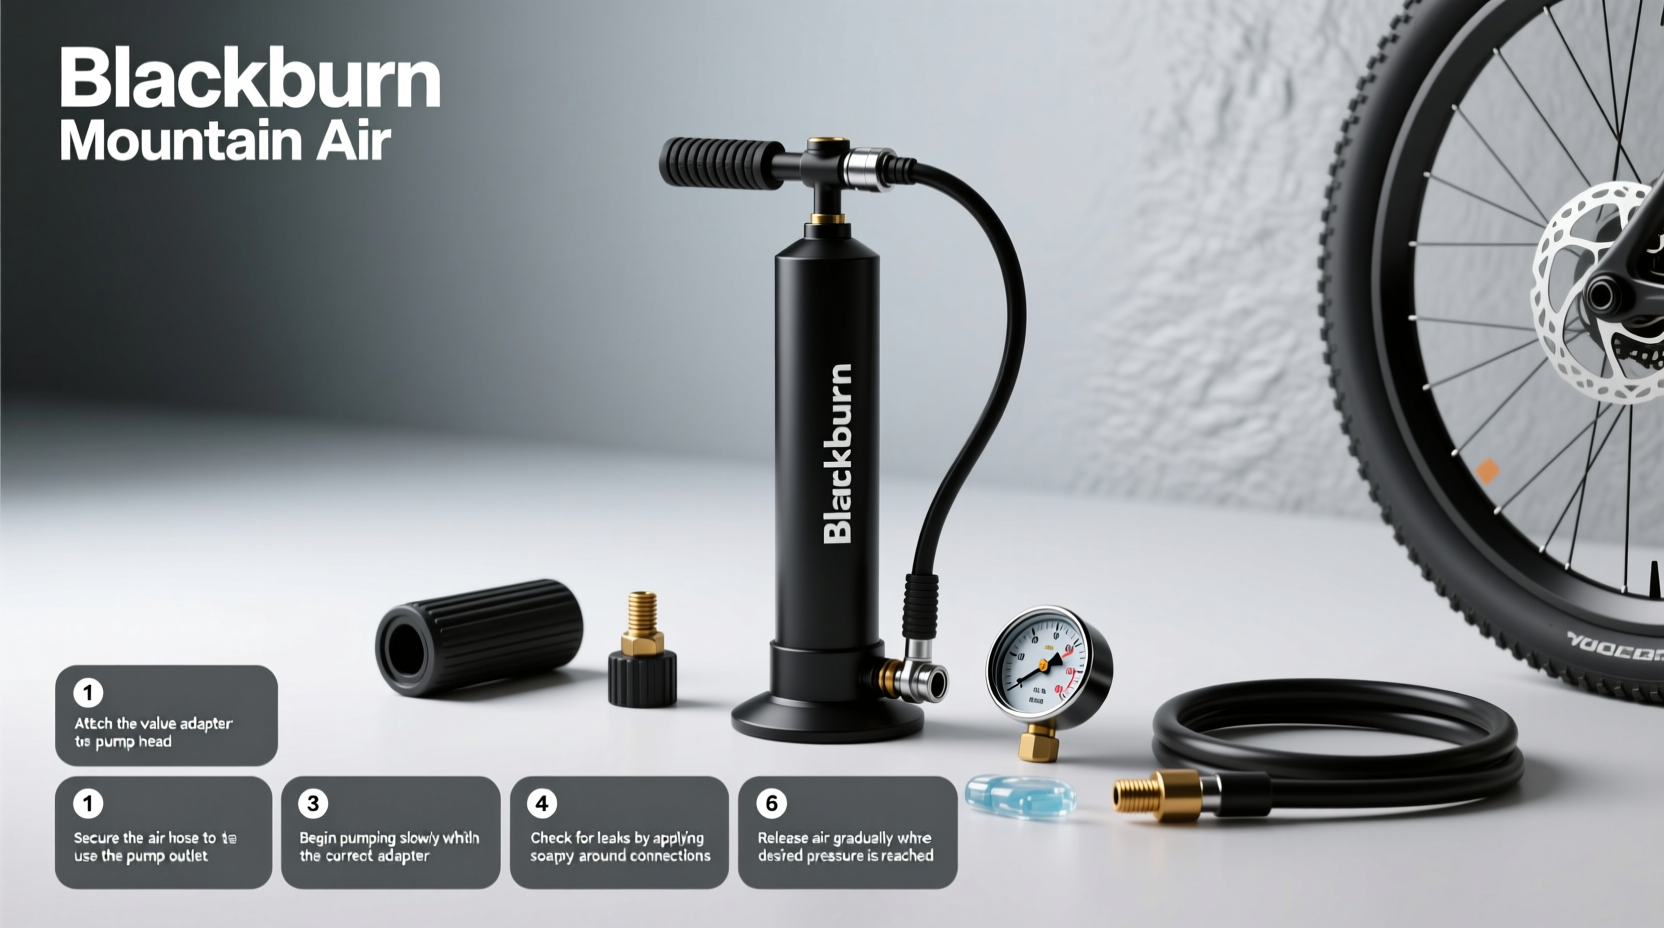
The Blackburn Mountain Air is a floor pump designed specifically for off-road cyclists. It features a large-diameter barrel that moves more air per stroke, reducing effort during inflation. Its dual-valve head accommodates both Schrader (auto-style) and Presta (bicycle-specific) valves without requiring adapters. A built-in pressure gauge allows real-time monitoring, while the wide base and long hose provide stability and ease of use.
Key components include:
- Pump shaft: High-stroke design for rapid inflation.
- Valve head: Flip-lever mechanism to switch between Presta and Schrader.
- Gauge: Analog dial mounted at the top for easy reading.
- Hose: Reinforced rubber with swivel connectors to prevent kinking.
- Base: Wide footprint enhances balance during pumping.
“Floor pumps like the Mountain Air are precision tools. When used properly, they can extend tire life and improve ride quality significantly.” — Jordan Pierce, Bike Mechanic & Technical Trainer, ProCycle Workshop
Step-by-Step: Inflating Your Tires Correctly
Using the Blackburn Mountain Air effectively requires attention to sequence and technique. Follow these steps to ensure accurate, safe inflation every time.
- Prepare your bike. Place it on level ground, ideally in a repair stand or leaned securely against a wall. Ensure the wheel spins freely.
- Check current pressure. Use a calibrated handheld gauge or read the existing level on the pump’s gauge before attaching.
- Remove valve cap. Unscrew and set aside the dust cap from the inner tube valve.
- Open Presta valve (if applicable). For Presta valves, unscrew the small lock nut at the tip one full turn to open the valve. Do not remove it.
- Attach the pump head. Press the pump nozzle firmly onto the valve. Flip the lever to lock it in place. You should feel resistance indicating a secure seal.
- Inflate steadily. Use full, controlled strokes. Avoid short, jerky motions—they reduce efficiency and strain the pump seals.
- Monitor the gauge. Watch the needle rise with each stroke. Stop just before reaching your target PSI.
- Release and recheck. Flip the lever back, detach the pump, and quickly verify pressure with a secondary gauge if possible.
- Top off if needed. Reattach and add air in small increments to avoid overinflation.
- Secure the valve. For Presta, screw the lock nut closed. Replace the dust cap on all valves.
Common Mistakes and How to Avoid Them
Even experienced riders make errors that compromise inflation accuracy or damage equipment. Below is a comparison of best practices versus frequent missteps.
| Do’s | Don’ts |
|---|---|
| Always open the Presta valve before attaching the pump | Forcing the pump head onto a closed Presta valve |
| Use smooth, full-length strokes for maximum airflow | Pumping in short bursts that waste energy |
| Flip the lever only after the head is fully seated | Flipping the lever prematurely, causing poor seal |
| Double-check pressure with a calibrated gauge monthly | Relying solely on the pump’s gauge without verification |
| Store the pump upright with the hose loosely coiled | Leaving the hose kinked or under tension |
A poorly sealed connection often results in air hissing instead of entering the tire. If this occurs, release the lever, reseat the head, and try again. Never hammer or twist the pump head into place—that can damage the valve core.
Maintenance Checklist for Long-Term Reliability
The Mountain Air pump is durable, but regular care prevents leaks, sticking, and inaccurate readings. Perform these checks monthly or after heavy use.
- Inspect the hose for cracks or bulges near connectors.
- Wipe the gauge face clean; ensure the needle returns to zero when idle.
- Lubricate the pump shaft with silicone-based oil every 3–6 months.
- Test valve compatibility by dry-fitting both Presta and Schrader valves.
- Ensure the flip-lever moves smoothly without binding.
- Check base bolts for tightness to prevent wobbling.
Real-World Example: Trail Day Preparation
Mark, an avid trail rider in Colorado, once suffered two consecutive pinch flats during a downhill section. After consulting his local mechanic, he discovered his tires were consistently underinflated—running at 28 PSI instead of the recommended 32 for his weight and terrain. He began using his Blackburn Mountain Air with deliberate technique: checking baseline pressure, inflating in steady strokes, and verifying with a digital gauge. Within weeks, his flat rate dropped to zero, and he noticed improved cornering control and reduced fatigue. “I didn’t realize how much difference five pounds of pressure made,” he said. “Now I treat my pump routine like part of my warm-up.”
Frequently Asked Questions
Can I use the Blackburn Mountain Air for road bikes?
Yes, but with caution. While it handles Presta valves well, the large barrel is optimized for volume over high pressure. Road tires often require 90–120 PSI, which demands more effort with this model. Consider a high-pressure specific pump for regular road use, though the Mountain Air works in a pinch.
Why does my gauge lose accuracy over time?
Analog gauges can drift due to mechanical stress, temperature changes, or internal spring fatigue. To preserve accuracy, avoid dropping the pump, store it at room temperature, and calibrate it annually by comparing readings with a trusted digital gauge.
How do I know if the pump head is worn out?
If air escapes around the valve despite correct attachment, or if the flip-lever feels loose, inspect the internal rubber gasket. Cracks or flattening indicate wear. Replacement heads are available directly from Blackburn customer service.
Maximize Performance Through Precision
The Blackburn Mountain Air pump is more than a tool—it’s a gateway to better rides. Proper inflation improves traction, reduces wear, and enhances efficiency across all types of terrain. By mastering its use, you gain confidence that your bike is always ready for adventure. Take a few extra minutes before each ride to check pressures, maintain your pump, and refine your technique. These small habits compound into longer-lasting tires, fewer mechanical issues, and a smoother experience on every trail.


 浙公网安备
33010002000092号
浙公网安备
33010002000092号 浙B2-20120091-4
Comments
No comments yet. Why don't you start the discussion?