
As holiday seasons approach, millions of homes come alive with the warm glow of LED Christmas string lights. Their energy efficiency, long lifespan, and vibrant colors make them a favorite for indoor and outdoor displays. Yet, nothing disrupts the festive mood faster than erratic flickering—lights that pulse, blink unpredictably, or dim inconsistently. While some flicker may seem minor, persistent or worsening behavior often signals underlying issues that, if ignored, can shorten the life of your display or even pose safety risks.
Flickering isn’t always a sign of failure. In many cases, it’s a symptom pointing to compatibility problems, power fluctuations, or simple wear and tear. Understanding the root causes allows you to diagnose the problem accurately and apply effective solutions—saving time, money, and seasonal cheer.
Understanding How LED String Lights Work
Unlike traditional incandescent bulbs that generate light through a heated filament, LEDs (light-emitting diodes) produce illumination when electrons move through a semiconductor material. This process is far more efficient and generates less heat. However, LED operation depends heavily on consistent voltage and current regulation.
Most modern LED string lights are designed with built-in resistors or constant-current drivers to regulate electricity flow. Many also use series wiring, where each bulb shares the same electrical path. If one component fails or experiences resistance, it affects the entire circuit. This design makes LEDs sensitive to voltage drops, incompatible controllers, or poor connections—common culprits behind flickering.
In addition, many decorative LED strings operate at low voltages (e.g., 12V or 24V), relying on transformers or plug-in adapters to step down household current (120V in North America). Any instability in this conversion process can result in visible flicker.
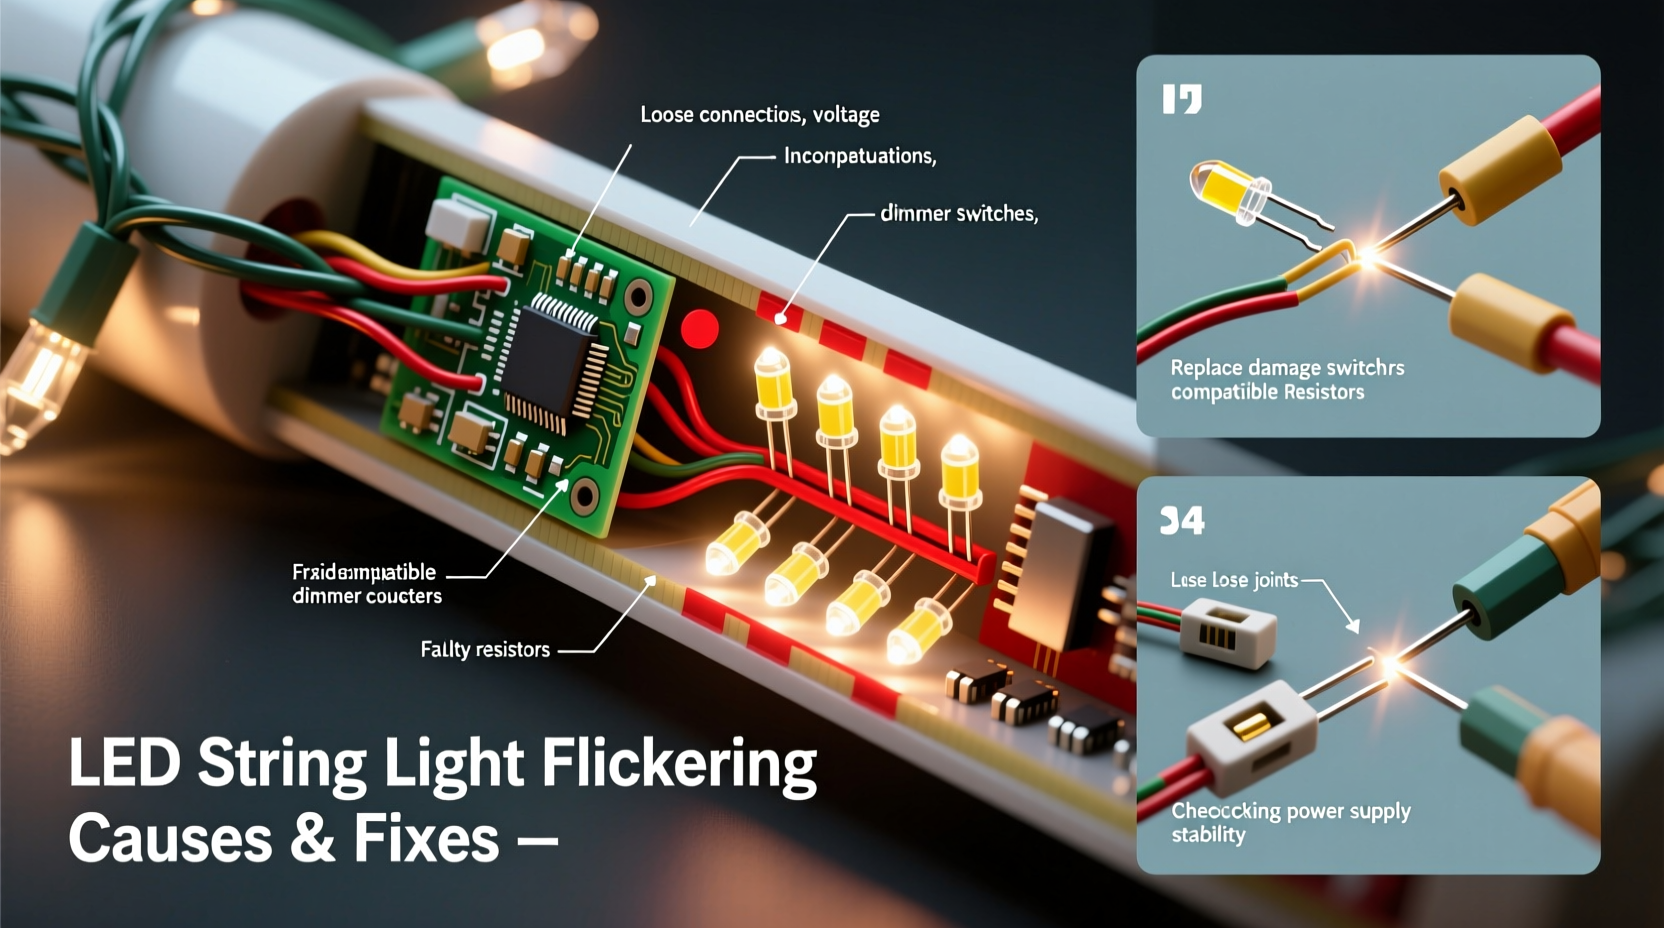
Common Causes of Flickering in LED Christmas Lights
Flickering stems from various sources, ranging from simple fixes to deeper electrical mismatches. Identifying the cause is essential before attempting repairs.
1. Loose or Poor Bulb Connections
Even slight misalignment in screw-in or plug-style LED bulbs can interrupt current flow. Over time, vibrations, wind, or improper installation can loosen bulbs within their sockets, creating intermittent contact.
2. Voltage Fluctuations or Insufficient Power Supply
LEDs require stable voltage. If the transformer or power adapter cannot deliver consistent output—due to overload, damage, or age—flickering occurs. This is especially common when daisy-chaining multiple light strands beyond the manufacturer’s recommended limit.
3. Incompatible Dimmer Switches
Many households use dimmer switches to control ambient lighting. Traditional dimmers are designed for high-wattage incandescent bulbs and use phase-cutting techniques that confuse low-power LEDs. The mismatch results in flickering, buzzing, or partial illumination.
4. Faulty or Damaged Wiring
Outdoor lights exposed to weather, animals, or physical stress may develop cracked insulation, corroded wires, or broken conductors. These defects create resistance points or short circuits, leading to inconsistent power delivery and flickering.
5. Temperature Sensitivity
Extreme cold can temporarily affect LED performance, particularly cheaper models. Low temperatures slow semiconductor response times and reduce driver efficiency, causing delayed startup or flicker until the unit warms slightly.
6. Controller or Timer Malfunctions
If your lights include programmable features like color cycling, strobing, or timers, software glitches or failing microcontrollers can trigger unintended flicker patterns—even when set to steady mode.
Step-by-Step Guide to Diagnose and Fix Flickering Lights
Follow this systematic approach to identify and resolve flickering issues safely and effectively.
- Unplug the lights – Safety first. Never handle electrical components while powered.
- Inspect the plug and power adapter – Look for scorch marks, swelling, or frayed wires. Test the outlet with another device to confirm power delivery.
- Check each bulb – Remove and reseat every LED bulb firmly. Replace any darkened, cracked, or loose units with spares (usually included).
- Examine the wiring – Run your fingers along the length of the strand, feeling for cuts, kinks, or exposed copper. Pay special attention to entry points near plugs and connectors.
- Test with a different outlet – Plug the lights into a known working outlet without a dimmer switch. Use an outlet on a separate circuit to rule out load interference.
- Disconnect additional strands – If multiple sets are linked, unplug all but one. If flickering stops, the issue is likely overloading. Reconnect one at a time to find the limit.
- Bypass dimmers or timers – Connect directly to a standard wall outlet. If flickering stops, the dimmer or timer is incompatible.
- Use a multimeter (optional) – Measure output voltage at the plug end. It should match the label (e.g., 12V DC). Significant deviation indicates a failing transformer.
- Replace faulty components – Swap damaged bulbs, connectors, or power supplies with manufacturer-approved parts.
- Consider upgrading to compatible dimmers – If dimming is desired, install an LED-rated trailing-edge dimmer designed for low-wattage loads.
Do’s and Don’ts: Best Practices for Stable LED Lighting
| Do’s | Don’ts |
|---|---|
| Use only UL-listed extension cords rated for outdoor use if needed. | Don’t daisy-chain more than three strands unless labeled safe for linking. |
| Store lights coiled loosely around a cardboard reel to prevent wire stress. | Don’t yank lights from storage boxes—this damages internal wires. |
| Test lights indoors before installing outdoors to catch issues early. | Don’t use household dimmers not rated for LED loads. |
| Clean connectors with isopropyl alcohol if corrosion is suspected. | Don’t splice or solder modifications unless experienced with low-voltage electronics. |
| Replace missing rubber end caps to keep moisture out of open ends. | Don’t leave damaged lights plugged in—fire risk increases with frayed wiring. |
Mini Case Study: A Persistent Outdoor Display Problem
Homeowner Maria Lopez installed a new set of 200-count LED icicle lights across her roofline in December. Within days, the outer half began flickering erratically during evening hours. She replaced bulbs and checked connections, but the issue returned nightly.
After consulting an electrician, she discovered two contributing factors: First, she had connected five strands together—exceeding the manufacturer’s “max 3” limit. Second, the outlet was controlled by a living room dimmer switch that extended to outdoor fixtures. Though the switch was turned fully on, residual phase-cutting still interfered with the LED drivers.
The solution? She unplugged the lights from the dimmed circuit and used a dedicated non-dimming outdoor outlet. She also disconnected two excess strands. The flickering stopped immediately and remained stable throughout the season.
“Many flicker complaints we see stem from hidden dimmer circuits or overloaded transformers. A simple circuit audit resolves most cases.” — Jason Reed, Licensed Electrician & Holiday Lighting Installer
Troubleshooting Checklist
- ✅ Unplugged lights before inspection
- ✅ Checked all bulbs for secure fit and damage
- ✅ Inspected wiring for cuts, kinks, or corrosion
- ✅ Verified power adapter output matches requirements
- ✅ Tested on a non-dimmer outlet
- ✅ Reduced number of connected strands to ≤3
- ✅ Confirmed outdoor lights have sealed end caps
- ✅ Used LED-compatible dimmer (if dimming required)
- ✅ Cleaned connector contacts with rubbing alcohol
- ✅ Replaced faulty components with matching specs
When to Replace vs. Repair
Not all flickering lights can be saved. Knowing when to walk away prevents wasted effort and potential hazards.
Repair is viable when:
- The issue is isolated to one or two bulbs.
- The power supply is functional but undersized (can be upgraded).
- Wiring damage is minimal and accessible.
- The set is relatively new or high-quality.
Replacement is recommended when:
- Multiple sections flicker independently.
- There’s visible burn damage, melting, or strong odor.
- The transformer buzzes loudly or runs hot.
- The lights are over 5 years old with no spare parts.
- Water has entered the housing (especially in non-IP65 rated sets).
Modern LED strings are often cost-effective enough that repair time outweighs replacement value—particularly for budget sets. Investing in higher-end, commercial-grade lights (look for IP65+ ratings and shatterproof lenses) pays off in longevity and reliability.
Frequently Asked Questions
Can cold weather cause LED lights to flicker?
Yes, especially in cheaper models. Cold temperatures reduce the efficiency of internal drivers and can delay full brightness. Most quality LEDs stabilize after a few minutes. If flickering persists after warming, the issue is likely electrical, not thermal.
Why do my LED lights flicker only when other appliances turn on?
This indicates voltage fluctuation on the same circuit. Large appliances like refrigerators or heaters draw surges that momentarily drop voltage. Use a dedicated circuit for lighting or install a voltage stabilizer to smooth delivery.
Is flickering LED lighting dangerous?
Occasional flicker due to loose bulbs is usually harmless. However, persistent flickering from damaged wiring, overheating transformers, or overloaded circuits can pose fire risks. Always investigate recurring issues promptly.
Expert Tips for Long-Term Reliability
Preventing flicker starts with smart purchasing and proper maintenance.
- Buy reputable brands – Look for certifications like UL, ETL, or CE. These indicate compliance with safety and performance standards.
- Match accessories carefully – Use only manufacturer-recommended extension cords, connectors, and controllers.
- Label and organize sets by type – Keep dimmable and non-dimmable strings separate to avoid mismatches next year.
- Test annually before installation – Spend 10 minutes checking each set indoors. Catch problems early.
- Upgrade older dimmers – If you use dimmable LEDs, ensure your home’s dimmer switches are LED-compatible.
Conclusion: Shine Bright Without the Flicker
Flickering LED Christmas string lights don’t have to ruin your holiday display. With a methodical approach, most issues can be diagnosed and resolved in under an hour. Whether it’s a loose bulb, incompatible dimmer, or overloaded circuit, the fix is often simpler than expected.
By understanding the technology, respecting electrical limits, and maintaining your lights properly, you can enjoy years of reliable, flicker-free illumination. Take the time now to inspect, test, and upgrade where needed—your future self will thank you when the lights go up next season.


 浙公网安备
33010002000092号
浙公网安备
33010002000092号 浙B2-20120091-4
Comments
No comments yet. Why don't you start the discussion?