
Brake rust is a common concern among drivers, especially in humid climates or after periods of inactivity. While surface rust on brake rotors may seem alarming, it’s often normal and not an immediate threat. However, understanding the difference between harmless corrosion and dangerous deterioration is essential for maintaining braking efficiency and road safety. This guide breaks down the science behind brake rust, how to prevent it, and when replacement becomes necessary.
What Causes Brake Rust?
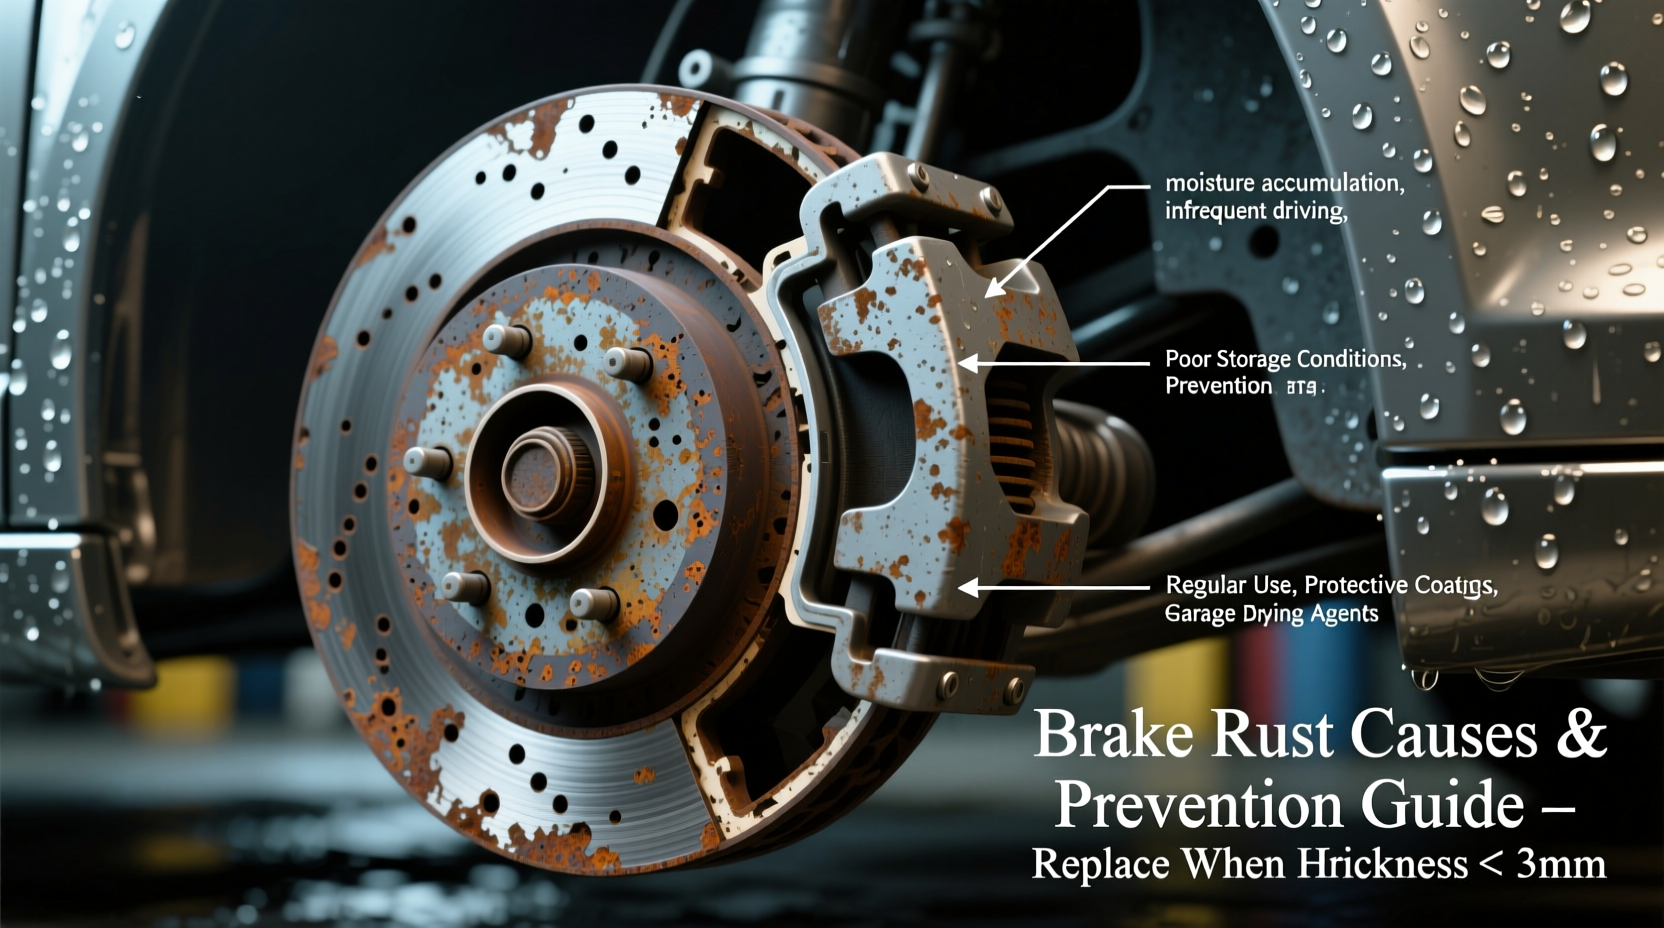
Brake systems are primarily made from iron-based metals, particularly cast iron used in rotors and steel in calipers and hardware. These materials are strong and heat-resistant but prone to oxidation when exposed to moisture. Rust forms when oxygen and water interact with the metal surface—a process accelerated by salt, humidity, and temperature fluctuations.
Daily driving typically prevents heavy rust buildup because the friction between brake pads and rotors removes thin layers of surface corrosion during braking. But several conditions increase the risk:
- Infrequent use: Vehicles parked for days or weeks allow moisture to settle and react with brake components.
- High humidity or coastal environments: Salt-laden air speeds up oxidation.
- Driving in rain or snow: Water exposure combined with road salt promotes rapid rusting.
- Poor ventilation: Moisture trapped in caliper assemblies or behind rotors doesn’t evaporate quickly.
“Surface rust on rotors after overnight rain is usually nothing to worry about—it clears within a few brake applications. The real danger lies in persistent rust that compromises structural integrity.” — Mark Delaney, ASE-Certified Master Technician
Surface Rust vs. Structural Damage
Not all brake rust is equal. It’s critical to distinguish between superficial corrosion and deep, damaging rust that affects function.
| Type of Rust | Appearance | Impact on Performance | Action Required |
|---|---|---|---|
| Surface Rust | Light orange tint or speckling on rotor face | Minimal; disappears after light braking | None—normal condition |
| Moderate Corrosion | Uneven discoloration, slight pitting | Possible vibration or noise during braking | Inspect; may need resurfacing |
| Structural Rust | Deep pits, flaking metal, rust on edges or vanes | Reduced stopping power, warped rotors, compromised strength | Replace immediately |
Structural rust can cause rotor warping, cracking, or even failure under stress. If rust penetrates beyond the friction surface into the hat or cooling vanes, the rotor’s ability to dissipate heat diminishes, increasing the risk of brake fade.
Preventing Brake Rust: Practical Strategies
While you can't eliminate rust entirely due to environmental exposure, you can significantly reduce its impact with consistent care.
1. Drive Regularly
Frequent use generates heat and friction, naturally clearing moisture and surface oxidation. Even short drives every few days help maintain dry, clean braking surfaces.
2. Park in a Dry, Covered Area
Garages or carports shield vehicles from rain, snow, and dew. Avoid damp, shaded spots where moisture lingers longer.
3. Use Rust-Resistant Components
Consider upgrading to coated or stainless steel rotors. Some manufacturers offer zinc-coated or galvanized rotors that resist corrosion better than standard cast iron.
4. Clean Brakes Periodically
During routine wheel maintenance, inspect brake components. Light cleaning with a wire brush (for stubborn spots) and compressed air can remove debris and moisture buildup. Avoid water jets directly on calipers.
5. Apply Protective Coatings (with caution)
Some aftermarket products claim to protect brake parts from rust. However, never apply lubricants or sprays directly on friction surfaces. Only use manufacturer-approved treatments on non-moving parts like caliper backs or brackets.
“Aftermarket ceramic-coated rotors have reduced comebacks for rust-related concerns by over 60% in our shop.” — Luis Mendez, Brake System Specialist, Midwest Auto Care
When to Replace Rusted Brakes: A Step-by-Step Guide
Rust doesn’t always mean replacement—but knowing when it does is crucial. Follow this timeline-based inspection process:
- Week 1 – Observe symptoms: Listen for grinding, squealing, or pulsation when braking. Check for visible rust through wheel spokes.
- Week 2 – Test drive: After sitting idle, drive slowly and apply brakes multiple times. If vibrations persist beyond 10–15 minutes, investigate further.
- Month 1 – Visual inspection: Remove wheels and examine rotors and calipers. Look for deep pits, cracks, or rust extending into internal vanes.
- Every 6 Months – Professional check: Have a technician measure rotor thickness and assess corrosion levels during oil changes or tire rotations.
- Immediate action if: You notice reduced braking response, uneven pad wear, or fluid leaks near rusty calipers.
Rotors have a minimum thickness specification stamped on them. Once rust erosion brings them below this threshold, they must be replaced—even if they appear mostly intact.
Real-World Example: Weekend Driver Dilemma
Tom owns a classic pickup he uses only on weekends. After a rainy spring month, he noticed a loud scraping noise during his first drive. Upon inspection, his front rotors had developed thick, patchy rust. He drove cautiously for a few miles, expecting the noise to fade. Instead, the vibration worsened.
A mechanic found that the rust had caused micro-pitting across the rotor surface, leading to uneven contact with the pads. Though not structurally failed, the rotors were too damaged to resurface. Tom replaced both front rotors and upgraded to coated versions. Since then, he runs the vehicle briefly each week during wet seasons, preventing recurrence.
Do’s and Don’ts of Managing Brake Rust
| Do | Don’t |
|---|---|
| Drive your car regularly to keep brakes dry | Ignore persistent brake noise or vibration |
| Inspect brakes during tire rotations | Use WD-40 or oil on brake surfaces |
| Upgrade to rust-resistant brake parts if in a wet climate | Delay replacement if rotors are cracked or severely pitted |
| Wipe excess moisture from wheels after washing | Assume all rust will “wear off” safely |
FAQ
Is rust on brake rotors normal?
Yes, light surface rust is completely normal, especially after rain or overnight parking. It typically disappears within a few brake applications and does not affect safety.
Can I drive with rusted brakes?
You can drive with surface rust, but if rust has caused deep pitting, warping, or structural damage, continued use risks brake failure. Have them inspected promptly.
How long does it take for brakes to rust?
Surface rust can form overnight in humid conditions. Structural rust takes weeks to months, depending on exposure and environment. Coastal areas see faster progression due to salt.
Final Thoughts: Protect Your Safety, Preserve Your Brakes
Brake rust is inevitable to some degree, but it doesn’t have to compromise your vehicle’s performance. By understanding the causes, recognizing warning signs, and taking preventive steps, you maintain reliable stopping power and extend component life. Don’t wait for symptoms to escalate—proactive maintenance saves money and lives.


 浙公网安备
33010002000092号
浙公网安备
33010002000092号 浙B2-20120091-4
Comments
No comments yet. Why don't you start the discussion?