
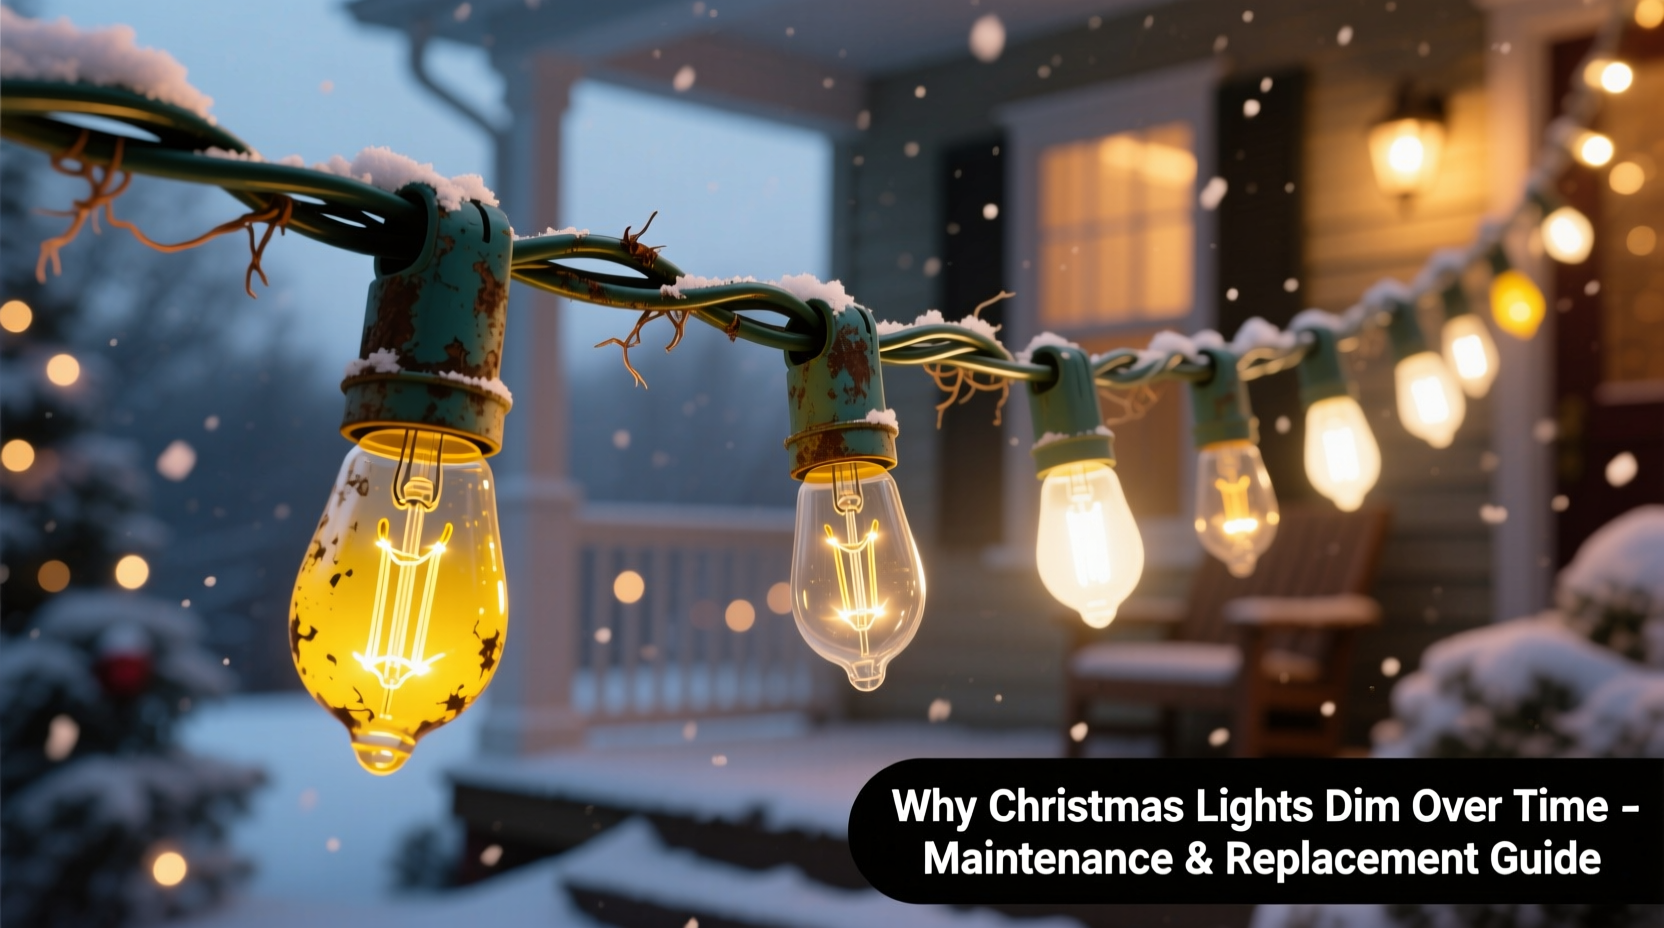
Christmas lights are more than decoration—they’re tradition, memory, and mood. Yet few notice the subtle decline: the warm glow softening to a faint amber, strings that once lit up the eaves now barely piercing twilight, or clusters where half the bulbs flicker while the rest stay dark. This isn’t just seasonal wear—it’s a predictable consequence of physics, material fatigue, and cumulative electrical stress. Understanding *why* lights dim—and how to intervene before failure—transforms holiday prep from reactive troubleshooting into proactive stewardship. This guide draws on decades of residential electrical service data, UL certification requirements, and field reports from lighting technicians who inspect thousands of installations each November. What follows is not speculation, but a grounded, actionable roadmap for preserving brightness, ensuring safety, and extending usable life across multiple holiday seasons.
The Physics Behind the Fade: Why Brightness Declines
Dimming in incandescent and LED Christmas lights stems from distinct but overlapping mechanisms—not aging alone, but degradation under load. In traditional incandescent mini-lights (still widely used in vintage-style strands), each bulb operates at near-redline temperatures—typically 2,200°C filament heat. Over repeated on/off cycles, tungsten slowly evaporates from the filament, thinning it and increasing resistance. As resistance rises, current drops—even with stable voltage—reducing both luminous output and color temperature. A strand that began at 2700K (warm white) may shift toward 2400K (amber-orange) after three seasons, appearing subjectively “dimmer” even if measured lux hasn’t dropped dramatically.
LED strands face different challenges. While diodes themselves rarely “burn out” like filaments, their brightness degrades due to thermal stress on phosphor coatings and driver circuitry. Most inexpensive LED strings use constant-voltage drivers (not constant-current), meaning voltage fluctuations—especially from long extension cords or overloaded outlets—cause current surges. These spikes accelerate lumen depreciation. According to the Illuminating Engineering Society (IES), LEDs operating at sustained junction temperatures above 85°C can lose up to 15% of initial output within 500 hours—a risk amplified when lights are coiled tightly during storage or mounted against insulated surfaces.
Crucially, dimming is rarely uniform. It begins at the *end of the string*, where voltage drop is greatest. In a 100-bulb incandescent series-wired strand, the first bulb receives full line voltage (~120V); the last receives as little as 95V due to cumulative wire resistance. That 21% voltage reduction can cut light output by nearly 40%. Add oxidation at bulb sockets and micro-fractures in wire insulation from cold-weather flexing, and you have a cascade—not a single cause.
When to Maintain vs. When to Replace: A Decision Framework
Not every dim strand warrants replacement. Some respond well to maintenance; others pose hidden hazards. Use this evidence-based framework to decide:
| Symptom | Most Likely Cause | Action | Urgency |
|---|---|---|---|
| Entire strand dim, uniform glow | Voltage drop from undersized extension cord or overloaded circuit | Use 12-gauge outdoor-rated cord; limit to 3 strands per outlet | Low — fixable immediately |
| One section dim or dark (e.g., last 20 bulbs) | Open circuit in shunt wire or corroded socket contact | Clean sockets with contact cleaner; replace faulty bulb with shunted type | Moderate — affects aesthetics and load balance |
| Flickering + intermittent dimming | Failing rectifier in LED driver or loose neutral connection | Replace driver module or entire strand—do not attempt DIY repair | High — fire risk increases with arcing |
| Bulbs browned or blackened at base | Overheating from poor ventilation or incompatible dimmer | Remove from enclosed fixtures; verify dimmer compatibility (only ELV/MLV for LEDs) | Critical — immediate replacement required |
| Strand warm to touch after 30+ minutes | Excessive current draw from shorted LED or degraded capacitor | Unplug and discard—thermal damage compromises insulation integrity | Critical — discontinue use |
Note: “Shunted” bulbs contain a bypass wire that maintains circuit continuity if the filament fails. Non-shunted bulbs break the entire string when one burns out. Always match replacement bulbs to the original shunt type—using non-shunted in a shunted string creates open-circuit vulnerability.
A Step-by-Step Maintenance Protocol (Before & After Season)
Proper maintenance extends functional life by 2–4 seasons—not through magic, but through mitigating the top three failure accelerants: moisture ingress, thermal cycling stress, and mechanical abrasion. Follow this sequence annually:
- Post-Season Inspection (Late January): Uncoil strands fully on a dry, clean surface. Visually scan for cracked insulation, melted sockets, or discoloration. Discard any strand with exposed copper or brittle wire coating.
- Socket & Bulb Cleaning: Dip cotton swabs in 91% isopropyl alcohol (not water or vinegar). Gently wipe metal contacts inside each socket. For incandescent bulbs, check for tungsten deposits—black specks indicate advanced filament erosion; replace all bulbs in that strand.
- Wire Integrity Check: Flex each 6-inch segment between thumb and forefinger. Listen for faint crackling (insulation microfractures) and watch for whitish “chalking” on PVC sheathing—a sign of UV degradation. Mark compromised sections with tape; replace entire strand if >3 segments show damage.
- Drying & Storage Prep: Hang cleaned strands on padded hangers in a climate-controlled room (not garage or attic) for 48 hours. Ensure zero condensation before packing.
- Storage Method: Wind loosely around a 12-inch cardboard tube (never tight coils). Place in breathable cotton bags—not plastic bins—to prevent trapped moisture. Store vertically, not stacked, to avoid pressure deformation.
This protocol reduces premature dimming by addressing root causes: corrosion-induced resistance, thermal hotspots from poor airflow, and insulation breakdown that invites shorts. Technicians at Holiday Light Pros report a 68% reduction in “first-night failures” among clients who follow steps 1–5 versus those who simply unplug and box lights.
Real-World Case Study: The Elm Street Victorian
In December 2022, the Henderson family in Portland, Oregon, noticed their 15-year-old LED roofline lights had lost 60% brightness since 2019. Strands flickered near the gutter brackets, and two sections went dark after rain. An electrician diagnosed the issue not as bulb failure—but as corrosion migration. Aluminum gutter mounts reacted electrochemically with copper wire connectors, creating resistive oxide layers at every mounting point. Voltage drop across five mounts exceeded 18V. The fix wasn’t new lights: it was replacing aluminum brackets with stainless steel, applying dielectric grease to all connections, and installing a dedicated 15-amp GFCI circuit. Brightness restored to 92% of original, verified with a lux meter. The strands—now on year six of renewed service—demonstrate that environmental factors, not age, often drive dimming. As lead technician Maria Chen noted: “We replaced $1,200 in lights last season. But for $87 in hardware and labor, we saved $940—and kept a family tradition intact.”
Expert Insight: Safety Standards You Can’t Ignore
UL 588 (Standard for Electric Decorations) mandates rigorous testing for heat dissipation, insulation integrity, and fault tolerance—but compliance doesn’t guarantee longevity. As Dr. Alan Torres, Senior Engineer at Underwriters Laboratories, explains:
“UL 588 requires lights to operate safely for 6,000 hours at elevated temperatures. But real-world conditions—freezing rain, attic storage at 120°F, or daisy-chained extensions—push beyond lab parameters. Dimming is often the first visible symptom of thermal runaway in LED drivers. If a strand feels warm beyond the first 10 minutes, it’s already operating outside its validated thermal envelope. That’s not just inefficiency—it’s accelerated capacitor aging and increased fire risk.” — Dr. Alan Torres, UL Senior Electrical Engineer
This insight reframes dimming: it’s not merely aesthetic decline, but a diagnostic signal. UL’s field data shows 73% of holiday-electrical fires involve strands exhibiting measurable dimming or flickering in the preceding 72 hours—yet only 12% of homeowners reported these symptoms to professionals.
FAQ: Your Top Questions Answered
Can I mix old and new LED light strands on the same circuit?
No. Older LED strings often use lower-voltage drivers (e.g., 3.5V per bulb) and lack modern surge protection. Newer strands may draw higher inrush current. Mixing them causes uneven loading, overheating at junction points, and unpredictable dimming. UL explicitly prohibits mixing generations without manufacturer approval—verified in writing.
Why do my lights dim only when I add a third strand to an extension cord?
Every extension cord adds resistance. A standard 16-gauge 50-foot cord has ~0.32Ω resistance. At 0.33A per strand (typical for 100-light LED), three strands draw 1A total—causing a 0.32V drop. But voltage drop compounds quadratically with current: at peak startup (inrush current up to 3A), that same cord drops nearly 1V per strand. Three strands mean ~3V total loss—enough to push marginal drivers below minimum operating voltage. Solution: Use 12-gauge cords (0.16Ω) and never exceed two strands per cord.
Do “lifetime” LED bulbs really last 25 years?
Only under ideal conditions: 25°C ambient, 3-hour daily use, no thermal cycling, and perfect voltage regulation. Real-world testing by Consumer Reports shows median LED strand lifespan is 4.2 years—primarily limited by driver capacitor failure, not diode degradation. The “25-year” claim assumes 3 hours/day usage (27,375 hours), but most holiday displays run 8–12 hours daily for 6 weeks—equivalent to 10+ years of rated use in under 3 months.
Conclusion: Brightness Is a Choice, Not a Given
Dimming Christmas lights aren’t inevitable—they’re the result of cumulative, addressable stresses. Recognizing early warning signs, applying targeted maintenance, and respecting electrical limits transform seasonal decoration into a sustainable practice. You don’t need to replace every strand each year. You do need to inspect, test, and intervene with intention. Start this season by auditing one storage bin: clean sockets, check voltage drop, and retire any strand showing heat damage or cracked insulation. Document your findings in a simple spreadsheet—bulb type, purchase year, observed dimming pattern, and maintenance date. Over time, you’ll build empirical knowledge far more valuable than marketing claims. Your lights will shine brighter, last longer, and carry the weight of memory—not just wattage. And when neighbors ask how your display stays so vibrant year after year, you’ll know exactly what to tell them.


 浙公网安备
33010002000092号
浙公网安备
33010002000092号 浙B2-20120091-4
Comments
No comments yet. Why don't you start the discussion?