
There’s nothing quite like the warm glow of Christmas lights to set the holiday mood. But when those cheerful strands start blinking unpredictably—especially when they’re not supposed to—it can quickly turn festive cheer into frustration. Whether you're dealing with vintage incandescent strings or modern LED sets, blinking lights are more than just an annoyance; they can signal underlying electrical issues, wear and tear, or simple user error. The good news is that most causes are fixable without needing to replace the entire strand. Understanding why your Christmas lights keep blinking empowers you to troubleshoot efficiently and restore reliable, steady illumination.
Understanding How Christmas Lights Work
Before diagnosing the problem, it helps to understand the basic design of most Christmas light strings. Traditional incandescent lights are wired in series, meaning electricity flows from one bulb to the next in a continuous loop. If one bulb fails or becomes loose, it breaks the circuit and can cause the whole strand—or sections of it—to go dark or flicker. Many newer LED light sets use a combination of series and parallel wiring, which improves reliability but still isn’t immune to blinking issues.
Blinking can be intentional or unintentional. Some light sets include a special “flasher” bulb—a red-tipped or slightly larger bulb designed to make the entire strand blink rhythmically. This is normal behavior. Problems arise when blinking occurs erratically, intermittently, or across multiple strands that shouldn’t be flashing at all.
“Most blinking issues stem from poor connections or mismatched components. A systematic approach usually reveals the culprit.” — Daniel Reeves, Electrical Technician & Holiday Lighting Specialist
Common Causes of Unwanted Blinking
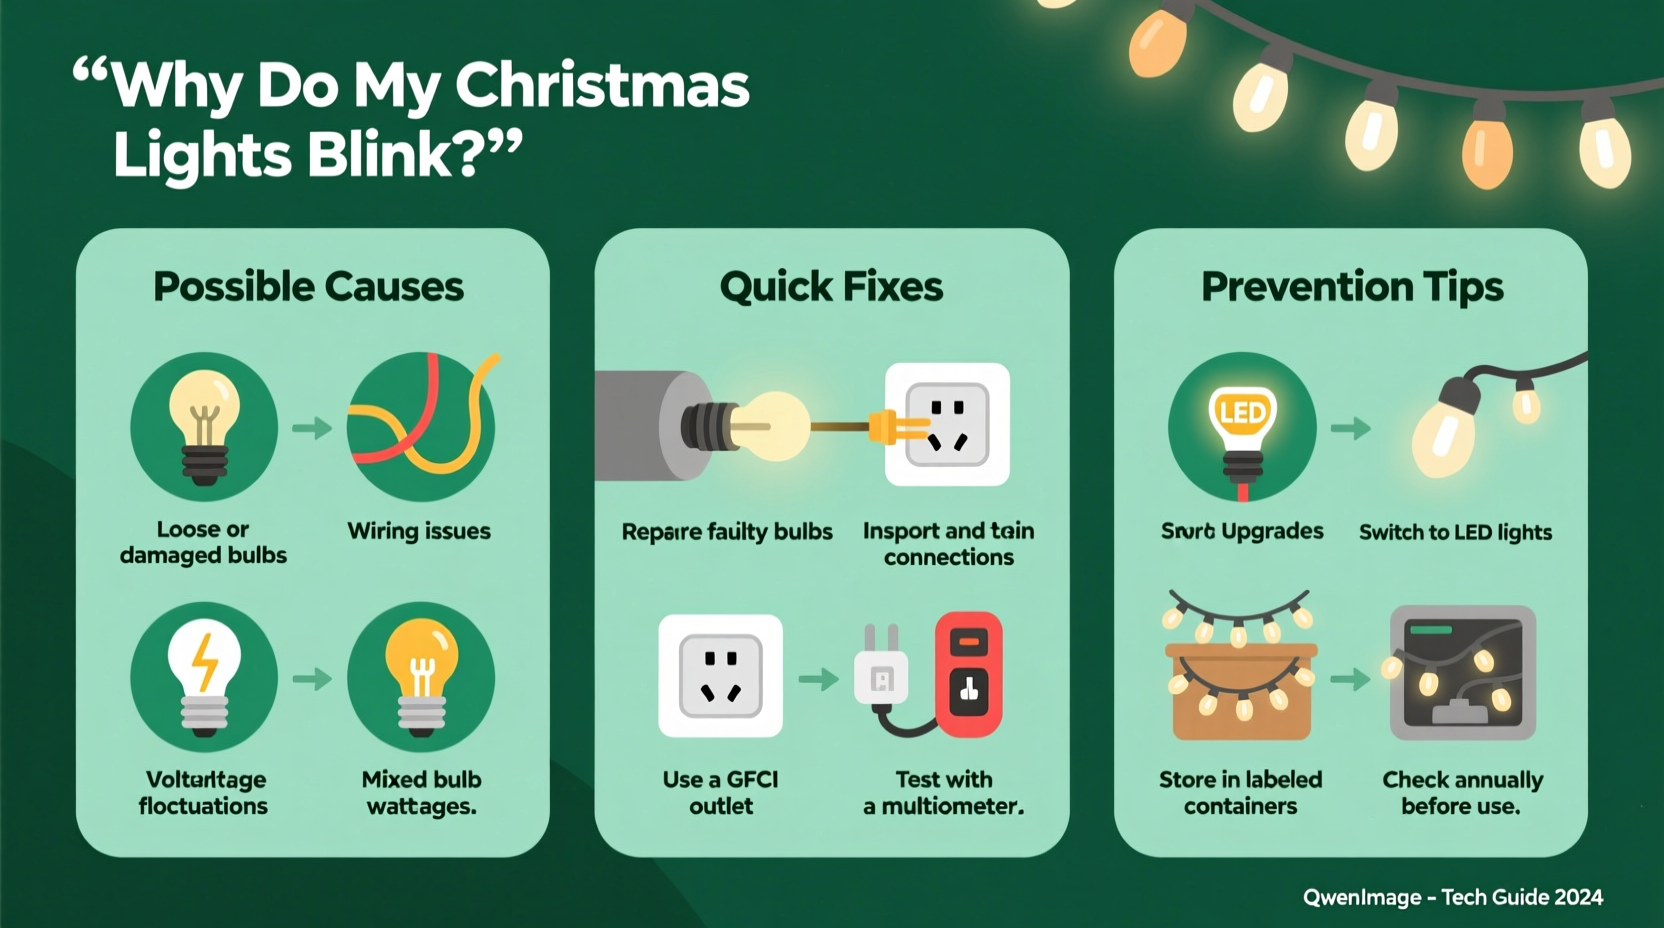
Unwanted blinking rarely happens without a reason. Below are the most frequent culprits behind erratic light behavior:
- Loose or improperly seated bulbs: Even a slightly wobbly bulb can interrupt current flow, causing intermittent blinking.
- Faulty or missing flasher bulb: If a flasher bulb is inserted by mistake—or removed from a set that needs it—the strand may behave unpredictably.
- Damaged wires or insulation: Frayed, pinched, or chewed wires (often by pets or storage damage) create short circuits or resistance fluctuations.
- Overloaded circuits: Plugging too many strands into a single outlet or power strip can cause voltage drops, leading to flickering.
- Moisture exposure: Outdoor lights exposed to rain, snow, or condensation may develop internal shorts.
- Aging or degraded sockets: Over time, plastic sockets become brittle and lose conductivity, especially in older incandescent sets.
- Incompatible light types: Mixing different brands, voltages, or technologies (e.g., LED with incandescent) on the same run can destabilize current flow.
Step-by-Step Troubleshooting Guide
Follow this methodical process to identify and resolve blinking issues in your Christmas lights:
- Unplug the strand immediately. Safety first—never work on live electrical devices.
- Inspect for visible damage. Run your fingers along the wire length looking for cuts, kinks, or melted insulation. Check each socket for cracks or discoloration.
- Check every bulb. Remove and reseat each bulb firmly. Look for darkened filaments (in incandescents) or cloudy lenses (in LEDs), which indicate failure.
- Locate the flasher bulb (if applicable). If your strand is meant to blink, ensure the flasher bulb is present and properly installed. If it’s not supposed to blink, remove any flasher bulbs.
- Test individual bulbs with a tester. Use a dedicated Christmas light tester or multimeter to check continuity. Replace any faulty bulbs.
- Verify compatibility. Ensure all connected strands are rated for the same voltage and are designed to be linked. Avoid mixing LED and incandescent sets.
- Reduce load on the circuit. Unplug other decorations or appliances sharing the same outlet. Try powering the lights from a different circuit.
- Test outdoors vs. indoors. If using outside, bring the strand inside temporarily. If blinking stops, moisture or temperature may be contributing.
- Use a surge protector or regulated power strip. Fluctuating voltage from low-quality extension cords or outlets can cause instability.
- Replace if necessary. If troubleshooting fails and the strand is old or heavily damaged, replacement is safer and more efficient.
Do’s and Don’ts When Fixing Blinking Lights
| Do’s | Don’ts |
|---|---|
| Use bulbs of the correct voltage and wattage as specified on the strand. | Never mix different bulb types (e.g., 2.5V with 3.5V) even if they fit. |
| Store lights on reels or cardboard spools to prevent tangling and wire stress. | Don’t yank tangled strands apart—this damages wires and sockets. |
| Label blinking and non-blinking sets separately after testing. | Don’t leave malfunctioning lights plugged in unattended. |
| Use outdoor-rated lights and enclosures for exterior installations. | Don’t daisy-chain more than three standard light strings together unless labeled safe. |
| Clean bulb bases with rubbing alcohol if corrosion is suspected. | Don’t attempt to solder or modify factory-sealed LED strands unless experienced. |
Real Example: The Case of the Flickering Front Porch
Sarah from Portland had a tradition of decorating her front porch with multi-colored lights every November. One year, her main garland started blinking erratically—sometimes staying lit for minutes, other times flashing rapidly. She unplugged it, inspected each bulb, and found no obvious issues. After replacing two darkened bulbs, the problem persisted.
She then realized she’d mixed an older incandescent strand with a newer LED set, both labeled “mini lights” but operating at different currents. Once she separated them and powered each with its own compatible string, the blinking stopped. She also discovered a frayed section near where the cord passed through a metal railing—likely caused by wind movement over time. After replacing the damaged segment with a new connector plug, her display ran smoothly the rest of the season.
This case highlights how subtle mismatches and environmental wear can combine to create confusing symptoms. A layered diagnostic approach was key to solving it.
Quick Fixes You Can Try Tonight
If you’re short on time but want immediate improvements, try these fast interventions:
- Re-seat all bulbs: Gently press each one until it clicks or feels snug. Misaligned bulbs are the #1 cause of intermittent blinking.
- Swap out the first bulb: The initial bulb in the strand carries the most current. Replace it with a new one—even if it looks fine.
- Rotate the plug: Some outlets have inconsistent contact. Turn the plug 180 degrees or try a different outlet.
- Tap the strand lightly: If tapping causes blinking to start/stop, there’s likely a loose connection. Isolate the area and inspect closely.
- Use a shunt-fix solution: For older incandescent sets, commercial \"current fixer\" drops or shunt-repair fluids can restore broken circuits inside dead bulbs.
When to Replace Instead of Repair
Not all blinking lights are worth fixing. Consider replacement if:
- The strand is over 10 years old and has been repaired multiple times.
- You notice charring, melting, or a burning smell when plugged in.
- More than a third of the bulbs are damaged or replaced.
- The wiring feels stiff, cracked, or excessively warm during operation.
- It uses outdated technology (e.g., C7/C9 incandescents with high energy draw).
Modern LED strings consume up to 90% less energy, last 25 times longer, and are far more durable. While the upfront cost is higher, the long-term savings in energy and replacement frequency make upgrading a smart choice.
FAQ: Common Questions About Blinking Christmas Lights
Why do only half my lights blink?
This typically happens in multi-circuit strands where one circuit contains a flasher bulb and the other doesn’t. It can also occur if a partial break in the wiring affects only one section. Check for a misplaced flasher bulb or test each half independently.
Can cold weather cause Christmas lights to blink?
Yes. Extreme cold can make plastic brittle and exacerbate existing micro-fractures in wires or sockets. Thermal contraction may loosen connections temporarily. If blinking occurs only in freezing conditions, inspect for hidden damage and consider switching to cold-rated LED strings.
Are blinking lights a fire hazard?
Occasional blinking due to a loose bulb is generally not dangerous. However, persistent flickering caused by short circuits, overheating wires, or damaged insulation can pose a fire risk. If you notice heat, smoke, or melting, discontinue use immediately.
Final Checklist: Stop the Blinking for Good
- Unplug all affected light strands.
- Visually inspect wires, plugs, and sockets for damage.
- Remove and reseat every bulb securely.
- Identify and remove any unintended flasher bulbs.
- Test bulbs individually and replace faulty ones.
- Ensure all connected strands are compatible (same type, voltage, brand if possible).
- Plug into a different outlet or circuit to rule out power supply issues.
- Limit daisy-chained strings to manufacturer recommendations.
- If unresolved, retire old or damaged strands and upgrade to LED.
- Store properly after the season to prevent future issues.
Conclusion: Shine Bright Without the Flicker
Blinking Christmas lights don’t have to ruin your holiday display. With a clear understanding of how lighting systems work and a structured approach to diagnosis, most issues can be resolved in under an hour. From checking for loose bulbs to avoiding incompatible combinations, the solutions are often simple—but their impact is significant. A steady, reliable glow enhances safety, ambiance, and peace of mind throughout the season.


 浙公网安备
33010002000092号
浙公网安备
33010002000092号 浙B2-20120091-4
Comments
No comments yet. Why don't you start the discussion?