
Indoor plants bring life, color, and a sense of calm to our homes. They purify the air, reduce stress, and enhance interior aesthetics. Yet, despite the best intentions, many plant owners find themselves repeatedly facing drooping leaves, yellowing stems, or complete plant loss. The truth is, most indoor plant failures stem not from bad luck, but from repeated, often unnoticed mistakes. Understanding these errors—and how to correct them—can transform your home into a thriving green sanctuary.
The journey to successful indoor gardening begins with awareness. Plants are living organisms with specific needs: light, water, soil, humidity, and space. When any of these elements are out of balance, even slightly, plants respond by slowing growth, shedding leaves, or eventually dying. The good news? Most of these issues are preventable with a few key adjustments.
Overwatering: The #1 Killer of Houseplants
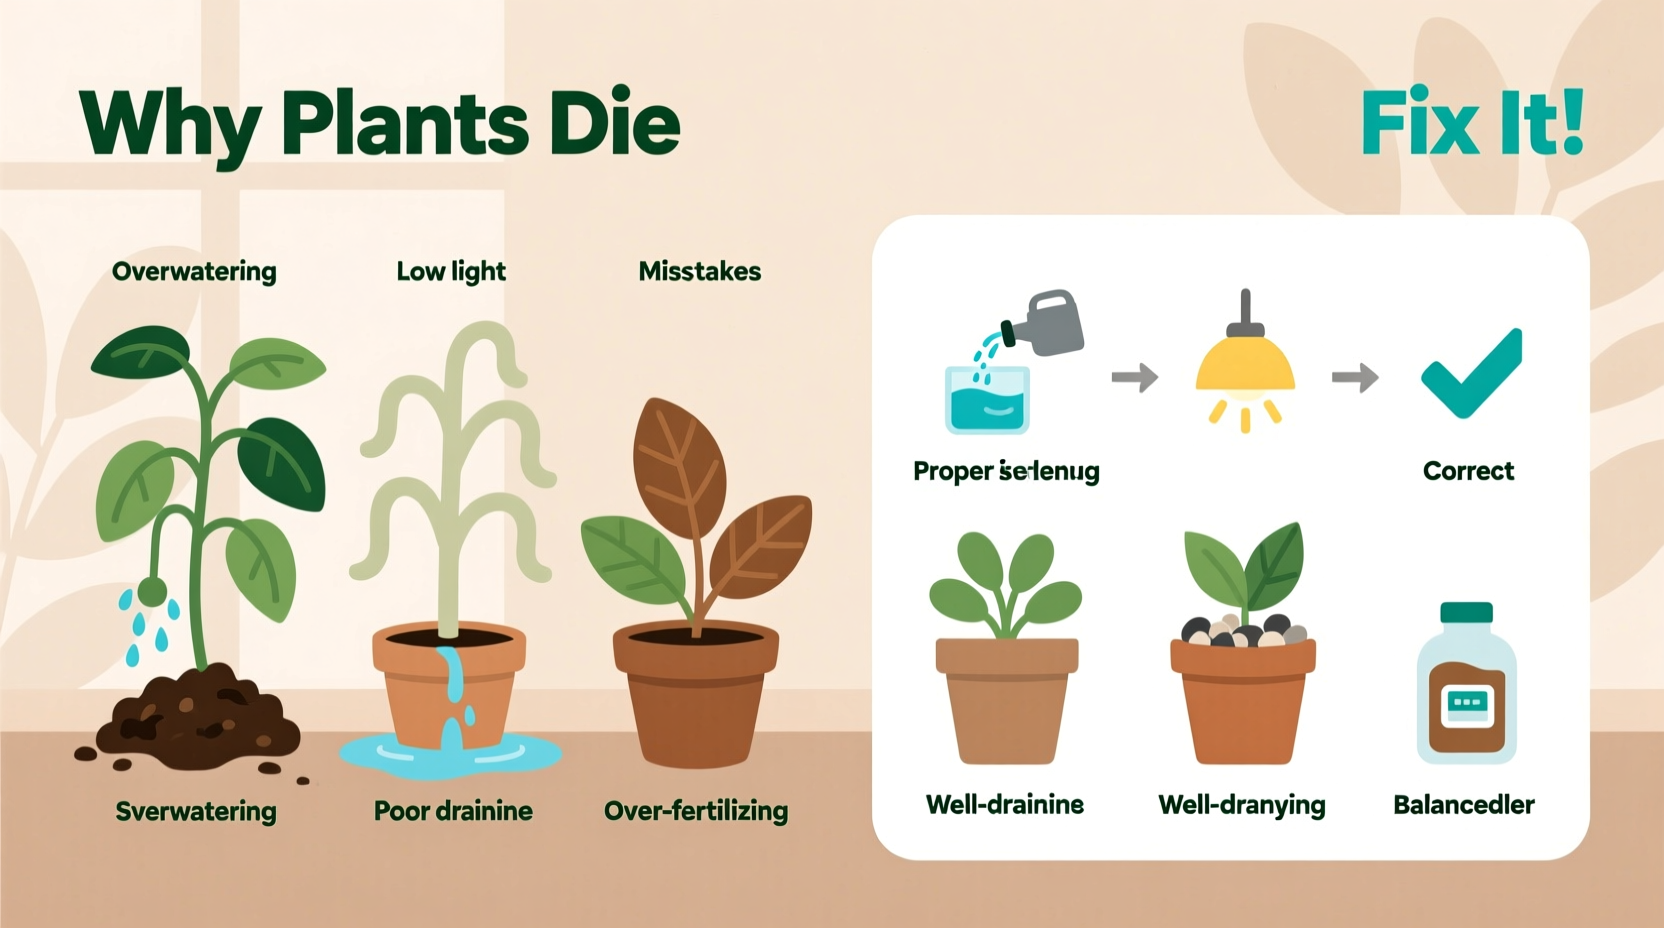
One of the most common reasons indoor plants die is overwatering. Many people assume that giving more water means showing more care. In reality, too much moisture suffocates roots, promotes root rot, and invites fungal diseases. Symptoms include yellowing leaves, mushy stems, a foul smell from the soil, and wilting—even when the soil is wet.
Roots need oxygen as much as they need water. When soil remains constantly saturated, air pockets disappear, and roots begin to decay. Once root rot sets in, recovery is difficult, even with immediate action.
Different plants have different water needs. Succulents and cacti may only need water every two to three weeks, while tropical plants like pothos or peace lilies prefer consistently moist (but never soggy) soil. A general rule: it’s safer to underwater than overwater. Most plants can recover from dry soil faster than from drowning.
Insufficient or Inappropriate Light Conditions
Light is the engine of plant life. Without adequate light, photosynthesis slows or stops, leading to weak growth, pale leaves, and eventual decline. However, not all light is equal. Many indoor spaces lack the intensity or duration of light that plants require.
Placing a sun-loving fiddle-leaf fig in a dim corner will result in leggy growth and leaf drop. Conversely, putting a shade-tolerant snake plant in direct southern sunlight might scorch its leaves. Matching the plant to the light available—or adjusting the environment accordingly—is essential.
“Most indoor plant problems trace back to light mismatch. Know your windows’ exposure and choose plants accordingly.” — Dr. Linda Park, Botanist & Urban Horticulture Consultant
South-facing windows offer the brightest light, ideal for succulents, herbs, and flowering plants. East and west windows provide moderate to bright indirect light, suitable for most tropical foliage plants. North-facing windows deliver low light, best for hardy species like ZZ plants or Chinese evergreens.
Understanding Light Levels at Home
| Light Type | Window Direction | Suitable Plants | Warning Signs |
|---|---|---|---|
| Bright Direct | South-facing | Cacti, succulents, citrus, hibiscus | Leaf burn, curling, rapid drying |
| Bright Indirect | East/West-facing | Monstera, Pothos, Philodendron, Fiddle-leaf fig | Leggy growth, small new leaves |
| Low Light | North-facing or far from windows | Snake plant, ZZ plant, Peace lily, Cast iron plant | Yellowing, dropping leaves, no growth |
Poor Drainage and Potting Practices
A pot without drainage holes is a death sentence for most plants. Even if you water carefully, excess water has nowhere to go, pooling at the bottom and creating a breeding ground for root rot. Similarly, using the wrong type of soil—such as heavy garden soil—can compact and restrict airflow.
Always use pots with drainage holes and place a saucer underneath to catch runoff. Empty the saucer within 15–30 minutes after watering to prevent reabsorption. Choose well-draining potting mixes tailored to your plant type—cactus mix for succulents, peat-based blends for tropicals.
Repotting is also crucial. Over time, roots fill the container, depleting nutrients and restricting growth. Most plants benefit from repotting every 1–2 years. Signs it’s time include roots circling the surface, slow growth, or water running straight through without soaking in.
Ignoring Humidity and Airflow Needs
Many popular houseplants—like ferns, calatheas, and orchids—originate from tropical rainforests where humidity levels exceed 60%. In contrast, most homes, especially during winter, maintain humidity levels below 40%, causing plants to dry out, brown at the tips, or drop leaves.
Grouping plants together, using a humidifier, or placing trays of water with pebbles beneath pots can help increase ambient moisture. Misting provides temporary relief but is not a long-term solution and can promote fungal issues if done excessively.
Air circulation is equally important. Stagnant air encourages mold, pests, and poor transpiration. Gentle airflow from an open window or a nearby fan (not directly on plants) supports healthy respiration and deters pests.
Mini Case Study: Reviving a Struggling Calathea
Jamie had purchased a vibrant calathea for her office desk, drawn to its striking patterned leaves. Within weeks, the edges began browning, and new leaves emerged smaller and misshapen. Assuming it needed more water, she increased her watering schedule—but the condition worsened.
After consulting a local nursery, she learned her office had low humidity due to air conditioning and lacked consistent airflow. She moved the plant to a shared break room with a humidifier, grouped it with other plants, and started using a small fan on low across the room (not blowing directly on the plant). Within a month, new leaves unfurled fully, and browning slowed significantly. The key wasn’t more water—it was mimicking the plant’s natural tropical environment.
Common Care Oversights and Nutrient Deficiencies
Even with proper watering and lighting, plants can suffer from neglect in less obvious areas. Dust accumulation on leaves blocks light absorption. Fertilizer is often forgotten, yet potting soil depletes nutrients over time. Using tap water high in chlorine or fluoride can harm sensitive plants like spider plants or dracaenas.
Fertilize during active growing seasons (spring and summer) with a balanced, diluted liquid fertilizer every 4–6 weeks. Reduce or stop feeding in fall and winter when growth slows. Wipe large leaves gently with a damp cloth monthly to remove dust.
“People forget that potted plants live in a closed system. Unlike in nature, they can’t access new nutrients from decaying matter or rainfall. We must replenish what they consume.” — Carlos Mendez, Master Gardener & Indoor Plant Educator
Essential Indoor Plant Care Checklist
- ✅ Check soil moisture before watering—don’t follow a fixed schedule.
- ✅ Use pots with drainage holes and well-draining soil.
- ✅ Match plants to your home’s light conditions.
- ✅ Increase humidity for tropical species using humidifiers or pebble trays.
- ✅ Repot every 1–2 years to refresh soil and prevent root binding.
- ✅ Fertilize lightly during growing season; skip in winter.
- ✅ Clean leaves regularly to maximize light absorption.
- ✅ Rotate plants weekly for even growth toward light sources.
- ✅ Inspect regularly for pests like spider mites, mealybugs, or scale.
- ✅ Avoid cold drafts, heating vents, and sudden temperature changes.
Step-by-Step Guide to Diagnosing a Dying Plant
When a plant shows signs of distress, act quickly but methodically. Follow this timeline to identify and address the issue:
- Day 1: Observe symptoms. Note yellowing, browning, drooping, spots, or pest presence. Check if the issue affects older or newer leaves first.
- Day 1: Test soil moisture. Use your finger or a moisture meter. If wet, stop watering immediately. If dry, give a thorough soak.
- Day 2: Evaluate light exposure. Is the plant receiving too much direct sun or too little light? Adjust placement accordingly.
- Day 3: Inspect roots (if possible). Gently remove the plant from its pot. Healthy roots are firm and white; mushy, black, or smelly roots indicate rot.
- Day 4: Prune damaged parts. Trim dead leaves and stems with clean scissors to redirect energy to healthy growth.
- Day 5: Repot if necessary. Replace old soil with fresh, well-draining mix and a clean pot. Let roots air-dry slightly before replanting if rot is present.
- Days 6–7: Monitor closely. Maintain stable conditions—no drastic changes in water, light, or temperature.
- Week 2+: Assess recovery. Look for new growth, improved leaf color, or halted decline. Adjust care as needed.
Frequently Asked Questions
Why are my plant’s leaves turning yellow?
Yellowing leaves can signal several issues: overwatering (most common), nutrient deficiency, insufficient light, or natural aging. Start by checking soil moisture and light levels. If lower leaves turn yellow slowly, it may be normal shedding. Rapid yellowing across the plant suggests stress.
Can I save a plant with root rot?
Yes, if caught early. Remove the plant from its pot, trim away all mushy, black roots with sterilized scissors, and repot in fresh, dry soil. Avoid watering for 5–7 days to allow healing. Recovery isn’t guaranteed, but prompt action improves chances.
How do I know if my plant needs more humidity?
Signs include brown leaf tips, crispy edges, and failure to produce new growth. Tropical plants like ferns, calatheas, and orchids are especially prone. Use a hygrometer to measure room humidity—below 40% is generally too low for humidity-loving species.
Conclusion: Turn Mistakes into Growth
Your indoor plants don’t have to be temporary decorations. With mindful observation and a few strategic adjustments, you can create an environment where they don’t just survive—they thrive. The mistakes we make are part of the learning process. Each drooping leaf teaches us about water, each pale stem reveals a light deficit, and every repotting deepens our understanding of root health.
Start small. Pick one area to improve—whether it’s upgrading your pots, adjusting your watering habits, or adding a humidifier. Track your progress, celebrate new growth, and share your journey. Healthy plants aren’t reserved for experts; they’re the result of consistent, informed care.


 浙公网安备
33010002000092号
浙公网安备
33010002000092号 浙B2-20120091-4
Comments
No comments yet. Why don't you start the discussion?