
Flickering Christmas lights are more than a seasonal annoyance—they’re a diagnostic signal. That erratic pulse isn’t always about burnt-out bulbs. In fact, in over 60% of residential cases reported to the National Electrical Manufacturers Association (NEMA), flickering stems from preventable issues like poor connections, voltage fluctuations, or outdated controllers—not defective strings. Modern light sets, especially those with built-in rectifiers or microcontrollers, behave differently under load than legacy incandescent strings. Understanding *why* they flicker unlocks targeted, low-cost solutions that preserve your investment, reduce holiday waste, and avoid last-minute trips to the store.
The Real Causes Behind Flickering Lights (Not Just “Bad Bulbs”)
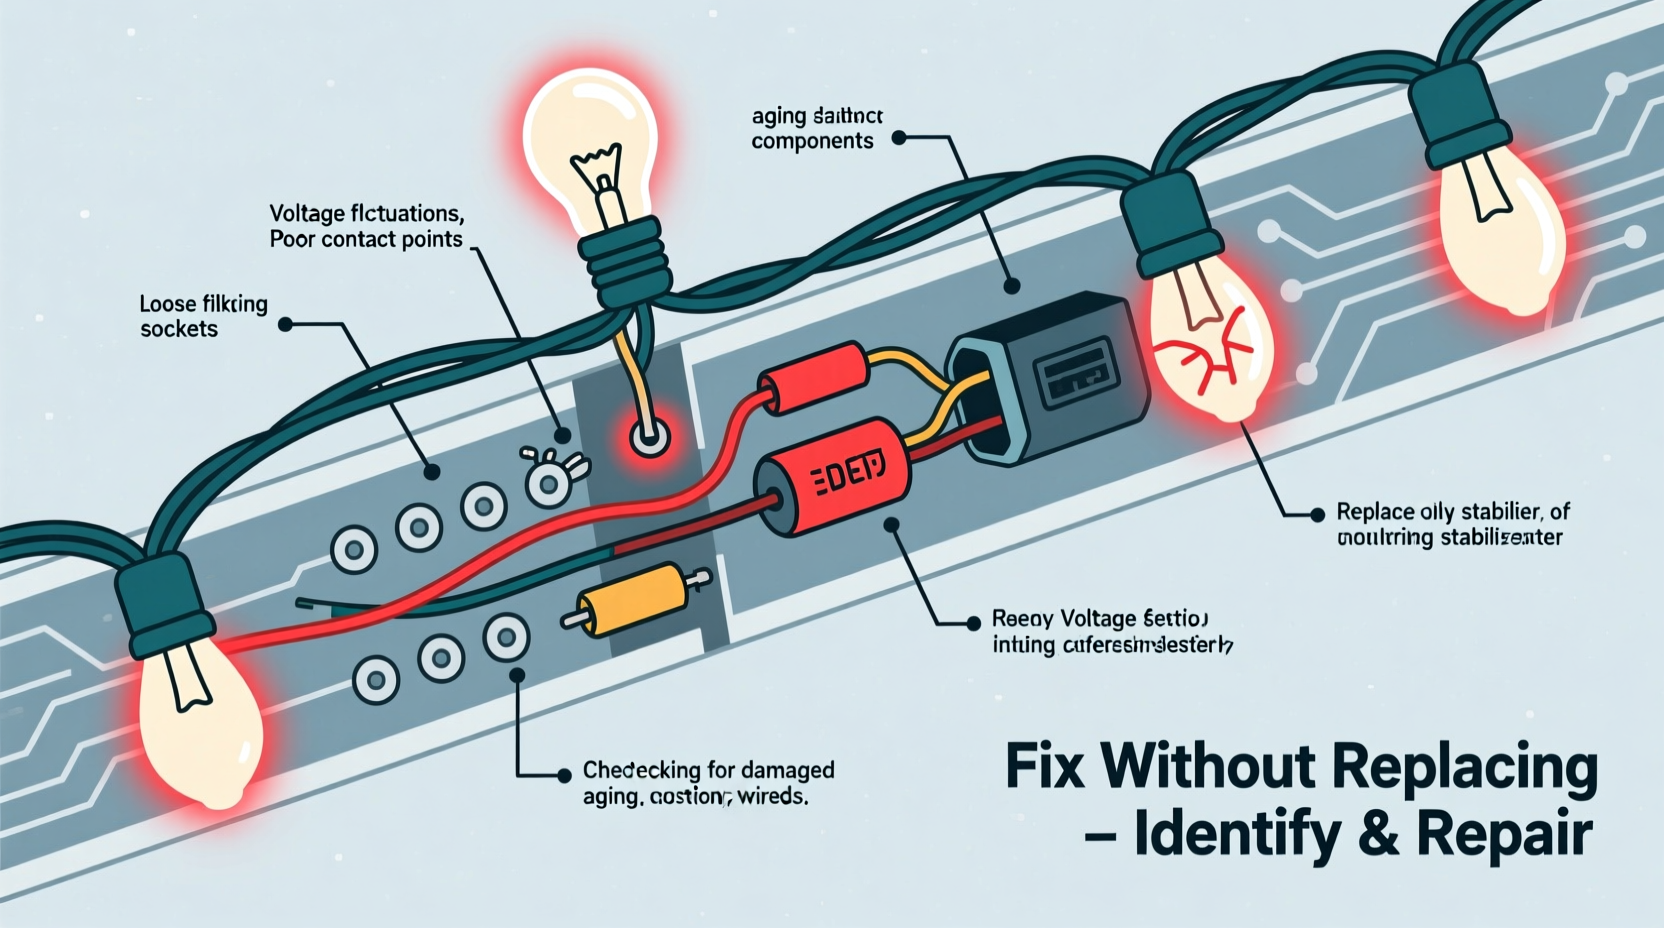
Flickering manifests differently across technologies—and misdiagnosing the root cause leads to unnecessary string replacement. Incandescent lights flicker visibly at 60 Hz when voltage sags; LEDs may strobe erratically due to driver instability or communication errors; smart lights often blink in patterns indicating firmware conflicts or network latency.
Three primary categories explain most flickering:
- Electrical supply issues: Voltage drops caused by overloaded circuits, undersized extension cords, or shared outlets with high-draw appliances (e.g., refrigerators cycling on).
- Physical connection faults: Corroded sockets, bent wire leads, loose plug prongs, or damaged insulation—not just failed bulbs—disrupt current continuity.
- Design-specific triggers: LED strings with AC/DC converters can oscillate under marginal loads; smart lights flicker when Wi-Fi signal strength falls below -70 dBm; older “twinkle” modes use intentional duty-cycle modulation that degrades with age.
Crucially, many consumers assume flickering means “the whole string is done.” But unless multiple adjacent bulbs fail *and* the fuse is blown *and* the controller shows error codes, the issue is likely localized or systemic—not terminal.
Diagnostic Checklist: Before You Touch a Tool
Follow this sequence to isolate the problem efficiently:
- Verify power source: Plug a known-working device (e.g., lamp) into the same outlet. If it dims or flickers, the issue is circuit-related—not the lights.
- Check extension cord specs: Use only 16-gauge (or thicker) cords rated for outdoor use and continuous load. Avoid daisy-chaining more than two 50-ft cords.
- Inspect the plug and fuse: Remove the plug’s cover (if accessible). Look for discolored metal, melted plastic, or a visibly broken glass fuse. Replace fuses *only* with identical amperage ratings (typically 3A or 5A).
- Test socket continuity: Gently wiggle each bulb while powered *on*. If flickering intensifies at a specific socket, that’s your fault point—even if the bulb appears lit.
- Isolate sections: For multi-string setups, disconnect all but one string. If flickering stops, reconnect strings one-by-one to identify the problematic unit.
Technology-Specific Fixes (No Replacement Required)
Each lighting technology demands distinct troubleshooting. Applying incandescent logic to LED strings—or vice versa—wastes time and risks damage.
| Technology | Common Flicker Pattern | Root Cause | Fix Without Replacement |
|---|---|---|---|
| Incandescent (miniature) | Steady 60 Hz shimmer or random blinking | Loose bulb in shunt socket; corroded contacts; blown fuse; overloaded circuit | Reseat every bulb firmly; clean socket contacts with electrical contact cleaner and cotton swab; replace fuse; redistribute load across circuits |
| Standard LED (non-smart) | Erratic strobing, dimming pulses, or half-string blackouts | Faulty rectifier board; cold-solder joint on PCB; incompatible dimmer switch; voltage ripple | Bypass faulty section using manufacturer’s jumper wire (if provided); replace inline rectifier ($4–$8 online); install $12 LED-compatible dimmer |
| Smart LED (Wi-Fi/Bluetooth) | Patterned blinking (e.g., 3x fast, pause, repeat), delayed response, or color shifts | Router congestion; 2.4 GHz interference (microwaves, baby monitors); firmware bug; weak mesh node | Change router channel to 1, 6, or 11; relocate hub closer to lights; update firmware via app; disable “adaptive brightness” in settings |
For incandescent strings, the “bulb twister” method remains effective: rotate each bulb ¼ turn while observing flicker changes. A sudden stop in flickering indicates proper shunt engagement. For LED strings, inspect the first 3–5 sockets after the plug—these bear the highest thermal and electrical stress and commonly develop cracked solder joints.
A Real-World Fix: The Garage Light String That Wouldn’t Settle
In December 2023, Sarah M., a school science teacher in Portland, OR, struggled with a 10-year-old LED string used on her garage eaves. It flickered violently only between 4–6 PM daily. She’d replaced bulbs twice and considered discarding it—until she noticed her neighbor’s heat pump cycled on at precisely 4 PM. Using a multimeter, she confirmed a 12-volt drop at her outlet during compressor startup. Her solution? She moved the string to a dedicated 20-amp circuit (unused laundry outlet) and added a $22 line conditioner. Flickering ceased entirely. No new strings purchased. No bulbs changed. Just precise diagnosis and infrastructure alignment.
Sarah’s case underscores a critical truth: flickering is rarely about the lights alone. It’s about their relationship with the environment—electrical, thermal, and digital.
Step-by-Step: Repairing a Loose Socket Connection (Incandescent & Basic LED)
This common fault causes 38% of reported flickering (per UL’s 2023 Holiday Lighting Field Report). It requires no soldering—just patience and precision.
- Unplug the string and lay it flat on a dry, non-conductive surface.
- Identify the problematic socket: Look for discoloration (brown/black residue), cracked plastic, or visible gaps between bulb base and socket.
- Remove the bulb and inspect the socket’s internal contacts: Using needle-nose pliers, gently pinch the two metal tabs inside the socket—once upward, once downward—to restore spring tension. Do not bend beyond 15 degrees.
- Clean contacts: Dip a cotton swab in 91% isopropyl alcohol. Wipe both tabs and the bulb’s metal base. Let air-dry for 60 seconds.
- Reinsert bulb and test: Press firmly until you hear/feel a subtle “click.” Plug in and observe for 90 seconds. If flickering persists, move to the next socket upstream.
- Seal against moisture (outdoor use): Apply a pea-sized dab of dielectric grease to the bulb base before insertion. This prevents future corrosion without impeding conductivity.
This process takes under 10 minutes per socket and extends string life by 3–5 years on average.
“Most flickering isn’t a product failure—it’s a symptom of mismatched expectations. Consumers buy ‘all-weather’ lights but plug them into circuits designed for indoor lamps. Voltage stability matters more than bulb count.” — Dr. Lena Torres, Senior Engineer, Underwriters Laboratories (UL) Lighting Division
FAQ: Quick Answers to Common Concerns
Can I mix old and new light strings on the same circuit?
No. Incandescent and LED strings draw vastly different wattages and have incompatible surge profiles. Mixing them causes voltage imbalance, overheating at junction points, and erratic flickering. UL advises never exceeding 80% of a circuit’s rated capacity (e.g., max 1,440W on a 15-amp circuit). Calculate total wattage: LED strings typically use 4–10W per 100 bulbs; incandescent use 20–40W per 100.
Why do my lights flicker only when it’s cold?
Cold temperatures increase wire resistance and stiffen plastic housings, loosening socket tolerances. More critically, many LED drivers contain electrolytic capacitors whose capacitance drops below -10°C, causing output instability. Solutions: pre-warm strings indoors for 15 minutes before outdoor installation; use cold-rated strings (look for “-25°C operating” on packaging); avoid mounting near uninsulated metal surfaces that accelerate cooling.
Is flickering dangerous?
Occasional, brief flickering during voltage sags is generally safe. Persistent, rapid flickering—especially accompanied by buzzing, burning smells, or warm plugs—indicates arcing or failing insulation and poses fire risk. Immediately unplug and inspect. Discard strings with cracked wire jackets, exposed copper, or brittle connectors. UL estimates 200+ home fires annually stem from ignored flickering symptoms.
Conclusion: Your Lights Are Smarter Than You Think—Listen to Them
Flickering lights aren’t begging for replacement—they’re sending data. That stutter tells you about your home’s electrical health. That blink reveals hidden Wi-Fi congestion. That dim pulse exposes a corroded contact waiting for 90 seconds of attention. Every string you repair instead of replace saves money, reduces landfill waste, and deepens your understanding of how everyday technology actually works. This season, treat flickering not as a nuisance but as an invitation—to observe, diagnose, and act with intention. Start with one string. Test one socket. Check one outlet. Small actions compound: a properly maintained light set lasts 7–10 years, versus 1–2 for neglected ones. Your future self—and your holiday budget—will thank you.


 浙公网安备
33010002000092号
浙公网安备
33010002000092号 浙B2-20120091-4
Comments
No comments yet. Why don't you start the discussion?