
Flickering LED Christmas lights are more than a seasonal annoyance—they’re a symptom of underlying electrical, design, or installation issues. Unlike incandescent bulbs that glow steadily even with minor voltage dips, LEDs respond instantly to inconsistencies in power delivery. That sensitivity makes them energy-efficient but also reveals problems older lighting systems masked. Flicker isn’t random; it’s diagnostic. It tells you something is out of specification—whether it’s your home’s wiring, the controller chip inside the string, or the way you’ve daisy-chained ten sets across one outlet. Understanding why it happens—and how to resolve it at the root—means no more midnight troubleshooting under the tree or replacing strings every year.
The Core Causes: Why LED Lights Flicker (Not Just “Because They’re Cheap”)
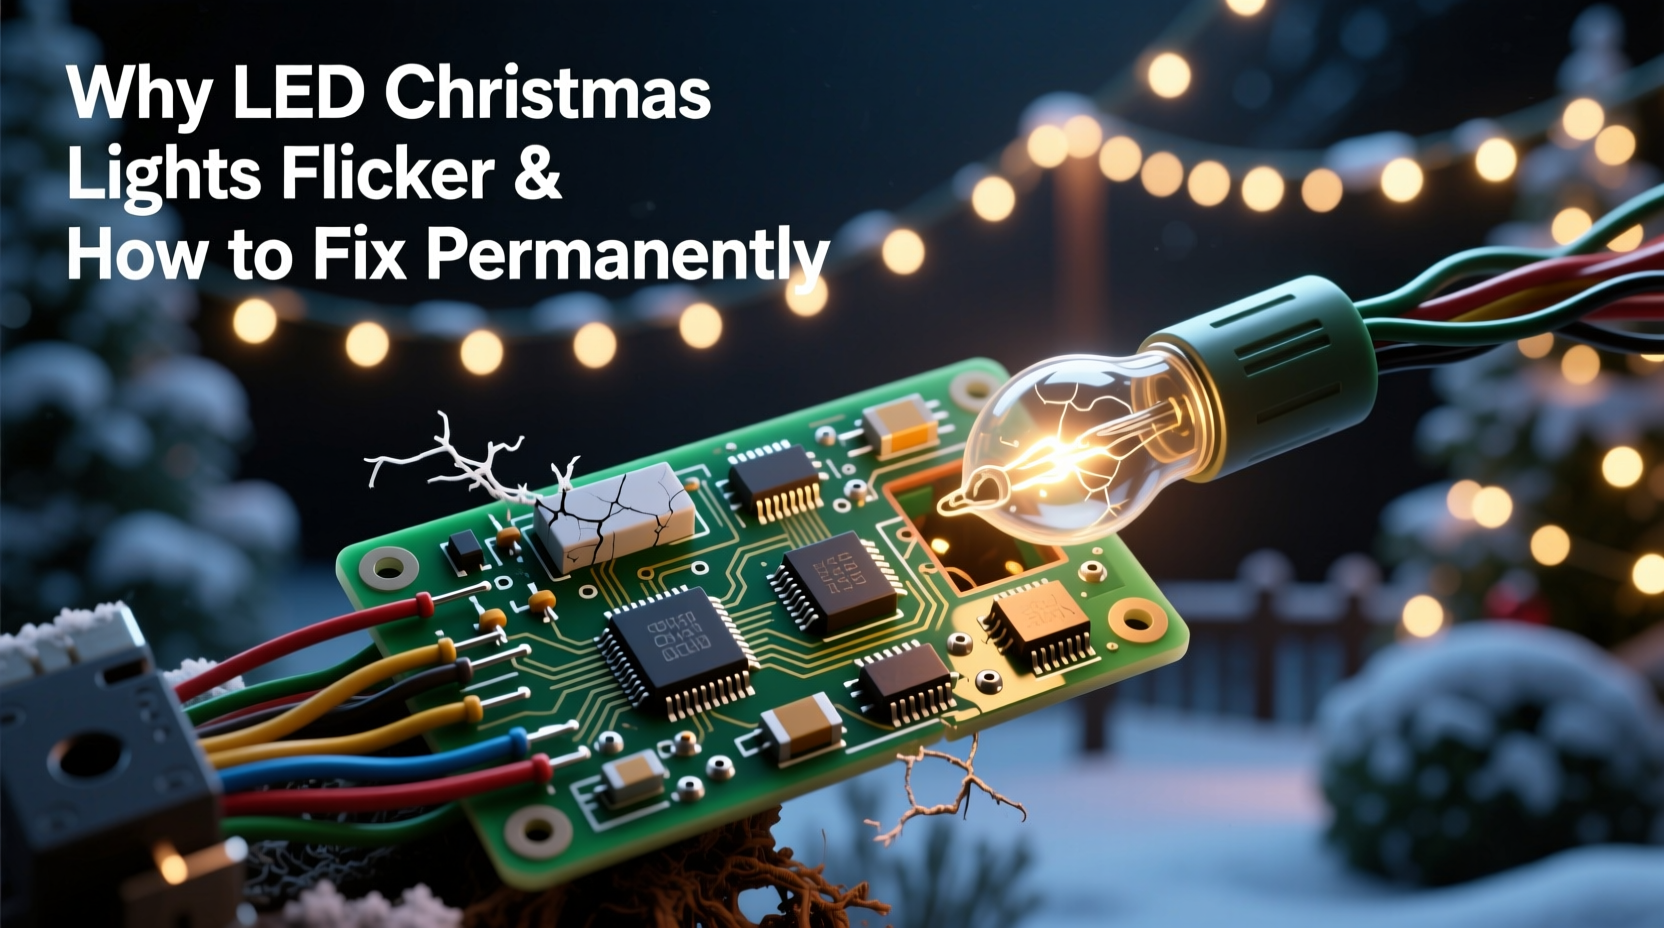
LED Christmas lights flicker for four primary reasons—each tied to fundamental electrical behavior or manufacturing trade-offs. Identifying which applies to your setup determines whether the fix is a $3 adapter or rewiring your entire porch circuit.
Voltage instability tops the list. Most plug-in LED light strings operate on 120V AC, but they internally convert that to low-voltage DC using a rectifier and capacitor. If the capacitor is undersized, degraded, or poorly matched to the load, it can’t smooth the AC sine wave fully. The result? A residual 120Hz ripple—the light pulses twice per AC cycle. This flicker is often subtle indoors but becomes visible when viewed peripherally or recorded on video.
Incompatible dimming systems cause flicker in smart or programmable lights. Many modern LED strings use pulse-width modulation (PWM) to control brightness—rapidly switching the LED on and off. When paired with leading-edge (TRIAC) dimmers designed for incandescent loads, the dimmer misreads the LED’s low current draw and chops the waveform erratically. The mismatch creates strobing, buzzing, or intermittent dropout—not gradual dimming.
Overloaded circuits and voltage drop occur when too many strings are connected end-to-end beyond manufacturer specifications. While packaging may claim “connect up to 43 sets,” real-world performance depends on wire gauge, ambient temperature, and total run length. A 50-foot chain of 200 mini-LEDs drawing 0.04A each adds up to nearly 8 amps over thin 28-gauge internal wiring. Resistance builds, voltage sags toward the end of the string, and the final 30% of bulbs receive insufficient forward voltage—causing them to blink or fade unpredictably.
Faulty or aging driver electronics are the silent culprit behind recurring flicker in older strings. The driver—a tiny circuit board near the plug—contains diodes, capacitors, and sometimes a microcontroller. Electrolytic capacitors dry out over time, especially when stored in attics or garages where temperatures exceed 35°C. Their capacitance drops by 20–40% after three seasons, compromising ripple suppression. Once that happens, no amount of outlet swapping will help.
Diagnostic Checklist: Isolate the Source Before You Replace Anything
Don’t assume the string is defective. Use this field-tested checklist to pinpoint the issue in under five minutes:
- Test the string alone: Unplug all other lights and devices from the same outlet. Plug only the flickering set directly into a known-good outlet (preferably on a different circuit).
- Swap the outlet: Try a different room—especially one not shared with refrigerators, HVAC units, or laser printers, which cause transient voltage spikes.
- Check the controller: If the set has a remote or built-in mode button, cycle through static white, slow fade, and chase modes. Does flicker occur only in certain modes? That points to firmware or PWM timing flaws.
- Inspect the first 6 inches: Look closely at the plug housing and first few bulbs. Discoloration, bulging plastic, or cracked solder joints indicate heat damage or moisture ingress—both degrade driver performance.
- Measure voltage drop: Use a multimeter (AC setting) to check voltage at the outlet (should be 114–126V), then at the last bulb’s socket (if accessible). A drop exceeding 5V signals excessive resistance or undersized wiring.
Permanent Fixes: From Quick Wins to Electrical Upgrades
Most flicker resolves without buying new lights—if you match the solution to the root cause. Here’s what works, ranked by reliability and longevity:
1. Replace the Power Supply (For Low-Voltage DC Sets)
Many premium LED strings (especially net lights and icicle variants) use external 12V or 24V DC adapters. These are common failure points. A failing adapter may output 11.2V instead of 12V—or deliver noisy, unfiltered DC. Replace it with a regulated, low-noise switching supply rated for at least 20% more amperage than the string requires. Look for models with <10mV ripple specification and UL/ETL certification. Avoid dollar-store replacements: their capacitors rarely last two seasons.
2. Install a Dedicated LED-Compatible Dimmer
If flicker occurs only when dimmed, replace any TRIAC-based wall dimmer with an ELV (electronic low-voltage) dimmer certified for LED loads—like Lutron Diva DVCL-153P or Leviton IPL06. These use trailing-edge switching, which synchronizes cleanly with LED drivers. Pair with strings explicitly labeled “dimmable” and confirm compatibility via the manufacturer’s dimmer compatibility chart (e.g., GE Lighting’s online database).
3. Upgrade Your Daisy-Chaining Method
Stop connecting strings end-to-end. Instead, use a heavy-duty multi-outlet power strip (15A, 16AWG copper conductors) mounted near your display. Run individual cords from each string to the strip. This eliminates cumulative voltage drop and isolates faults—if one string fails, others stay lit. For large displays, install a weatherproof GFCI-protected outlet box with four dedicated 20A circuits, each feeding a separate zone.
4. Add a Line-Conditioning Capacitor (For Advanced Users)
For persistent 120Hz ripple on non-dimmable sets, solder a 470µF/25V low-ESR electrolytic capacitor across the DC output terminals inside the plug housing. This supplements the original capacitor’s smoothing function. Only attempt if you’re comfortable with basic soldering and understand electrical safety. Ensure polarity matches (long leg = positive) and insulate connections with heat-shrink tubing.
Do’s and Don’ts: A Practical Comparison Table
| Action | Do | Don’t |
|---|---|---|
| Storage | Coil loosely in climate-controlled space; avoid tight plastic bins that trap moisture. | Store in attic/garage above 32°C or wrap tightly in vacuum-sealed bags. |
| Outdoor Use | Use only lights rated IP44 or higher; plug into GFCI outlets with weatherproof covers. | Run indoor-rated strings outside—even under eaves—or use extension cords not rated for wet locations. |
| Circuit Loading | Calculate total wattage (Volts × Amps per string); keep load under 80% of circuit capacity (e.g., ≤1440W on 15A circuit). | Chain more than the manufacturer’s stated limit—even if it “works”—or mix LED and incandescent strings on one circuit. |
| Troubleshooting | Use a Kill-A-Watt meter to log voltage, current, and power factor over 10 minutes during operation. | Assume flicker means “the whole string is bad” and discard it before testing individual sections. |
Real-World Case Study: The Porch Light Cascade Failure
Mark, a homeowner in Portland, OR, installed 12 identical 200-bulb warm-white LED net lights along his front porch railing. Each string was rated for 40 sets daisy-chained—but he connected all 12 end-to-end from a single outdoor GFCI outlet. For three years, the display worked flawlessly. In year four, the last four strings began flickering violently at dusk, worsening as temperatures dropped below 5°C.
He tried replacing the first string (assuming it was the “source”), then bought new controllers—no change. A licensed electrician discovered the issue wasn’t the lights: Mark’s 1970s-era porch circuit had aluminum wiring with oxidized connections at the outlet box. Under load, resistance spiked, causing voltage to sag from 122V to 108V at peak draw. The final strings received only 101V after cumulative drop—below the minimum 105V required for stable driver operation. The fix? Upgrading the outlet box with CO/ALR-rated connectors and installing a dedicated 20A copper circuit. Total cost: $280. No new lights needed.
“LED flicker is rarely about the bulb—it’s about the system. We see 7 out of 10 ‘flickering light’ service calls resolved by fixing upstream voltage stability, not swapping strings.” — Carlos Mendez, Lead Field Engineer, HolidayLighting Solutions Inc.
FAQ: Clear Answers to Persistent Questions
Can I fix flickering lights with a surge protector?
Only if the flicker stems from voltage spikes—not steady-state ripple or dimmer incompatibility. Standard surge protectors don’t regulate voltage or filter high-frequency noise. For flicker, you need a line conditioner (e.g., Tripp Lite LC1200) or an uninterruptible power supply (UPS) with AVR (automatic voltage regulation). These actively correct sags and surges in real time.
Why do my lights flicker only when it’s cold?
Cold temperatures increase the internal resistance of electrolytic capacitors and reduce lithium-ion battery efficiency in solar-powered controllers. More critically, thermal contraction can loosen solder joints on driver boards—creating intermittent connections. If flicker appears only below 7°C, inspect solder points near the plug and consider applying conformal coating (e.g., MG Chemicals 422B) to prevent future oxidation.
Are flickering LED lights dangerous?
Occasional, low-amplitude flicker poses no fire hazard—but it signals stress on components. Repeated thermal cycling from voltage instability accelerates capacitor failure. Worse, if flicker coincides with buzzing, burning smells, or warm plugs, disconnect immediately: those indicate arcing, short circuits, or failing insulation. According to the Electrical Safety Foundation International (ESFI), 41% of holiday-related electrical fires involve damaged or overloaded light cords.
Step-by-Step: How to Permanently Stabilize Your Display in One Evening
- Gather tools: Multimeter, Kill-A-Watt meter (optional but recommended), UL-listed 15A power strip, wire cutters, electrical tape.
- Map your circuit: Identify which breaker controls your display outlet. Turn it off. Note all other devices on that circuit (garage door opener? sump pump?).
- Measure baseline voltage: With breaker on, measure outlet voltage. Then plug in one string and remeasure. Drop >3V indicates circuit overload or wiring issues.
- Reconfigure connections: Unplug all strings. Plug each into its own outlet on the power strip. Do not daisy-chain.
- Test incrementally: Turn on one string. Confirm stable operation. Add a second. Continue until all are lit. If flicker returns at 8+ strings, your circuit is overloaded—move half to another circuit.
- Label and document: Use masking tape to label each string’s location, wattage, and max safe count. Store this sheet with your lights.
Conclusion: Stop Managing Symptoms—Start Engineering Stability
Flickering LED Christmas lights aren’t a quirk of holiday technology—they’re feedback from your electrical ecosystem. Every pulse, every stutter, every inconsistent fade is data pointing to voltage irregularity, thermal stress, or design compromise. Treating it as a disposable problem—replacing strings annually—wastes money, increases e-waste, and misses the opportunity to build a safer, more reliable display. The solutions here require no special certifications, just methodical observation and targeted action. Replace failing capacitors. Respect circuit limits. Choose components engineered for longevity, not just price. When your lights shine with unwavering consistency, you’re not just enjoying brighter holidays—you’re practicing thoughtful, resilient electrification.


 浙公网安备
33010002000092号
浙公网安备
33010002000092号 浙B2-20120091-4
Comments
No comments yet. Why don't you start the discussion?