
Every holiday season, millions of homes are lit up with strings of colorful Christmas lights. But few frustrations rival plugging in a strand only to find that half the bulbs are dark. While it may seem like a mystery, this issue usually points to one common electrical problem: an open circuit. Understanding why this happens—and how to fix it—can save time, money, and seasonal cheer.
Christmas light strings, especially older incandescent models, are wired in series. This means electricity must pass through each bulb in sequence to complete the circuit. If one bulb fails, becomes loose, or is removed, the entire path breaks, cutting power to all downstream lights. That’s why you often see exactly half the string unlit—the break occurs somewhere in the middle, stopping current flow beyond that point.
How Series Circuits Work in Christmas Lights
In a typical mini-light strand, 50 or 100 bulbs are connected end-to-end in a single electrical loop. Each bulb acts as a small resistor, allowing just enough current to create light without overheating. Because they’re wired in series, voltage is divided evenly across all bulbs. For example, in a 120-volt outlet powering 50 bulbs, each receives about 2.4 volts.
The design is efficient but fragile. A single faulty bulb interrupts the entire chain. Modern strands sometimes include shunt wires inside each bulb socket—a fail-safe meant to reroute current if a filament burns out. However, these shunts don’t always activate properly, especially in older or lower-quality strings.
“Over 70% of partial-light failures in holiday strands are due to open circuits caused by a single defective or dislodged bulb.” — National Electrical Manufacturers Association (NEMA)
Common Causes of Open Circuits in Light Strings
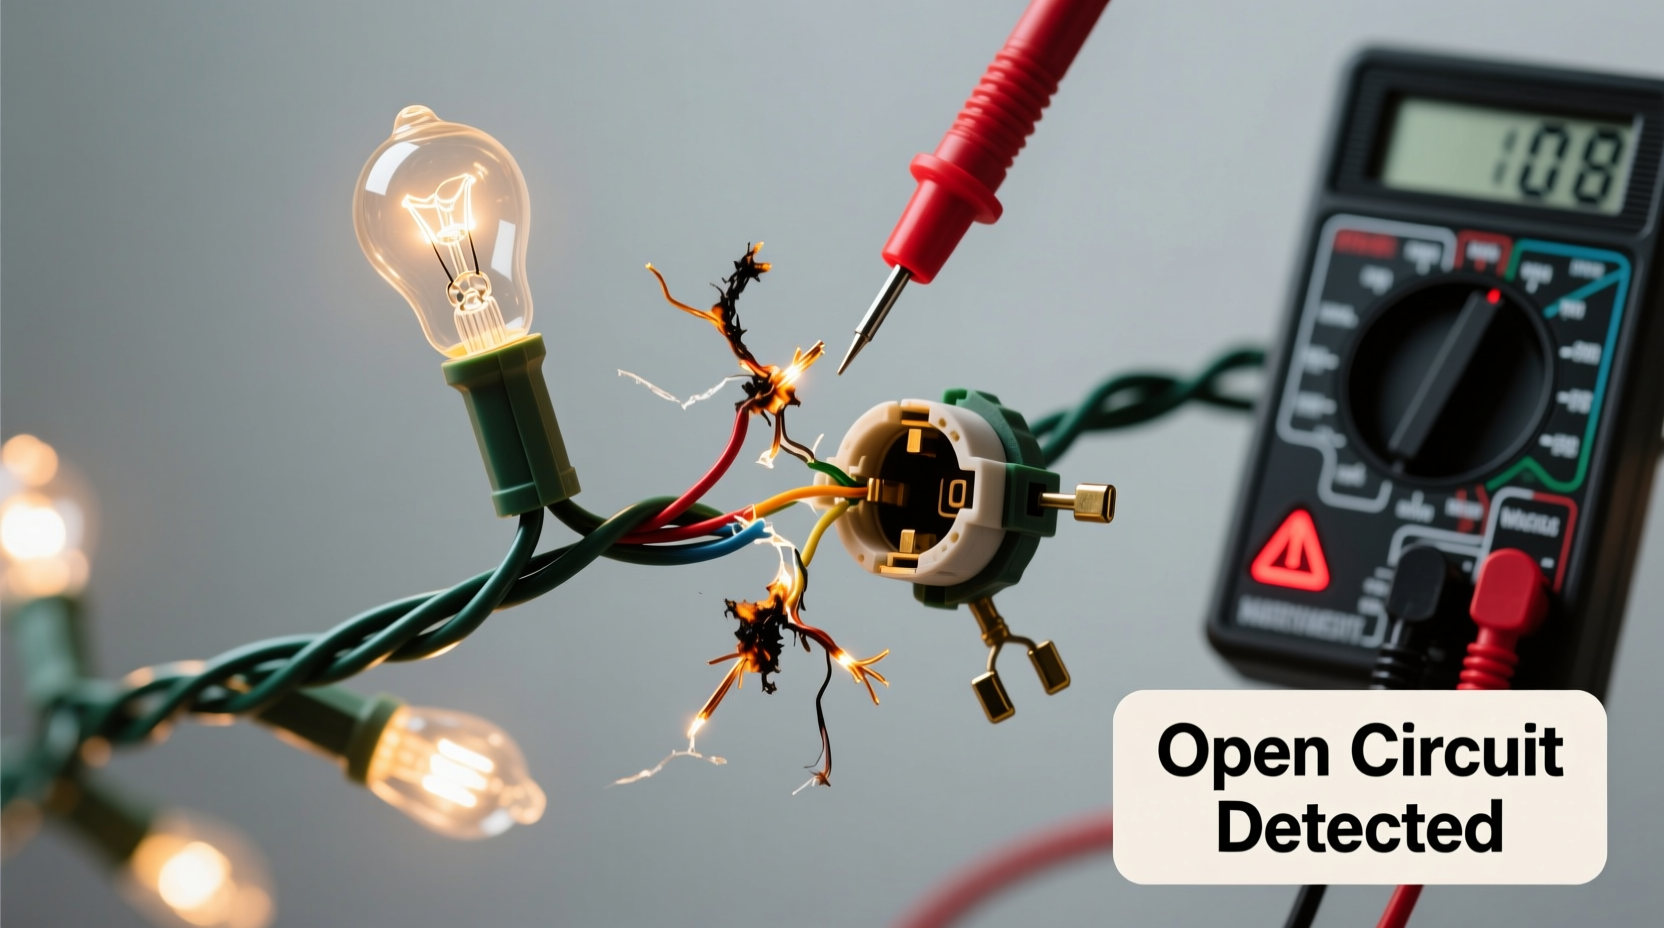
An open circuit means the electrical pathway is broken. With Christmas lights, several factors can cause this break:
- Filament burnout: The most common cause. When a bulb’s thin tungsten filament breaks from age or vibration, current stops flowing.
- Loose bulb: Even slight movement can loosen a bulb from its socket, breaking contact.
- Corroded or dirty socket: Outdoor exposure leads to moisture buildup and corrosion, disrupting conductivity.
- Damaged wire: Pinched, chewed, or frayed sections—especially near plugs or connectors—can sever internal conductors.
- Failed shunt: Some bulbs have built-in shunts designed to bypass a dead filament. If the shunt doesn’t activate, the circuit remains open.
While LED strands are more durable and energy-efficient, many still use series wiring. Though LEDs last longer, their drivers or control chips can fail, leading to similar symptoms.
Step-by-Step Guide to Diagnosing and Fixing Half-Lit Strings
Follow this systematic approach to locate and repair the break in your light string. You’ll need a multimeter, spare bulbs, and about 20–30 minutes.
- Unplug the strand immediately. Safety first—never work on energized lights.
- Inspect visually for obvious issues. Look for missing bulbs, cracked sockets, kinked wires, or signs of animal damage.
- Check both halves for continuity using a multimeter. Set your meter to continuity mode (beeping function). Place one probe at the male plug’s hot prong and the other at the female end’s corresponding contact. There should be a continuous path. Repeat for the neutral side.
- Divide and conquer the dark section. Start at the midpoint of the unlit portion. Remove a bulb and test for voltage with the strand plugged in (use extreme caution). If no power reaches that socket, the break is upstream. If power is present, the issue is downstream.
- Replace suspect bulbs one at a time. Use known-good replacements. Many people keep a “test bulb” from a working strand for this purpose.
- Clean corroded sockets. Use a cotton swab dipped in isopropyl alcohol to wipe contacts. Let dry completely before reinserting bulbs.
- Check the shunt activation. In incandescent bulbs, gently shake the bulb. A faint rattle means the shunt may have activated. If not, try tapping the bulb lightly while powered (with insulated tools) to trigger the shunt wire.
- Test the repaired strand. Plug it in away from flammable materials. If half remains dark, repeat the process or consider retiring the string.
Troubleshooting Table: Symptoms vs. Likely Causes
| Symptom | Possible Cause | Solution |
|---|---|---|
| First half lit, second half dark | Open circuit after midpoint | Inspect and replace bulbs starting from the first dark socket |
| No lights work | Blown fuse in plug, total open circuit | Check and replace fuses; test continuity along full length |
| Blinking or flickering in one section | Loose connection or failing shunt | Reseat all bulbs; clean contacts; replace unstable bulbs |
| Only one or two bulbs out | Single filament failure with working shunt | No action needed unless aesthetics matter |
| Smell of burning or melted plastic | Short circuit or overloaded strand | Discard immediately—fire hazard |
Mini Case Study: The Strand That Wouldn’t Light After Storage
Jessica pulled out her favorite C7 red-and-white light string after storing it in the attic for 11 months. When she plugged it in, only the first 25 bulbs lit up. She checked the fuses—they were fine. She replaced every bulb in the dark half, but nothing changed.
Using the divide-and-conquer method, she tested voltage at the 13th dark socket and found no power. She moved back toward the lit section and discovered a tiny gap in the wire insulation near the 10th working bulb. Closer inspection revealed a pinhole where a mouse had nibbled the outer jacket, exposing and breaking the inner conductor.
She cut out the damaged segment, spliced the wires with waterproof wire nuts, and sealed them with heat-shrink tubing. After reassembly, the entire string lit perfectly. Her proactive repair saved her $28 on a replacement and ensured her porch display stayed consistent.
“Many light failures aren’t due to bulbs at all—it’s environmental damage during storage or installation that causes hidden breaks.” — Mark Tolbert, Residential Lighting Technician, 15+ years experience
Prevention Checklist: Avoid Open Circuits Next Year
To minimize problems when you unpack next holiday season, follow this checklist:
- ✅ Store lights on cardboard reels or foam tubes to prevent tangling and wire stress.
- ✅ Keep strands in breathable fabric bags—never plastic, which traps moisture.
- ✅ Label boxes clearly: “Front Porch – 50ft Warm White Mini-Lights.”
- ✅ Test every strand before taking it down. Replace weak bulbs now, not later.
- ✅ Retire strands over 5 years old, especially if they’ve been outdoors.
- ✅ Use LED strings where possible—they draw less current, generate less heat, and resist filament failure.
- ✅ Install outdoor strands under eaves or covered areas to reduce weather exposure.
When to Upgrade: From Incandescent to LED
If you’re constantly repairing half-lit strings, consider switching to modern LED technology. While not immune to open circuits, LEDs offer significant advantages:
- Lower power consumption (up to 90% less than incandescent)
- Lifespan of 25,000–50,000 hours vs. 2,000–3,000 for traditional bulbs
- Less heat output, reducing fire risk and material degradation
- Many LED strings use parallel-wired segments, so one failed bulb won’t kill half the strand
Some premium LED strands even feature built-in surge protection and independent bulb operation. Though the upfront cost is higher, the long-term savings in energy and replacement frequency make them a smart investment.
Frequently Asked Questions
Can I connect two half-working strings together?
No. If either string has an open circuit, connecting them can overload the working half or prevent both from lighting. Only daisy-chain fully functional, compatible strands rated for series connection.
Why do some bulbs look blackened inside?
Blackening indicates the filament burned out violently, sometimes damaging the shunt. These bulbs should be replaced immediately, even if the rest of the string works.
Is it safe to repair a light string myself?
Yes, if done carefully. Always unplug before working. Use proper connectors and insulation methods. Never splice wires with tape alone—use wire nuts or solder with heat-shrink tubing. Discard any strand with visible melting, charring, or exposed copper.
Conclusion: Keep the Lights On with Smart Diagnosis
A half-lit Christmas light string isn’t magic—it’s physics. By understanding series circuits and learning to identify open breaks, you gain control over a common holiday hassle. With basic tools and methodical testing, most issues can be resolved in under an hour.
But beyond fixing today’s problem, the real win is building habits that prevent tomorrow’s. Proper storage, annual testing, and timely upgrades turn seasonal frustration into seamless tradition. Don’t let faulty wiring dim your display. Take charge, troubleshoot wisely, and keep your home glowing bright through the holidays.


 浙公网安备
33010002000092号
浙公网安备
33010002000092号 浙B2-20120091-4
Comments
No comments yet. Why don't you start the discussion?