
Nothing disrupts holiday cheer faster than flipping the switch—only to find that precisely half your string glows while the other half stays stubbornly dark. It’s not random failure. In most cases, this exact symptom points to a specific, repairable fault in the circuit design—not a total burnout or power issue. Modern mini-light strings (especially those manufactured after 2005) use series-wired circuits with built-in shunt technology: each bulb contains a tiny bypass wire that activates when the filament breaks, keeping the rest of the string lit. When half the string fails, it usually means one or more shunts have failed to activate—or worse, a critical fuse has blown, or a section of wiring is compromised. This isn’t guesswork territory. With methodical diagnosis, over 85% of these “half-out” failures can be resolved in under 15 minutes—no soldering, no special tools, and no replacement strings required.
How Christmas Light Strings Are Wired (And Why Half Fails)
Understanding the architecture is essential before troubleshooting. Most incandescent mini-light strings (the classic C7/C9 and 2.5V/3.5V mini-bulb types) are wired in series—meaning electricity flows through each bulb in sequence. A single break anywhere in the chain stops current flow downstream. But manufacturers added shunts—tiny coiled wires wrapped around the bulb’s filament—to solve this. When the filament burns out, heat vaporizes an insulating coating on the shunt, allowing electricity to jump across and keep the rest of the string lit.
The “half-out” pattern almost always indicates a fault at the boundary between two sections—typically where the string splits into parallel legs (common in longer sets), or at a fused connection point. Many strings contain two independent series circuits sharing one plug: one leg powers bulbs 1–50, the other powers 51–100. If the fuse for leg two blows—or if a shunt fails *at the first bulb of leg two*—only the second half dies. LED strings behave differently: they often use a mix of series-parallel configurations and constant-current drivers, but half-failure still commonly traces to a faulty rectifier, blown capacitor, or open trace on the PCB near the midpoint connector.
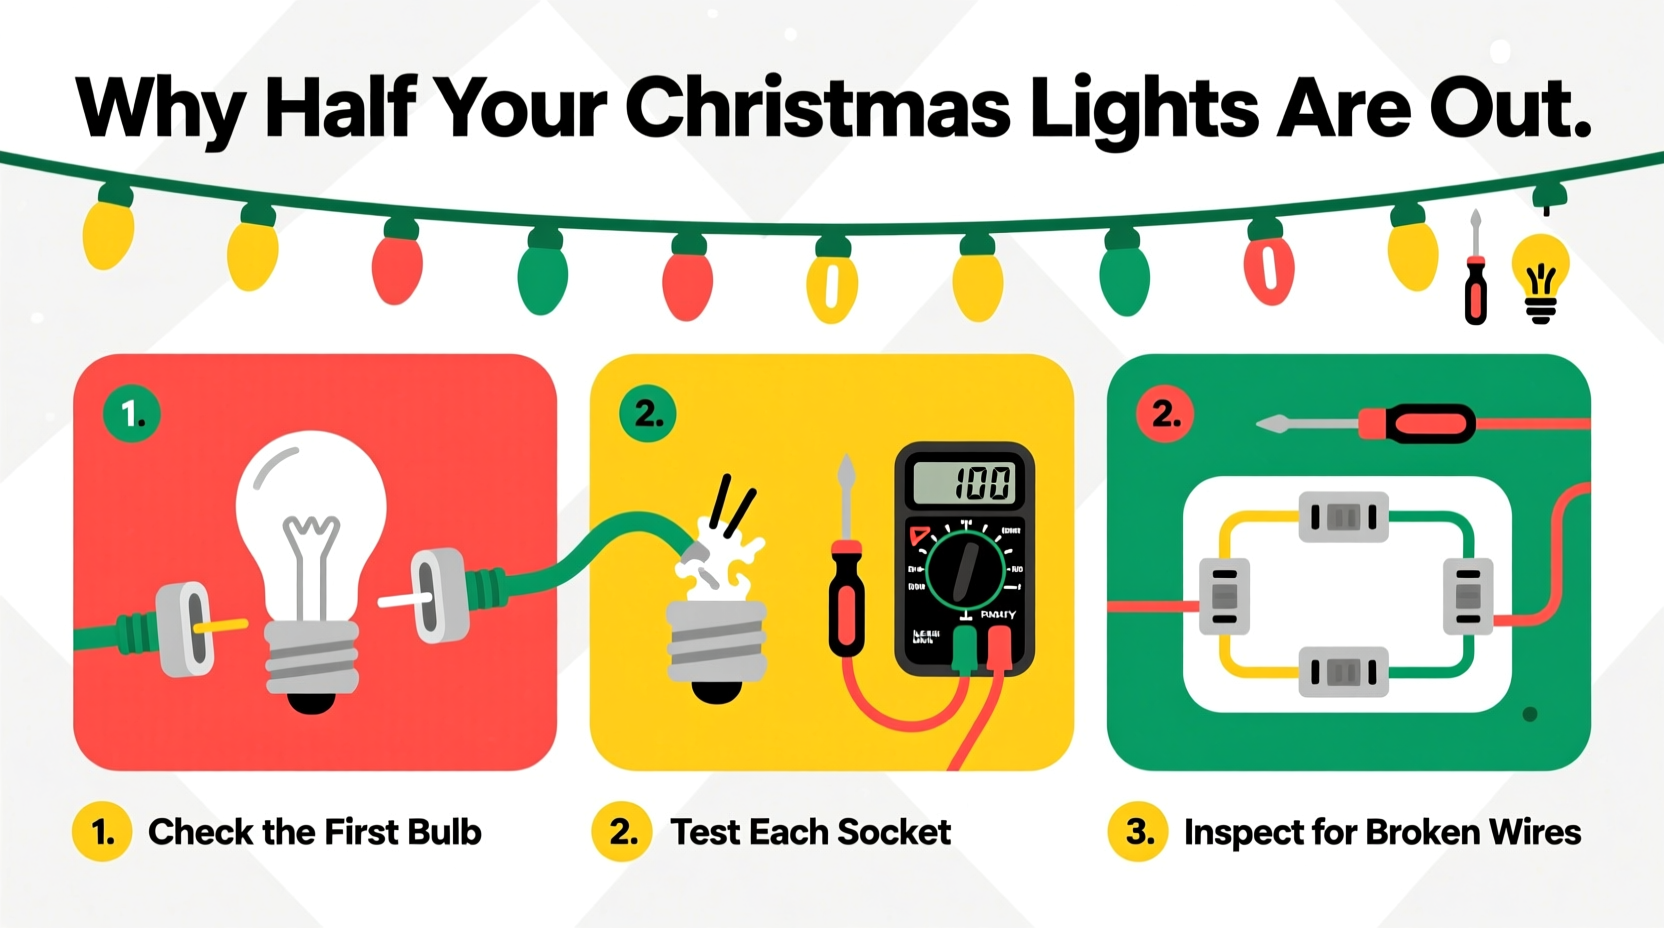
Step-by-Step Diagnostic Sequence
Follow this sequence exactly. Skipping steps leads to wasted time and misdiagnosis. Work from source to load, verifying continuity at each stage.
- Unplug the string — Safety first. Never probe live circuits.
- Check the plug and fuse — Most AC plugs house two 3-amp fuses (one per leg). Slide open the fuse door (often hidden under a small plastic tab). Inspect both fuses visually: a broken filament = blown fuse. Replace only with identical amperage rating.
- Plug into a known-good outlet — Use a different outlet or lamp to rule out GFCI trips or tripped breakers.
- Identify the “break point” — Count bulbs from the plug until the last one that lights. Note its position (e.g., bulb #48). Then count forward from there to the first dark bulb (e.g., bulb #49). That junction is your primary suspect zone.
- Test bulb #48 and #49 with a bulb tester or multimeter — Set multimeter to continuity or use a $5 bulb tester. Insert each bulb individually. A good bulb shows continuity; a bad one reads open. Also check for darkened glass, loose base, or bent contacts.
- Inspect the socket of bulb #49 — Look for corrosion, melted plastic, or a dislodged shunt wire (a tiny silver coil visible inside the socket). Gently wiggle the bulb—if lights flicker, the contact is loose.
- Check the wire between sockets — Run fingers along the wire from bulb #48 to #49. Feel for kinks, cuts, or stiff, brittle sections (especially near the base of bulbs). Brittle insulation often cracks and shorts internally.
Common Causes & Their Fixes
| Cause | Symptom Clue | Fix |
|---|---|---|
| Blown leg fuse | Exactly half the string dead; fuse visibly broken; other half fully bright | Replace fuse with identical rating (usually 3A). If it blows again immediately, skip to “Short Circuit” below. |
| Failed shunt in first dark bulb | Last glowing bulb is #X; #X+1 is dark and tests open; socket looks intact | Replace bulb #X+1 with identical voltage/wattage bulb. If unavailable, temporarily insert a “shunt fixer” (small insulated wire looped across socket contacts) — only as emergency measure. |
| Loose or corroded socket contact | Flickering when bulb wiggled; dark section starts after a bulb with tarnished brass contacts | Carefully clean socket contacts with electrical contact cleaner and soft brush. Bend contacts inward slightly with needle-nose pliers for better grip. |
| Internal wire break | No continuity between adjacent sockets; wire feels stiff or cracked; dark section begins mid-strand, not at bulb junction | Cut out damaged 6-inch segment. Strip 1/4\" insulation from both ends. Twist copper wires together, solder, and seal with heat-shrink tubing (or high-temp electrical tape as temporary fix). |
| Short circuit (rare but critical) | Fuse blows repeatedly; faint burning smell; visible scorch mark near a socket or plug | Unplug immediately. Trace wire from fuse toward dark section. Look for melted insulation, exposed copper touching another wire, or carbonized socket plastic. Replace entire damaged section. |
Mini Case Study: The Porch Light Puzzle
Marisa hung 200-light warm-white incandescent mini-lights along her front porch railing. After three weeks, the right half—exactly 100 bulbs—went dark. She tried swapping bulbs, checking outlets, and even replaced the entire string—only for the same half to fail again on the new set. Frustrated, she contacted a local lighting technician. He asked two questions: “Was the string plugged into a GFCI outlet?” and “Did you drape it over metal railings?” She confirmed both. He tested the outlet’s ground-fault sensitivity and found it tripping at 4mA—below standard 5mA tolerance. More critically, he noticed the dark half ran directly over galvanized steel railing posts. Moisture + salt air + minor insulation wear had created a micro-leak to ground on the “hot” leg wire, causing intermittent shorting that mimicked a fuse blow. The solution? Relocating the string away from metal contact points and installing a dedicated non-GFCI outdoor outlet. Her lights stayed lit for the rest of the season—and she saved $42 on replacement strings.
Expert Insight: What Technicians See Daily
“Over 70% of ‘half-out’ calls I get aren’t about bulbs—they’re about environmental stress. UV exposure embrittles wire insulation. Temperature swings crack solder joints on LED controllers. And people still wrap lights tightly around sharp corners, crushing internal conductors. Prevention is simpler than repair: inspect strings before storage, discard any with cracked wire or discolored sockets, and never force bulbs into tight-fitting sockets.” — Javier Ruiz, Senior Field Technician, HolidayLight Solutions (12 years servicing residential & commercial displays)
Troubleshooting Checklist (Print or Save)
- ☐ Unplugged string before handling
- ☐ Checked both fuses in plug (not just one)
- ☐ Verified outlet is live and not GFCI-tripped
- ☐ Identified exact bulb number where light stops (#X) and where darkness begins (#X+1)
- ☐ Tested bulb #X (last lit) and #X+1 (first dark) with tester/multimeter
- ☐ Inspected socket #X+1 for corrosion, bent contacts, or missing shunt
- ☐ Ran fingers along wire between #X and #X+1 for kinks or brittleness
- ☐ Checked for physical damage near connectors, splices, or end plugs
- ☐ Ruled out extension cord overload (max 3 strings daisy-chained per outlet)
FAQ: Your Top Questions Answered
Can I mix old and new light strings on the same circuit?
No. Older strings (pre-2000) often lack shunts and use higher-voltage bulbs (e.g., 6V instead of 2.5V). Mixing them causes uneven current draw, overheating, and premature shunt failure. Even mixing LED and incandescent strings on one circuit risks driver overload and inconsistent dimming. Always group by manufacture year, voltage rating, and technology type.
Why do some bulbs glow dimly or flicker before going out?
Dim or flickering bulbs signal failing filaments or weak shunt activation. As the filament thins, resistance increases, reducing current to downstream bulbs. This stresses neighboring shunts, causing cascading failures. Replace flickering bulbs immediately—even if they still light—to prevent half-string blackouts later.
Is it safe to cut and splice a light string myself?
Yes—if done correctly. Use wire strippers (not scissors), twist connections tightly, solder with rosin-core solder, and insulate with heat-shrink tubing rated for 105°C. Never use Scotch tape or standard vinyl electrical tape: heat buildup degrades it rapidly. If uncomfortable with soldering, replace the entire section using manufacturer-approved splice kits (available from brands like NOMA or GE).
Prevention: Extend Your Lights’ Lifespan Beyond the Season
Troubleshooting fixes today’s problem—but prevention avoids next year’s frustration. Store strings properly: wrap loosely around a cardboard tube (never tight coils), keep in climate-controlled space (avoid garages or attics where temperatures swing past -20°F or 110°F), and inspect every socket and wire segment before boxing. Label strings by type, voltage, and year purchased. Replace bulbs annually—even if they still work—as filament fatigue accumulates invisibly. For LED strings, unplug after use: standby current slowly degrades electrolytic capacitors in the driver board. And invest in a $15 bulb tester with continuity mode—it pays for itself in one avoided string replacement.
Half-out Christmas lights aren’t a sign that your display is doomed—they’re a precise diagnostic signal. That dark section isn’t random chaos; it’s a breadcrumb trail pointing directly to a solvable fault. Whether it’s a $0.10 fuse, a $0.25 replacement bulb, or five minutes spent cleaning a corroded socket, the fix is almost always within reach. You don’t need specialized tools or electrician certification—just methodical observation, the right sequence, and confidence in the process. This holiday season, reclaim control over your lights. Test one string using the steps above—not as a chore, but as a small act of joyful problem-solving. Because the best decorations aren’t just beautiful—they’re reliable, resilient, and quietly engineered to bring light, exactly when you need it.


 浙公网安备
33010002000092号
浙公网安备
33010002000092号 浙B2-20120091-4
Comments
No comments yet. Why don't you start the discussion?