
It’s a sensation every driver dreads: you're cruising on the highway, approaching an exit, and as you press the brake pedal, the steering wheel starts to vibrate violently. The car shakes as if it might come apart. This isn’t just uncomfortable—it’s a red flag. As a certified automotive technician with over 15 years of experience in brake diagnostics and repair, I’ve seen this issue more times than I can count. While many drivers assume it's “just part of driving,” shaking during high-speed braking is almost always a symptom of a mechanical problem that needs attention—sometimes immediately.
The good news? Most causes are diagnosable, fixable, and often preventable with regular maintenance. In this detailed guide, we’ll break down exactly why your car might be shaking when you brake at high speeds, how mechanics identify the root cause, and what steps you should take to restore smooth, safe stops.
Common Mechanical Causes of Brake Shaking
When a vehicle shakes under braking—especially at higher speeds—the culprit is usually related to the braking or suspension system. Here are the most frequent mechanical reasons:
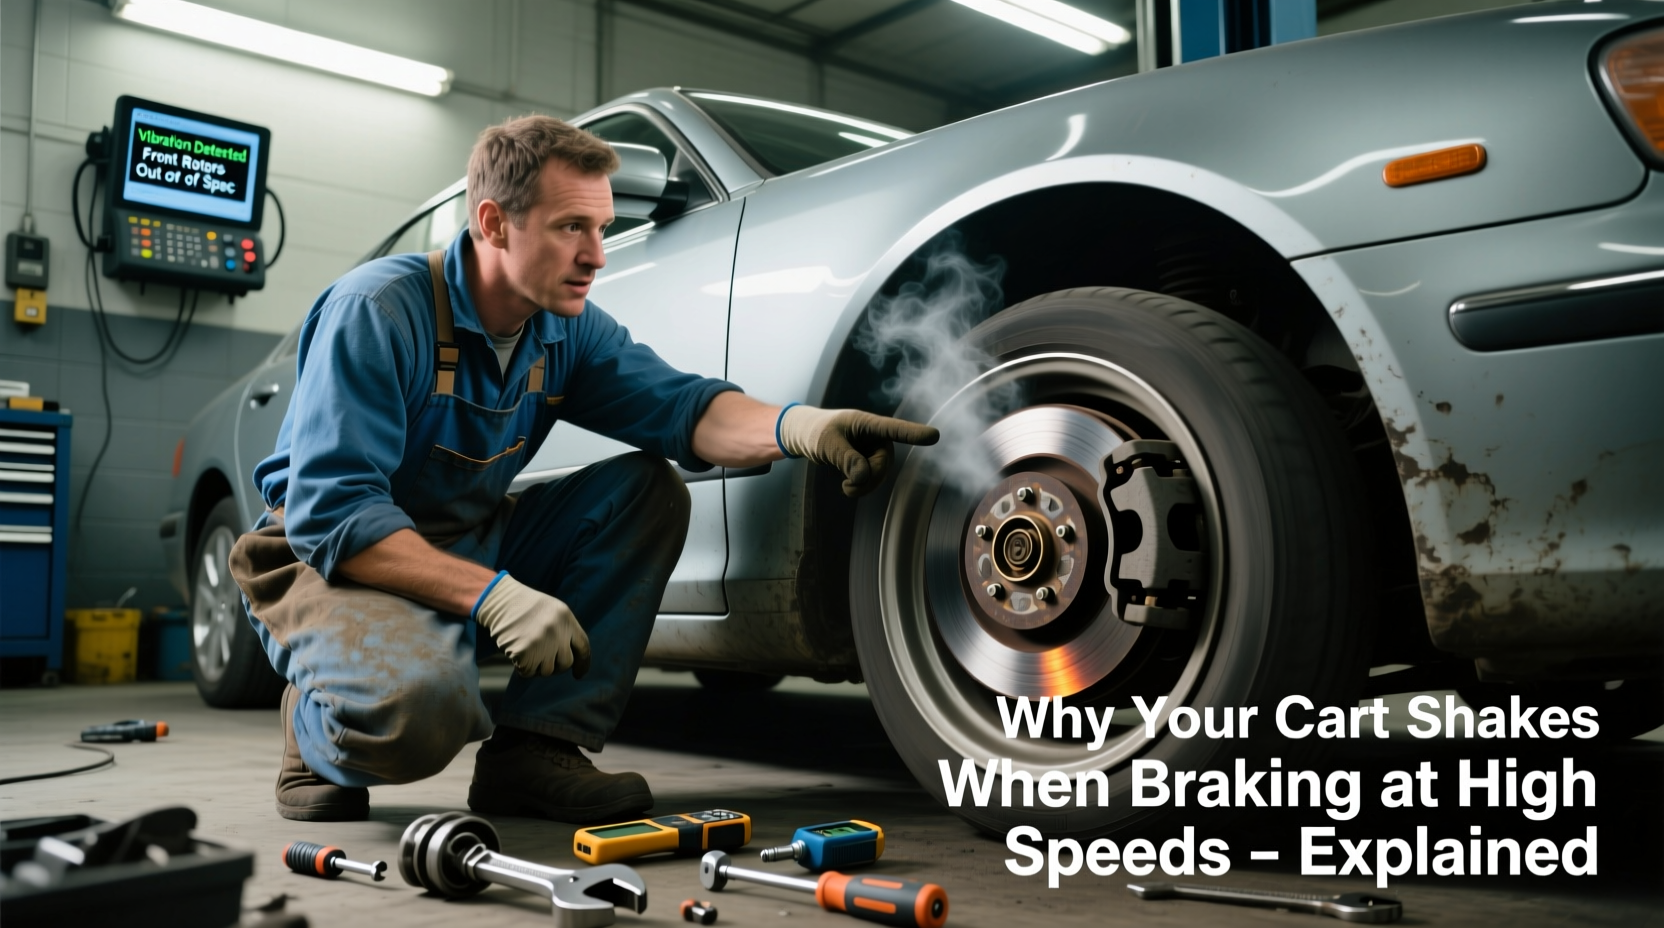
1. Warped Brake Rotors
Rotors are the large metal discs behind your wheels that the brake pads clamp onto when you press the brake pedal. Over time, especially under heavy use or poor heat dissipation, rotors can become warped due to uneven heating and cooling. A warped rotor doesn’t make even contact with the brake pad, causing pulsation felt through the steering wheel or brake pedal.
This is one of the most common diagnoses I see in shops. Contrary to popular belief, warping isn't always due to age—it can happen from sudden temperature changes (like braking hard after highway driving) or low-quality aftermarket rotors.
2. Uneven Brake Pad Deposits
Sometimes the rotor surface isn’t warped, but has developed uneven deposits of brake pad material. This condition, known as \"pad transfer,\" creates high spots on the rotor that mimic the effect of warping. It often occurs when low-quality pads are used or when new pads aren’t properly bedded in after installation.
3. Worn Suspension Components
While brakes get the spotlight, worn suspension parts like ball joints, control arms, tie rod ends, or wheel bearings can amplify vibrations during braking. These components keep your wheels aligned and stable. If they’re loose or degraded, even minor rotor imperfections can turn into severe shaking.
4. Improperly Torqued Lug Nuts
A surprisingly common but overlooked cause is incorrect lug nut torque. If lug nuts are too tight, too loose, or tightened in the wrong sequence, they can distort the rotor over time. Always use a torque wrench—not an impact gun—to secure wheels properly.
5. Tire and Wheel Issues
Unbalanced tires, bent rims, or separated tire tread can also cause shaking under braking. The key difference? Tire-related vibration usually occurs at certain speeds regardless of braking. But when combined with braking force, these issues can intensify dramatically.
How Mechanics Diagnose the Problem
Diagnosis begins with a systematic inspection, not guesswork. Here’s how professionals approach the issue:
- Test Drive: Reproduce the symptoms under controlled conditions. Note whether the shake is felt in the steering wheel (front-end issue), seat (rear-end), or brake pedal.
- Visual Inspection: Remove wheels to check for obvious rotor damage, pad wear, rust buildup, or suspension wear.
- Rotor Runout Measurement: Using a dial indicator, measure lateral runout. Anything over 0.002 inches (0.05 mm) typically requires resurfacing or replacement.
- Thickness Variation Check: Measure rotor thickness at multiple points. Variance greater than 0.001 inches indicates uneven wear.
- Suspension Evaluation: Check for play in ball joints, tie rods, and wheel bearings by lifting the vehicle and performing a wiggle test.
- Tire Assessment: Inspect for cupping, separation, or imbalance using a balancer if needed.
Modern diagnostic tools like electronic suspension analyzers and digital micrometers help pinpoint issues invisible to the naked eye. But experience still matters—knowing which component to suspect first saves time and money.
“Over half the brake-shake cases I see stem from improperly installed aftermarket parts. It’s not always the rotor’s fault—it’s how it was mounted.” — Carlos Mendez, ASE Master Technician & Shop Foreman, Precision Auto Care
Do’s and Don’ts When Dealing With Brake Vibration
| Do | Don’t |
|---|---|
| Get the issue inspected promptly—even if the shaking seems minor. | Ignore the vibration or assume it will go away on its own. |
| Use OEM or high-grade aftermarket rotors and pads. | Cheap out on low-quality brake parts to save a few dollars. |
| Have rotors resurfaced only if they meet minimum thickness specs. | Re-surface rotors that are too thin or cracked. |
| Follow proper bedding-in procedures after new brake installation. | Drive aggressively right after replacing brakes. |
| Check tire balance and alignment regularly. | Assume all shaking is caused by the brakes. |
Step-by-Step Guide to Addressing Brake Shaking
If you're experiencing shaking during high-speed braking, follow this actionable process:
- Stop Driving Aggressively: Avoid hard braking and reduce speed until the issue is diagnosed. Continued stress can worsen rotor warping or damage suspension parts.
- Inspect for Obvious Signs: Look through the wheel spokes. Are rotors discolored (blue or black spots)? Are there deep grooves or cracks? Visible damage means immediate service is needed.
- Visit a Trusted Mechanic: Choose a shop with ASE-certified technicians who specialize in brake systems. Ask for a full brake and suspension inspection.
- Review Diagnostic Findings: Ensure the mechanic provides clear evidence—photos, measurements, or test drive notes—before authorizing repairs.
- Approve Repair Plan: Most cases require either rotor resurfacing (if within spec) or full replacement. Pads should be replaced in pairs per axle. Worn suspension parts must be addressed simultaneously.
- Verify Proper Installation: Confirm that rotors were cleaned before installation, pads are correctly seated, and lug nuts were torqued properly.
- Bed-In New Brakes: After service, perform several moderate stops from 45 mph to 10 mph without coming to a complete stop, allowing pads and rotors to form an even transfer layer.
Real-World Case Study: Sarah’s Highway Shake
Sarah, a 38-year-old commuter, brought her 2017 Honda Accord into our shop complaining of violent steering wheel shake when slowing from highway speeds. She’d recently had new front tires installed at a chain store but hadn’t touched the brakes.
During our test drive, the shake began around 65 mph under braking and intensified down to 40 mph. No noise, no warning lights. Initial suspicion: warped rotors. But upon inspection, rotor runout measured only 0.0015 inches—within acceptable range.
Digging deeper, we found the left front lower ball joint had significant play. Further testing revealed the tire installer had overtightened the lug nuts with an impact gun, distorting the hub slightly and accelerating wear on the already-fatigued joint. The combination created harmonic vibration amplified under braking load.
After replacing the ball joint, re-torquing the wheels, and cleaning the rotors, the shake disappeared. Total cost: less than a rotor replacement would have been. This case underscores why comprehensive diagnosis beats quick fixes.
Prevention Checklist: Keep Your Brakes Smooth
- ✔️ Schedule brake inspections every 12,000 miles or annually
- ✔️ Replace brake fluid every 2 years to prevent corrosion in calipers
- ✔️ Use ceramic or semi-metallic pads suited to your driving style
- ✔️ Avoid riding the brakes downhill—use engine braking instead
- ✔️ Never use compressed air tools to tighten lug nuts
- ✔️ Rotate tires every 5,000–7,000 miles to promote even wear
- ✔️ Address minor vibrations early before they escalate
Frequently Asked Questions
Can I continue driving if my car shakes when braking?
You can, but you shouldn’t for long. Occasional light pulsation may not be urgent, but persistent or worsening shake increases stopping distance and risks damaging other components. Have it checked within a week—or immediately if the vibration is severe or accompanied by noise.
Is rotor resurfacing better than replacement?
Resurfacing (also called turning) can restore a smooth surface if the rotor has enough thickness remaining and no cracks. However, modern rotors are often so thin from the factory that replacement is safer and more cost-effective long-term. Resurfacing also shortens rotor life.
Why does the shaking only happen at high speeds?
At higher speeds, small imperfections in rotors, tires, or suspension are magnified due to increased rotational force. The frequency of vibration matches the rotation rate, creating resonance that diminishes at lower speeds. This is why some issues only appear above 55 mph.
Conclusion: Safety Starts With What You Feel Behind the Wheel
Your car communicates through feedback—steering resistance, pedal feel, noise, and vibration. A shake during high-speed braking isn’t normal wear; it’s your vehicle telling you something is off. Whether it’s a $200 rotor replacement or a critical suspension failure waiting to happen, ignoring the symptom puts you and others at risk.
Brake safety isn’t about perfection—it’s about timely action. Don’t wait for the wobble to get worse. Visit a qualified mechanic, ask for a full inspection, and insist on transparency. With proper care, most brake systems last 40,000 to 70,000 miles without drama. But when issues arise, early intervention is the cheapest and safest path forward.


 浙公网安备
33010002000092号
浙公网安备
33010002000092号 浙B2-20120091-4
Comments
No comments yet. Why don't you start the discussion?