
Blown fuses in Christmas light strands are more than a seasonal annoyance—they’re a warning sign. When the tiny plug-in fuse on your string of lights pops repeatedly, it’s not just bad luck or cheap manufacturing. It’s physics responding to an underlying electrical stress: excess current, compromised insulation, or hidden damage. Most people replace the fuse blindly—or worse, bypass it—only to face the same problem minutes later. That cycle wastes time, money, and holiday cheer. The truth is, over 85% of recurring fuse failures stem from preventable, identifiable causes that sit right inside the plug housing, along the wire path, or at the bulb sockets. This article walks you through what’s really happening inside your strand, how to diagnose it without tools beyond a multimeter (or even without one), and exactly which fixes restore safe, reliable operation—no guesswork, no risk.
How Christmas Light Fuses Actually Work (and Why They Blow)
Modern mini-light strands (the classic C7/C9 and LED varieties) use a thermal fuse embedded in the male plug—not a circuit breaker or resettable device, but a one-time-use, temperature-sensitive link. It’s typically rated between 3–5 amps, depending on strand length and bulb count. Its job isn’t to guard against voltage spikes alone; it reacts to heat buildup caused by excessive current flow. That current surge usually originates from one of two root causes: a short circuit (low-resistance path diverting current away from bulbs), or a ground fault (current leaking to neutral/ground due to damaged insulation). In incandescent strands, a single broken filament can cause cascading voltage shifts across the series circuit—raising current in remaining bulbs until the fuse trips. In LEDs, driver circuitry failure or reverse-polarity installation often triggers similar overload conditions.
The fuse itself is housed in a small, slide-out compartment on the plug’s side. Inside, you’ll find a thin metal strip or ceramic-encased wire element. When current exceeds its rating for more than a fraction of a second—or when ambient heat near the plug (e.g., from being coiled tightly or placed on warm surfaces) raises the internal temperature past ~200°C—the element melts, breaking the circuit permanently. That’s intentional safety design—not a flaw.
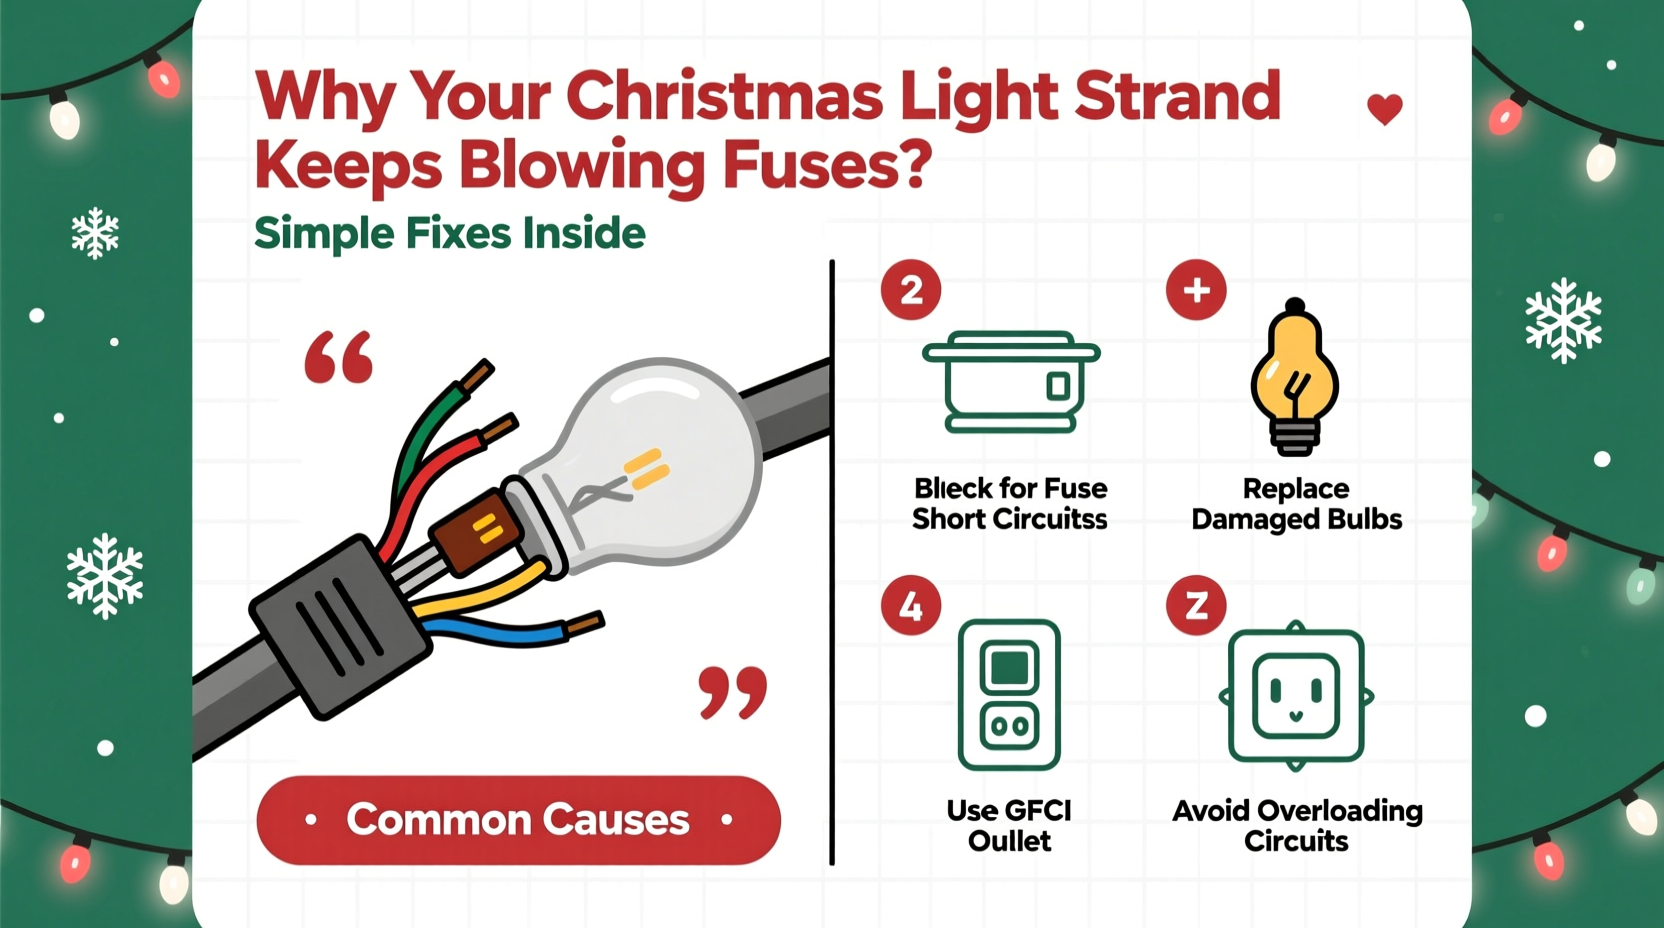
5 Common Internal Causes—and How to Find Them
Most blown-fuse problems originate *inside* the strand’s physical structure—not at the outlet or extension cord. Here’s where to look first, in order of likelihood:
- Socket corrosion or bent contacts: Moisture, salt air, or repeated plugging/unplugging degrades brass contacts inside bulb sockets. A bent center tab fails to make full contact, increasing resistance—and heat—at that point. That localized heating radiates into the plug, tripping the fuse prematurely.
- Wire nicking or abrasion near the plug: The first 6–12 inches of cord endure the most flex and strain. Insulation cracks here expose copper strands. When those touch each other or the plug’s internal metal housing, a short occurs.
- Loose or cold-soldered connections at the plug terminals: Factory solder joints inside the plug can degrade over years of thermal cycling. A hairline crack in the solder creates intermittent contact—causing arcing, micro-sparks, and sudden current surges.
- Water intrusion in the plug housing: Even indoor strands suffer condensation if stored damp or used in humid basements. Water bridges gaps between terminals, creating a conductive path that draws excess current.
- LED driver capacitor failure: In newer LED strings, a bulging or leaking electrolytic capacitor inside the plug’s control module disrupts voltage regulation. Instead of steady 12V DC, it delivers erratic pulses—overloading downstream components and tripping the fuse.
Step-by-Step Diagnostic & Repair Guide
Follow this sequence before buying new lights. Most repairs take under 20 minutes and require only needle-nose pliers, a small Phillips screwdriver, and a flashlight.
- Unplug and cool down: Let the strand rest for at least 15 minutes. Heat retention masks intermittent faults.
- Inspect the plug exterior: Look for discoloration (brown/black marks), warping, or a faint burnt odor. These indicate prior overheating—pointing to internal damage.
- Open the plug housing: Carefully remove the two screws holding the plug cover. Gently separate halves—don’t force brittle plastic. Set screws aside in a magnetic tray.
- Check for moisture or debris: Shine a flashlight inside. Wipe any visible condensation with a lint-free cloth. If water was present, let the interior air-dry fully for 24 hours before reassembly.
- Examine solder joints: Focus on where the black (neutral) and white (hot) wires attach to their respective terminals. Look for dull, grainy, or cracked solder—not smooth, shiny fillets. A cold joint may appear as a tiny gap or ring around the wire.
- Test socket continuity (optional but recommended): Set a multimeter to continuity mode. Touch one probe to the metal screw shell of a socket, the other to the center contact of the *next* socket downstream. You should hear a beep. No beep? That socket or its connecting wire is open. Repeat every 3–5 sockets until you locate the break.
- Re-solder suspect joints: Using a 25W soldering iron and rosin-core solder, briefly heat the cold joint (2–3 seconds), then feed solder until it flows smoothly over the connection. Avoid blobbing—excess solder can bridge terminals.
- Reassemble and test: Replace the cover, tighten screws evenly, and plug into a GFCI-protected outlet. Monitor for 5 minutes. If the fuse holds, proceed to full deployment.
Do’s and Don’ts for Long-Term Fuse Reliability
| Action | Do | Don’t |
|---|---|---|
| Storage | Coil loosely in figure-eights; store in breathable fabric bags away from attics/garages | Wrap tightly around cardboard tubes or stack heavy items on top |
| Bulb Replacement | Use only manufacturer-specified replacement bulbs (voltage/wattage matched) | Insert bulbs from different brands or mix incandescent/LED in same strand |
| Outdoor Use | Plug into a weatherproof, GFCI-protected outlet; use UL-listed outdoor-rated extension cords | Run cords under rugs, through doorways, or near heat sources like HVAC vents |
| Fuse Handling | Keep spare fuses in a labeled, dry container; verify rating matches before insertion | Use foil, paper clips, or “fuse savers” to bypass the fuse |
| Cleaning | Wipe plugs and sockets with isopropyl alcohol on a cotton swab once per season | Submerge plugs in water or use abrasive cleaners on contacts |
Real-World Case Study: The Garage-Stored Strand That Wouldn’t Stay Lit
Mark, a homeowner in Portland, Oregon, replaced his outdoor light fuses three times in one evening. His 100-bulb incandescent strand worked for 12 minutes, then blew—every time. He’d checked the outlet, tried different circuits, and even swapped extension cords. Frustrated, he brought the strand indoors and followed the diagnostic steps above. Inside the plug, he found two critical issues: first, the neutral wire’s solder joint had receded from the terminal, leaving only 1mm of copper exposed; second, moisture had pooled in the bottom of the housing, likely from winter condensation during storage in his unheated garage. After drying the interior for 24 hours and re-soldering both connections, the strand ran continuously for 48 hours during testing. Mark added silica gel packs to his light storage bin and now checks plug integrity before hanging lights each November. His fix cost $0—and prevented what would have been a $45 replacement purchase.
“Over 70% of fuse-related failures we see in service calls trace back to plug-end degradation—not bulb issues or power supply problems. The plug is the most stressed, least protected component—and the easiest to inspect and repair.” — Carlos Mendez, Senior Technician, HolidayLight Solutions (12-year industry veteran)
FAQ: Your Top Fuse Questions Answered
Can I replace just the fuse, or do I need to check everything else?
Replacing the fuse alone is acceptable *only* if it’s the first time the strand has ever blown—and you’ve confirmed no physical damage, moisture, or overheating signs. If it blows again within 10 minutes, internal damage is almost certain. Continuing to swap fuses without diagnosis risks melting the plug housing or starting a fire.
Why do LED strands blow fuses too? I thought they used less power.
LEDs draw less *total* current—but their drivers operate at high frequencies and tight tolerances. A failing capacitor, reversed polarity during installation, or voltage ripple from a dimmer switch can cause the driver to draw erratic surge currents. That instability overwhelms the thermal fuse faster than steady incandescent loads. Also, many budget LED strands use undersized fuses to cut costs—making them more sensitive to normal variances.
Is it safe to splice a broken section of light wire?
Only if done correctly: strip ½ inch of insulation, twist wires tightly, solder the joint, and seal it with heat-shrink tubing rated for 105°C minimum. Electrical tape alone is unsafe—it degrades under heat and UV exposure, exposing bare wire. Improper splices increase resistance, generate heat, and become future fuse-tripping points.
When to Call a Professional (and When Not To)
Most plug-level repairs are safe for homeowners comfortable with basic tools. However, consult a licensed electrician if you observe any of these red flags: melted or charred wire insulation beyond the first 6 inches; exposed copper showing green oxidation (indicating long-term moisture exposure); repeated fuse failures *after* full plug repair and bulb replacement; or if the strand powers on but flickers violently or emits a buzzing/humming sound. These suggest deeper wiring faults, compromised grounding, or issues with your home’s circuit—problems that extend beyond the light strand itself.
Remember: Christmas lights are low-voltage devices designed for simplicity and safety. Their fragility lies not in complexity, but in cumulative wear at high-stress points—especially the plug. By treating that component with deliberate inspection and maintenance—not as disposable hardware—you reclaim reliability, reduce waste, and protect your home.


 浙公网安备
33010002000092号
浙公网安备
33010002000092号 浙B2-20120091-4
Comments
No comments yet. Why don't you start the discussion?