
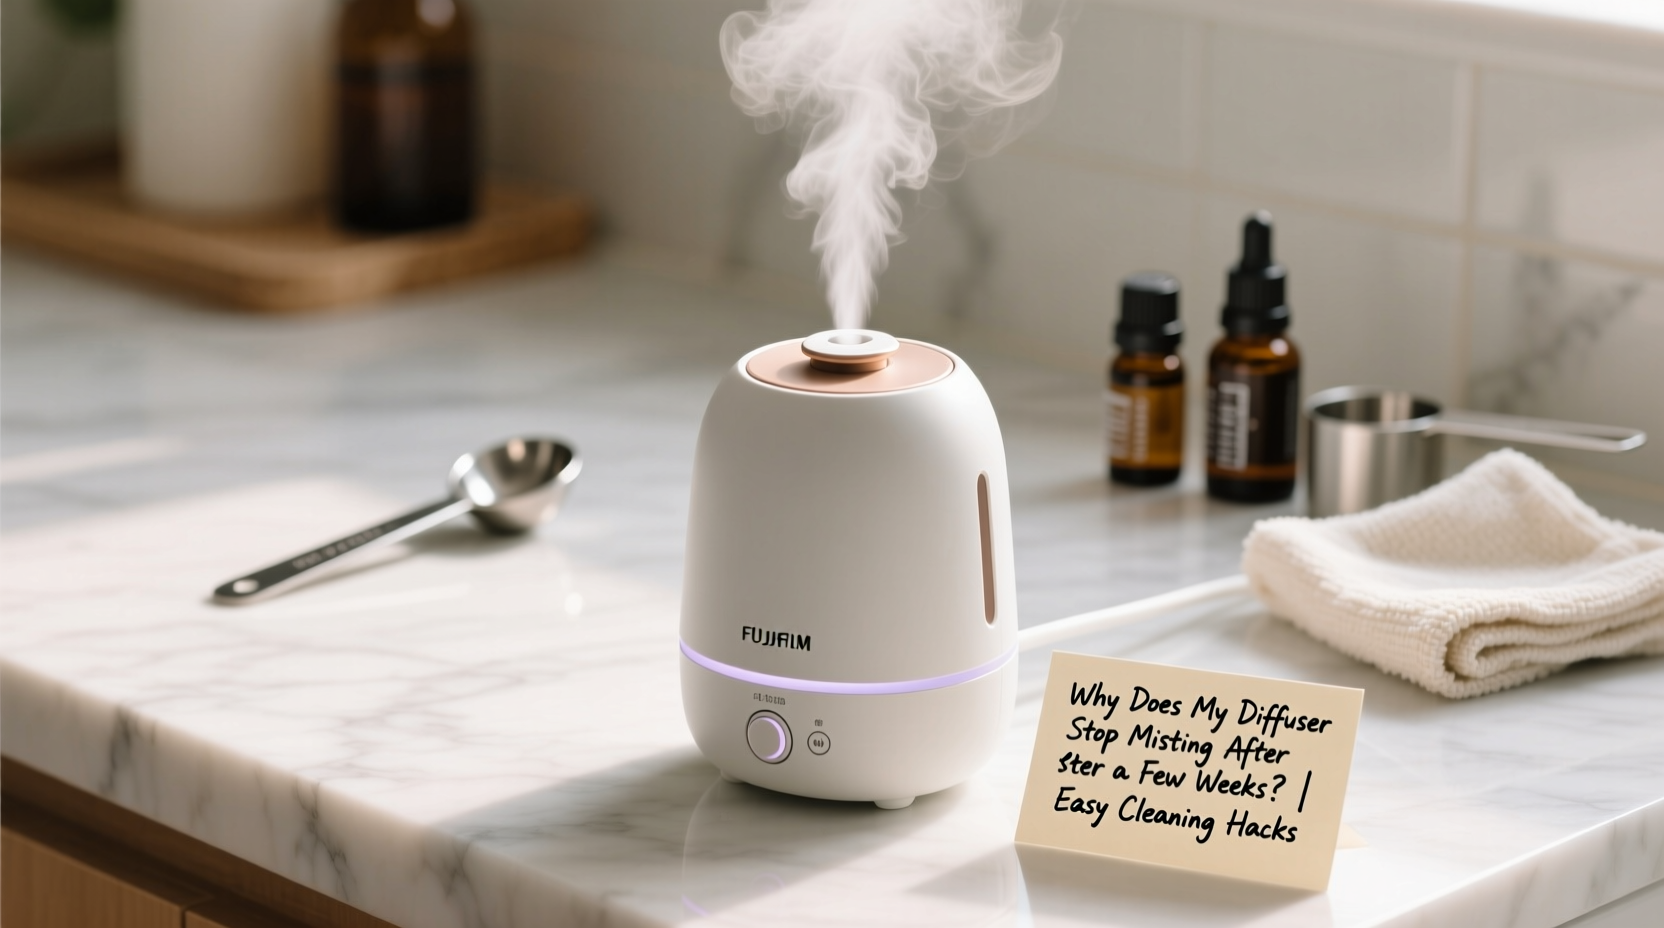
Essential oil diffusers are a popular way to enhance indoor air quality, elevate mood, and create a calming atmosphere in homes and offices. But nothing is more frustrating than turning on your diffuser only to find it sputtering weakly—or not producing mist at all—after just a few weeks of use. You’re not imagining things, and the device isn’t necessarily defective. In most cases, the issue stems from mineral buildup, oil residue, or poor maintenance. The good news? With a few simple cleaning techniques and consistent care habits, you can restore your diffuser’s performance and keep it running smoothly for months or even years.
Why Your Diffuser Stops Misting Prematurely
The core function of an ultrasonic diffuser relies on a small ceramic plate vibrating at high frequency to break water and essential oils into a fine mist. Over time, several factors interfere with this mechanism:
- Mineral deposits from tap water clog the nebulizer and reduce vibration efficiency.
- Oil residue buildup coats internal components, especially when thick oils like patchouli or frankincense are used frequently.
- Algae or mold growth occurs if water is left sitting in the reservoir between uses.
- Improper cleaning routines allow grime to accumulate, eventually impairing function.
Unlike mechanical failures, these issues are almost always preventable—and reversible—with proper care. Most manufacturers don’t emphasize how crucial routine maintenance is, leading users to believe their unit has failed when it simply needs cleaning.
“Over 80% of diffuser malfunctions reported by customers are due to avoidable residue and mineral buildup—not hardware defects.” — Dr. Lena Torres, Home Appliance Engineer & Air Quality Researcher
Step-by-Step Guide to Deep Clean Your Diffuser
If your diffuser has already stopped misting effectively, a deep clean can often revive it. Follow this proven method to remove stubborn deposits and oil residue from both visible and hidden components.
- Unplug and disassemble – Turn off and unplug your diffuser. Remove the cover and any detachable parts. Wipe down the exterior with a dry cloth.
- Prepare a cleaning solution – Mix equal parts white vinegar and distilled water. Vinegar dissolves mineral deposits, while being gentle enough not to damage plastic or electronic seals.
- Soak the base – Pour the vinegar-water solution into the water tank, ensuring it covers the internal nebulizer plate. Let it sit for 30–60 minutes. For heavily clogged units, leave it up to 2 hours.
- Scrub gently – Use a soft-bristled toothbrush (an old one works perfectly) to lightly scrub around the nebulizer and inside corners. Avoid metal tools or abrasive pads—they can scratch or damage the transducer.
- Rinse thoroughly – Empty the solution and rinse the tank multiple times with fresh distilled water to remove all traces of vinegar and loosened debris.
- Wipe and dry completely – Use a microfiber cloth to dry all parts. Allow the base to air-dry upside down for at least an hour before reassembling.
- Test with plain water – Refill with distilled water only (no oils) and run the diffuser for 10 minutes. If mist returns, the cleaning was successful.
This process removes the invisible gunk that accumulates beneath the surface and restores full functionality in most cases. It’s also safe for nearly all ultrasonic diffusers, regardless of brand.
Weekly Maintenance Checklist to Prevent Future Issues
Prevention is far easier than repair. Incorporate these simple steps into your routine to avoid misting problems altogether.
- ✅ Empty water immediately after each use
- ✅ Wipe the interior with a damp cloth weekly
- ✅ Use only distilled or filtered water (never tap water)
- ✅ Limit diffusing sessions to 3–5 hours per day
- ✅ Rotate essential oils to avoid heavy-residue buildup
- ✅ Perform a vinegar deep clean every 3–4 weeks
- ✅ Store in a dust-free area when not in regular use
Do’s and Don’ts of Diffuser Care
| Do’s | Don’ts |
|---|---|
| Use distilled or demineralized water | Never use tap or hard water |
| Clean the reservoir weekly with a damp cloth | Avoid soaking the entire unit in water |
| Run vinegar solution monthly for descaling | Don’t use bleach or harsh chemicals |
| Dry all parts thoroughly before reuse | Never operate with wet internal components |
| Diffuse in well-ventilated rooms | Don’t leave unattended for long periods |
Following these guidelines preserves the delicate electronics and ensures consistent mist output. Tap water, in particular, is a major culprit behind early diffuser failure due to limescale formation. Even if your area has “soft” water, trace minerals still accumulate over time.
Real Example: Reviving a Seemingly Dead Diffuser
Sarah, a yoga instructor from Portland, relied on her diffuser daily to set the mood in her home studio. After six weeks of regular use, the mist dwindled to a faint puff before stopping entirely. Assuming it was broken, she nearly replaced it—until a friend suggested a vinegar soak.
She followed the deep-cleaning steps, letting the base soak for 45 minutes. To her surprise, after rinsing and drying, the diffuser produced a strong, steady mist again. She now cleans it every three weeks and uses only distilled water. Eight months later, it still performs like new.
Sarah’s experience is common. Many users replace functioning devices prematurely because they don’t realize cleaning can restore performance. A little maintenance goes a long way.
Alternative Cleaning Methods for Sensitive Units
While vinegar is highly effective, some diffusers—especially those with wood accents or special coatings—may react poorly to acidic solutions. In such cases, consider these alternatives:
- Lemon juice and water (1:1) – Natural citric acid helps dissolve buildup but is slightly milder than vinegar. Rinse thoroughly afterward.
- Baking soda paste – Mix with a few drops of water to form a paste. Apply to the nebulizer area with a cotton swab to lift grime without scratching.
- Isopropyl alcohol (70%) – Dampen a cotton pad and wipe interior surfaces to disinfect and remove oily residue. Do not soak the base; use sparingly and rinse well.
Always consult your user manual before using alternative cleaners. When in doubt, stick to distilled water and gentle wiping.
Frequently Asked Questions
How often should I clean my diffuser?
For best results, wipe the interior with a damp cloth weekly and perform a deep clean with vinegar every 3–4 weeks. If you use your diffuser daily or with thick oils, consider cleaning every two weeks.
Can I use tap water if I clean it more often?
No. Tap water contains minerals that rapidly build up on the nebulizer, even with frequent cleaning. Distilled or filtered water is essential for longevity. The small added cost prevents expensive replacements down the line.
Why does my diffuser smell bad even after cleaning?
Foul odors usually indicate trapped moisture or microbial growth. Ensure all parts are fully dry before storage. Try a cleaning cycle with a few drops of lemon essential oil in distilled water—it naturally deodorizes and disinfects without residue.
Conclusion: Keep Your Diffuser Mist Strong and Steady
Your diffuser doesn’t have to stop working after a few weeks. With consistent care, the right water, and simple cleaning habits, it can deliver soothing mist for years. The root cause of most misting failures isn’t age or design flaws—it’s neglect. By understanding how buildup affects performance and taking proactive steps, you protect your investment and enjoy uninterrupted aromatherapy benefits.
Start today: empty the tank, gather some vinegar, and give your diffuser the refresh it deserves. Once you see how easily it springs back to life, you’ll never overlook maintenance again.


 浙公网安备
33010002000092号
浙公网安备
33010002000092号 浙B2-20120091-4
Comments
No comments yet. Why don't you start the discussion?