
Applying foundation should enhance your complexion, not mask it under layers of product that settle into fine lines and appear heavy. Yet many people struggle with a cakey finish—even after diligently moisturizing. This frustrating outcome doesn’t mean your skin care routine is flawed or your foundation is to blame. More often, it’s the result of mismatched techniques, product choices, or overlooked prep steps.
Cakey makeup can make skin look dry, aged, or uneven, undermining the very purpose of wearing foundation. The good news: this issue is highly preventable. With the right approach—from skincare synergy to application tools—achieving a smooth, breathable, second-skin finish is entirely within reach.
Understanding Why Foundation Looks Cakey (Even After Moisturizing)
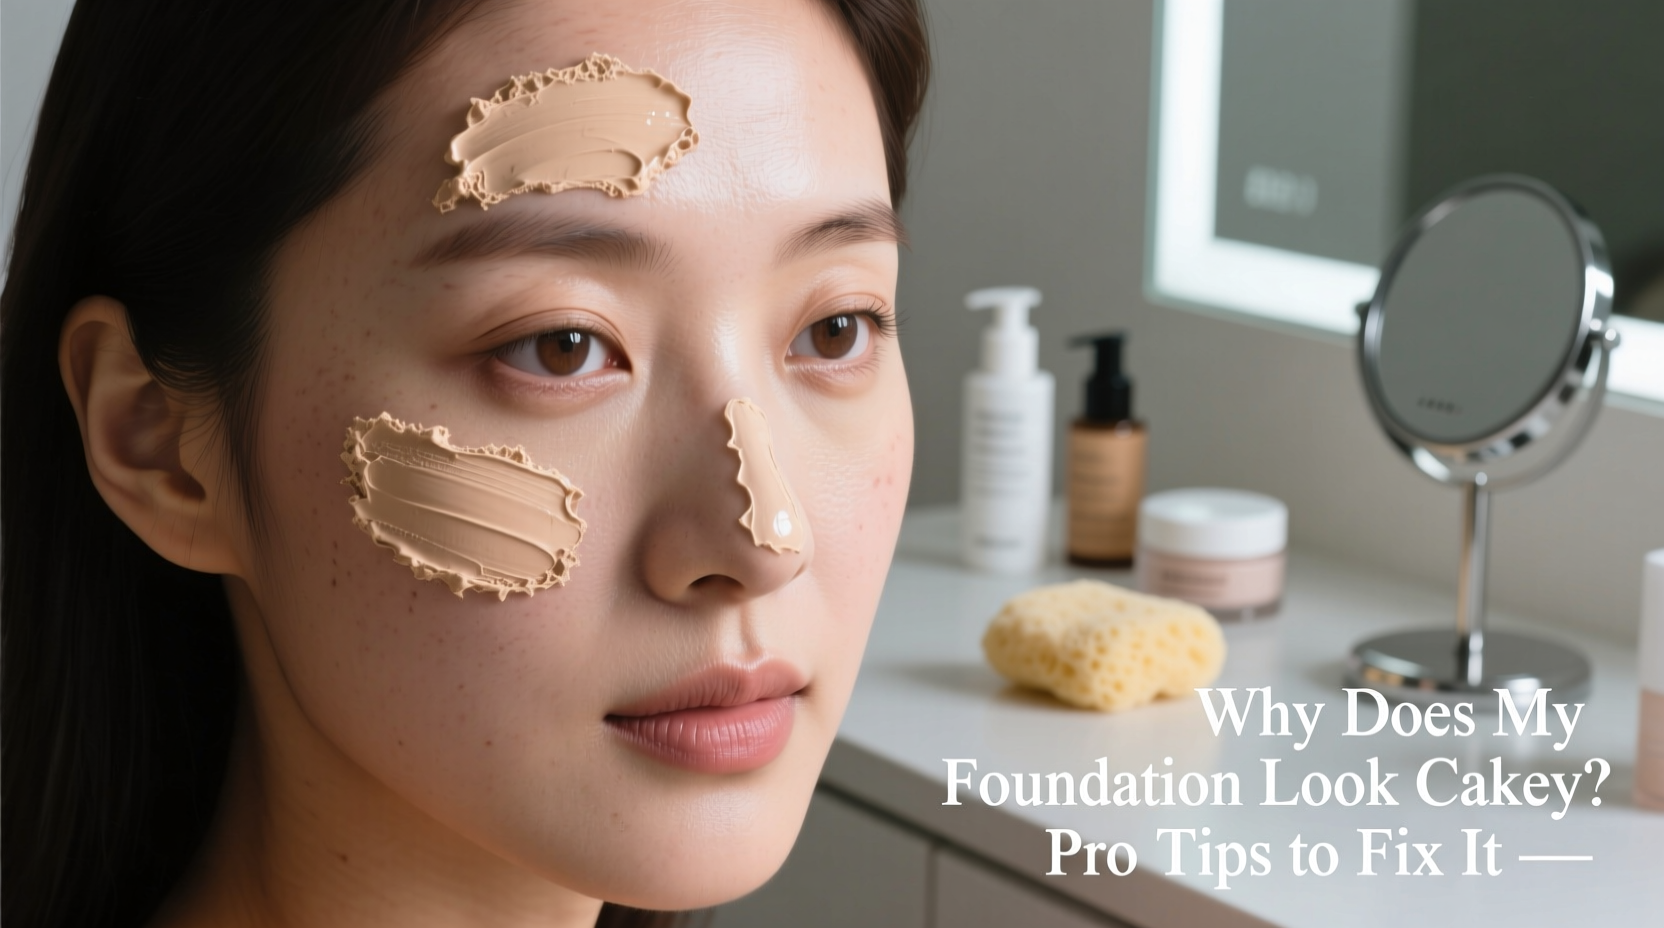
Making sure your skin is hydrated before applying makeup is essential, but hydration alone isn’t always enough. A cakey appearance occurs when foundation accumulates in areas where texture, dryness, or excess product builds up—especially around the nose, forehead, and under the eyes. Even well-moisturized skin can fall victim to this if other factors are at play.
The root causes go beyond surface-level dryness. They include:
- Over-application of products: Layering too much moisturizer, primer, or foundation increases the likelihood of pilling and caking.
- Product incompatibility: Mixing water-based foundations with oil-heavy moisturizers—or vice versa—can cause separation and uneven texture.
- Poor blending technique: Rushing through application or using the wrong tool leads to patchiness.
- Skin texture issues: Dead skin buildup, enlarged pores, or fine lines trap foundation, creating a clumpy effect.
- Setting methods: Over-powdering or using the wrong type of setting powder locks in imperfections instead of smoothing them.
Moisturizing is just one piece of the puzzle. If you're still ending up with a mask-like finish, it's time to reevaluate your entire process.
The Right Way to Prep Your Skin for Flawless Foundation
Skincare sets the stage for makeup. But “right” doesn’t mean loading on multiple serums and creams—it means strategic, targeted preparation tailored to your skin type.
Start with a clean canvas. Wash your face with a gentle cleanser suited to your skin’s needs. Avoid stripping formulas that leave tightness or residue. Follow with a toner if it benefits your routine—particularly if you’re prone to congestion or dullness.
Next, apply active treatments like hyaluronic acid or niacinamide. These ingredients attract moisture and strengthen the skin barrier without adding heaviness. Hyaluronic acid, in particular, plumps skin temporarily, reducing the visibility of fine lines where foundation tends to settle.
Then comes moisturizer—but choose wisely. Creams rich in occlusives (like shea butter or petrolatum) are excellent for dry skin but can be too dense if followed by a silicone-based primer or liquid foundation. For combination or oily skin, opt for lightweight gel-creams or lotions labeled “non-comedogenic.”
Finally, seal everything with a compatible primer. A hydrating primer enhances glow; a blurring formula minimizes pores. Skip primers loaded with silicones if your foundation is also silicone-heavy—they may not layer well.
“Foundation failure often starts before the first drop of product touches the skin. It’s not about how much you moisturize—it’s about how well your products work together.” — Lena Torres, Celebrity Makeup Artist & Skincare Educator
Step-by-Step Guide to Applying Foundation Without Cakiness
Achieving a seamless base requires precision, patience, and proper tools. Follow this timeline for consistently natural results:
- Double-check absorption: After moisturizing, wait 5–10 minutes. Touch your cheek—if it feels tacky or leaves residue, give it more time.
- Prime strategically: Use a pea-sized amount of primer only on areas that need it (e.g., T-zone, large pores). Blend evenly with fingertips or a damp sponge.
- Shake your foundation: Always shake liquid foundations to ensure pigments and liquids are fully mixed. Streaks often come from settled formulas.
- Use minimal product: Start with a small amount—about a third of a pump for full-face coverage. Build only where needed.
- Choose the right tool:
- Damp beauty sponge: Bounces product into the skin for sheer-to-medium coverage.
- Synthetic brush (flat or stippling): Offers control and blends edges seamlessly.
- Fingers: Ideal for cream formulations—body heat helps melt the product into the skin.
- Apply in thin layers: Work one section at a time—forehead, cheeks, chin, nose. Blend outward to avoid demarcation lines.
- Set lightly: Use a translucent setting powder only in areas that crease (under eyes, sides of nose). Press—not swipe—with a small fluffy brush or sponge.
- Lock in with mist: Finish with a hydrating facial spray to melt any remaining powderiness and activate a dewy finish.
Do’s and Don’ts: Foundation Application Best Practices
| Do | Don't |
|---|---|
| Use a hydrating mist as a mixing medium or final step | Mix foundation with regular lotion—dilution alters formula integrity |
| Exfoliate 2–3 times per week to remove dead skin | Scrub aggressively before makeup—this irritates and inflames skin |
| Build coverage gradually instead of applying thick layers | Layer concealer heavily before setting—you’ll accentuate dryness |
| Match foundation to your jawline in natural light | Rely solely on indoor lighting when choosing shade |
| Clean your brushes and sponges weekly | Use dirty tools—they harbor bacteria and impair blending |
Mini Case Study: From Cakey to Airbrushed in One Week
Sarah, a 34-year-old office manager with combination skin, had long struggled with her foundation looking heavy by midday. She moisturized religiously with a rich night cream and applied her favorite full-coverage foundation with a brush each morning. Despite glowing skin underneath, the final look was flat and caked around her laugh lines.
After evaluating her routine, two key issues emerged: she was using a heavy moisturizer meant for nighttime during the day, and she wasn’t waiting for it to absorb before applying makeup. Additionally, she used a dense kabuki brush that deposited too much product at once.
Her revised routine included switching to a lighter daytime moisturizer, waiting 7 minutes post-application, using a damp beauty sponge, and setting only her under-eyes with a micro-puff brush. Within three days, her foundation adhered smoothly and lasted longer without touch-ups. By day seven, coworkers commented on her “natural glow.”
Sarah’s transformation wasn’t due to expensive products—it came from aligning her technique with her skin’s actual needs.
Expert Product Pairing Tips to Prevent Cakiness
Not all foundations behave the same way, and not every moisturizer plays nicely with every formula. Understanding ingredient compatibility is crucial.
- Water-based foundation? Pair with water-based or gel moisturizers. Avoid heavy oils or anhydrous (oil-only) serums beneath.
- Silicone-based foundation (look for “dimethicone” on the label)? Works best over silicone primers or lightweight emollients. Heavy creams may pill.
- Mineral or powder foundation? Requires more hydration underneath since powders can emphasize dry patches. Use a nourishing serum before moisturizing.
- Cream or stick foundation? Ideal for dry skin but can overload oily zones. Apply only to areas needing coverage and blend quickly before it sets.
If you're unsure about compatibility, do a patch test: apply moisturizer, wait 5 minutes, then apply foundation to your jawline. Check for pilling, separation, or uneven texture after 10 minutes.
FAQ: Common Questions About Cakey Foundation
Can exfoliating help prevent cakey foundation?
Yes—regular exfoliation removes dead skin cells that cause foundation to cling unevenly. Use a chemical exfoliant (like lactic or glycolic acid) 2–3 times a week. Avoid physical scrubs right before makeup, as they can create micro-tears and irritation.
Should I use less foundation as I age?
Often, yes. Mature skin benefits from lighter formulas that don’t settle into lines. Instead of full coverage, focus on spot-concealing redness or dark spots. Opt for radiant finishes over matte, which can appear flat and drying.
Is my sponge causing the problem?
Possibly. An old or improperly cleaned sponge can harbor residue, leading to patchy application. Replace sponges every 1–2 months and wash them weekly with a gentle cleanser. A saturated sponge also absorbs too much product, forcing you to apply more than necessary.
Checklist: Fix Cakey Foundation in 7 Steps
- ✅ Exfoliate gently 2–3 times per week
- ✅ Switch to a daytime moisturizer appropriate for makeup prep
- ✅ Wait 5–10 minutes after moisturizing before applying foundation
- ✅ Use a pea-sized amount of foundation and build only where needed
- ✅ Apply with a damp beauty sponge or soft synthetic brush
- ✅ Set sparingly with translucent powder—only in high-movement areas
- ✅ Finish with a hydrating facial mist to melt any stiffness
Conclusion: Transform Your Foundation Experience
A cakey foundation isn’t a life sentence. It’s a signal that something in your routine needs adjustment—whether it’s timing, texture, or technique. The goal isn’t to cover your skin completely, but to enhance it thoughtfully. With the right balance of hydration, product synergy, and mindful application, you can wear foundation that looks indistinguishable from healthy, glowing skin.
Start small: pick one tip from this guide—maybe waiting longer after moisturizing or switching your application tool—and test it for three days. Observe the difference. Gradually integrate more changes until your base feels weightless and looks polished.


 浙公网安备
33010002000092号
浙公网安备
33010002000092号 浙B2-20120091-4
Comments
No comments yet. Why don't you start the discussion?