
Garlands are a timeless way to add charm and festivity to any space—whether draped over mantels, wrapped around banisters, or strung across porches. But nothing dulls the holiday sparkle faster than a once-lush garland that’s now limp, lopsided, and dragging toward the floor. If you’ve ever asked, “Why does my garland sag after just a few days?” you’re not alone. The good news is that sagging isn’t inevitable. With the right materials, installation methods, and maintenance habits, you can preserve your garland’s fullness and structure for weeks. This guide breaks down the science behind sagging, offers real solutions, and shares expert-backed strategies to keep your decor looking professionally styled from setup to takedown.
The Science Behind Garland Sag: Why It Happens
Garland sag is rarely due to a single cause—it’s usually the result of multiple factors combining over time. Understanding these root causes is the first step in preventing or correcting droop.
Natural Material Degradation: Most traditional garlands are made from evergreen foliage like cedar, pine, fir, or eucalyptus. These organic materials begin losing moisture immediately after being cut. As needles dry out and stems dehydrate, they lose rigidity. This structural weakening leads to bending, especially at connection points where weight concentrates.
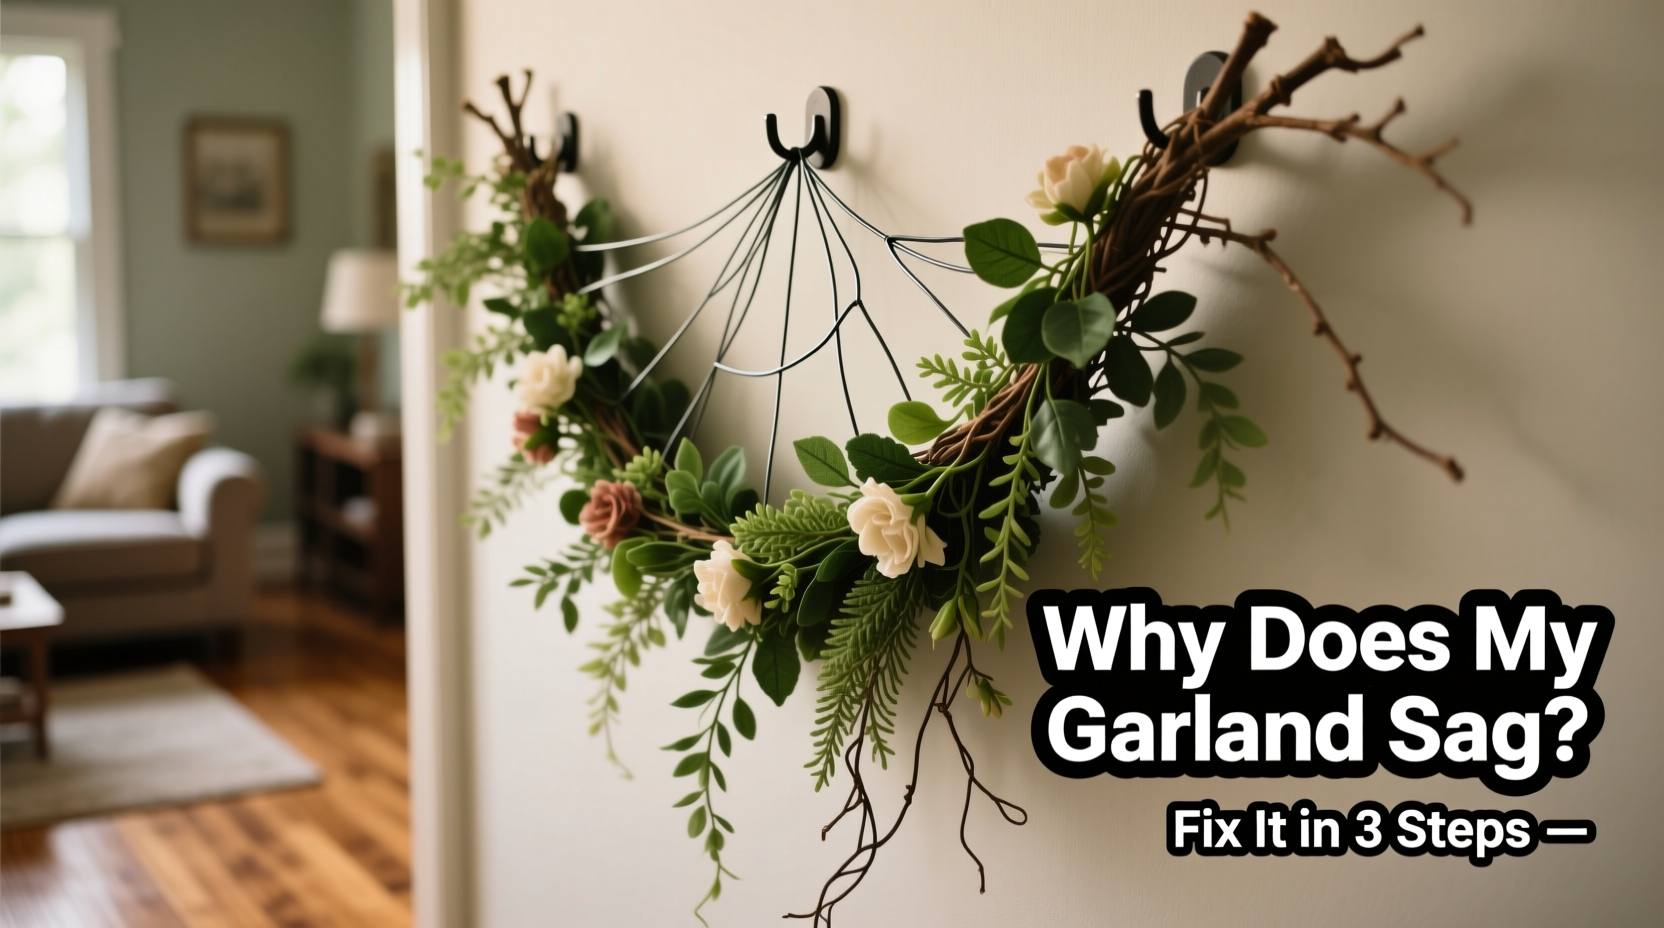
Poor Support Structure: Many people hang garlands using minimal fasteners—like a few nails, tape, or loosely spaced hooks. Over time, gravity pulls down on the heaviest sections, particularly if ornaments or lights have been added. Without adequate anchor points, even a well-made garland will stretch and dip between supports.
Improper Installation Angle: Garlands installed too tightly or too loosely can both lead to problems. A garland stretched taut may snap or strain at attachment points, while one hung too loosely creates excess slack that encourages sagging under its own weight.
Environmental Exposure: Indoor heat sources (fireplaces, radiators, HVAC vents) accelerate drying. Outdoor garlands face wind, rain, and temperature swings that weaken stems and add moisture weight. Sunlight, especially UV rays, further degrades plant fibers.
“Fresh greenery loses up to 30% of its moisture within the first 48 hours. That rapid dehydration is what causes early sagging.” — Dr. Lena Pruitt, Horticultural Preservation Specialist, Oregon State University Extension
Common Mistakes That Accelerate Sagging
Even with good intentions, many decorators unknowingly set their garlands up for failure. Avoiding these common errors can dramatically extend your garland’s lifespan and appearance.
- Using adhesive hooks that can’t support weight: Plastic command strips may hold lightweight stringers but fail under the combined mass of greenery, wire frames, and added décor.
- Skipping a backing structure: Relying solely on greenery without an internal wire or mesh spine invites collapse. Flexible stems bend easily when unsupported.
- Overloading with heavy ornaments: While decorative accents enhance visual appeal, dense clusters of glass balls or metal pieces create localized stress points.
- Installing before peak freshness: Putting up a garland the same day it was cut doesn’t allow time for acclimation. Premature installation increases shock and accelerates needle drop.
- Ignoring light direction: Placing garlands directly in sunlight—even through windows—speeds up drying and discoloration.
Step-by-Step: How to Install a Garland That Stays Taut
Prevention starts with proper installation. Follow this timeline to ensure your garland maintains its shape from day one.
- Day 1: Prepare Materials
Gather your garland, heavy-duty mounting hardware (such as screw-in cup hooks or J-hooks), floral wire, zip ties, and optional water-retaining gel sprays. If using live greenery, store it in a cool, shaded area and mist lightly. - Day 2: Pre-Treat Greenery (Optional)
For extra longevity, lightly spray stems with an anti-desiccant solution. These commercial products form a protective coating that reduces moisture loss. Alternatively, soak end tips in water for 2–4 hours before hanging. - Day 3: Install Mounting Hardware
Space hooks no more than 12–16 inches apart along the intended path. For banisters or railings, alternate sides to distribute weight evenly. Use wall anchors for masonry or hollow walls to prevent pull-out. - Day 4: Attach the Garland in Sections
Begin at one end. Drape a 3–4 foot section over the first two hooks. Secure with short zip ties or twisted floral wire, wrapping snugly but not tightly enough to crush stems. Repeat, overlapping each new segment by 6 inches to hide seams. - Day 5: Reinforce High-Stress Areas
Add vertical support lines using clear fishing line tied from ceiling joists or crown molding down to the center of long spans. This mimics suspension bridge engineering, preventing mid-span droop. - Ongoing: Monitor and Maintain
Check tension every 3–4 days. Tighten loose ties, reposition sagging areas, and re-mist foliage as needed.
Fixing a Sagging Garland: Restoration Techniques
If your garland is already drooping, don’t dismantle it yet. Several repair methods can revive its structure without starting over.
Method 1: Re-Support with Hidden Ties
Locate the lowest point of sag. From above, thread fishing line or thin gauge wire through a small staple or hook mounted into the ceiling or molding. Loop it under the garland at the sag point and secure tightly. Trim excess, leaving only the support line visible.
Method 2: Insert a Rigid Spine
For longer runs, slide a flexible wire rod (available at craft stores) inside the garland’s core. Use gloved hands to gently weave it through the base layer of stems. Once inserted, bend the ends slightly upward at anchor points to lift the center.
Method 3: Refresh with Hydration
Remove the sagging section if possible. Submerge the stem ends in cool water for 4–6 hours. Pat dry and reattach, securing more firmly than before. This works best within the first five days of installation.
Method 4: Strategic Trimming
Sometimes, excessive bulk contributes to sag. Lightly trim overly dense areas—especially at the bottom curve of a drape—to reduce weight while maintaining volume elsewhere.
| Problem | Likely Cause | Solution |
|---|---|---|
| Garland dips in the middle | Insufficient mid-span support | Add vertical fishing line from above |
| One end lower than the other | Uneven hook height or loosened fastener | Re-level hooks; reinforce with additional tie |
| Foliage looks limp and sparse | Dehydration or sun exposure | Mist with water; relocate or shade from direct light |
| Garland pulls away from wall | Weak adhesives or overloaded weight | Replace with screw-in hooks; redistribute décor |
Material Matters: Choosing a Garland That Resists Sag
Not all garlands are created equal. The materials used determine how well they maintain form over time.
Fresh-Cut Evergreen: Beautiful but high-maintenance. Expect some natural settling within 3–5 days. Best for short-term displays or climates with cool indoor temperatures.
Preserved Greenery: Chemically treated to retain color and flexibility. These garlands resist drying and often last 4–6 weeks with minimal care. Ideal for events or extended seasonal use.
Artificial Garlands: Made from PVC, polyester, or silk. They never sag from dehydration and can be reused annually. Look for models with built-in wire cores for easy shaping and durability.
Hybrid Designs: Combine real stems with synthetic fillers. Often lighter and more balanced than all-natural versions, reducing overall strain on mounting points.
“Investing in a preserved or artificial garland with an internal frame pays off in both appearance and labor savings.” — Marcus Tran, Professional Holiday Stylist, New York City
Mini Case Study: Reviving a Banister Garland
Jamie in Portland installed a 12-foot Douglas fir garland on her staircase two days before a holiday party. By day three, the center had dropped nearly 8 inches, brushing the steps. Concerned about safety and aesthetics, she assessed the setup: plastic adhesive hooks spaced 20 inches apart, no additional supports, and a strand of vintage glass ornaments clustered in the middle.
She took action: removed the ornaments and redistributed them evenly, replaced adhesive hooks with screw-in cup hooks every 12 inches, and ran two fishing lines from the ceiling above the stairs down to the sag points. She also lightly misted the entire length. Within an hour, the garland was restored to a graceful, elevated drape. It remained stable for the remainder of the season.
This example shows how targeted corrections—not complete replacement—can resolve sagging effectively.
Checklist: Garland Longevity & Anti-Sag Protocol
Use this checklist before, during, and after installation to maximize performance.
- ☐ Choose a garland with a flexible wire core or plan to insert one
- ☐ Acclimate fresh greenery in a cool, dark place for 12–24 hours before hanging
- ☐ Install mounting hardware every 12–16 inches
- ☐ Use screw-in or anchored hooks—avoid adhesives for heavy garlands
- ☐ Hang garland in sections, overlapping and securing each segment
- ☐ Add vertical support lines for spans over 6 feet
- ☐ Limit ornament weight; distribute décor evenly
- ☐ Mist every 2–3 days (for real greenery)
- ☐ Inspect weekly for signs of loosening or drooping
- ☐ Store artificial garlands coiled around a cardboard reel to prevent kinks
FAQ: Common Questions About Garland Sag
Can I prevent sagging without drilling into walls?
Yes, but with limitations. Heavy-duty adhesive hooks rated for 5+ pounds per unit can work on smooth, non-porous surfaces. However, for long-term or outdoor installations, mechanical fasteners are far more reliable. Consider removable tension rods inside railings or magnetic hooks on metal surfaces as alternatives.
How long should a fresh garland last without sagging?
A properly installed fresh garland can maintain its shape for 10–14 days in cool indoor conditions. In heated rooms or sunny areas, expect noticeable droop within 5–7 days. Preserved or artificial versions can last the entire season without structural change.
Is it safe to use a steamer on a dried-out garland?
No. Steam introduces too much moisture too quickly, which can promote mold or cause browning in natural garlands. Instead, use a fine-mist spray bottle with plain water or a floral anti-desiccant mix. Apply lightly and allow airflow to prevent pooling.
Conclusion: Keep Your Decor Elevated—Literally
A sagging garland doesn’t mean your decorating skills are lacking—it means the physics of weight, material, and environment have taken over. But with informed choices and a few smart techniques, you can outsmart gravity and dehydration alike. Whether you're working with fresh-cut pine or a reusable artificial design, the key lies in proactive support, even distribution, and regular care. Don’t settle for a droopy holiday look. Apply these strategies to install with confidence, correct issues swiftly, and enjoy a display that stays lush, level, and beautiful from the first night of festivities to the final toast of the season.


 浙公网安备
33010002000092号
浙公网安备
33010002000092号 浙B2-20120091-4
Comments
No comments yet. Why don't you start the discussion?