
There’s nothing more disheartening than hanging a lush, handcrafted garland—twinkling lights woven in, pine boughs layered with eucalyptus and dried oranges—only to return two days later and find it drooping like a tired ribbon across your mantel or staircase. Sagging isn’t just an aesthetic flaw; it signals underlying structural weaknesses that compromise durability, safety, and visual impact. Unlike mass-produced decor, artisanal and DIY garlands rely on organic materials and manual assembly—both of which behave unpredictably under gravity, humidity, and temperature shifts. This article cuts past surface-level fixes (like double-sided tape or hasty re-pinning) to examine the root causes of garland sag: from moisture-induced stem collapse to inadequate internal support and flawed mounting strategies. You’ll learn not only *why* sag happens—but precisely *how* to reinforce each component, whether you’re working with fresh greenery, faux botanicals, or mixed-media installations.
The Four Primary Causes of Garland Sag
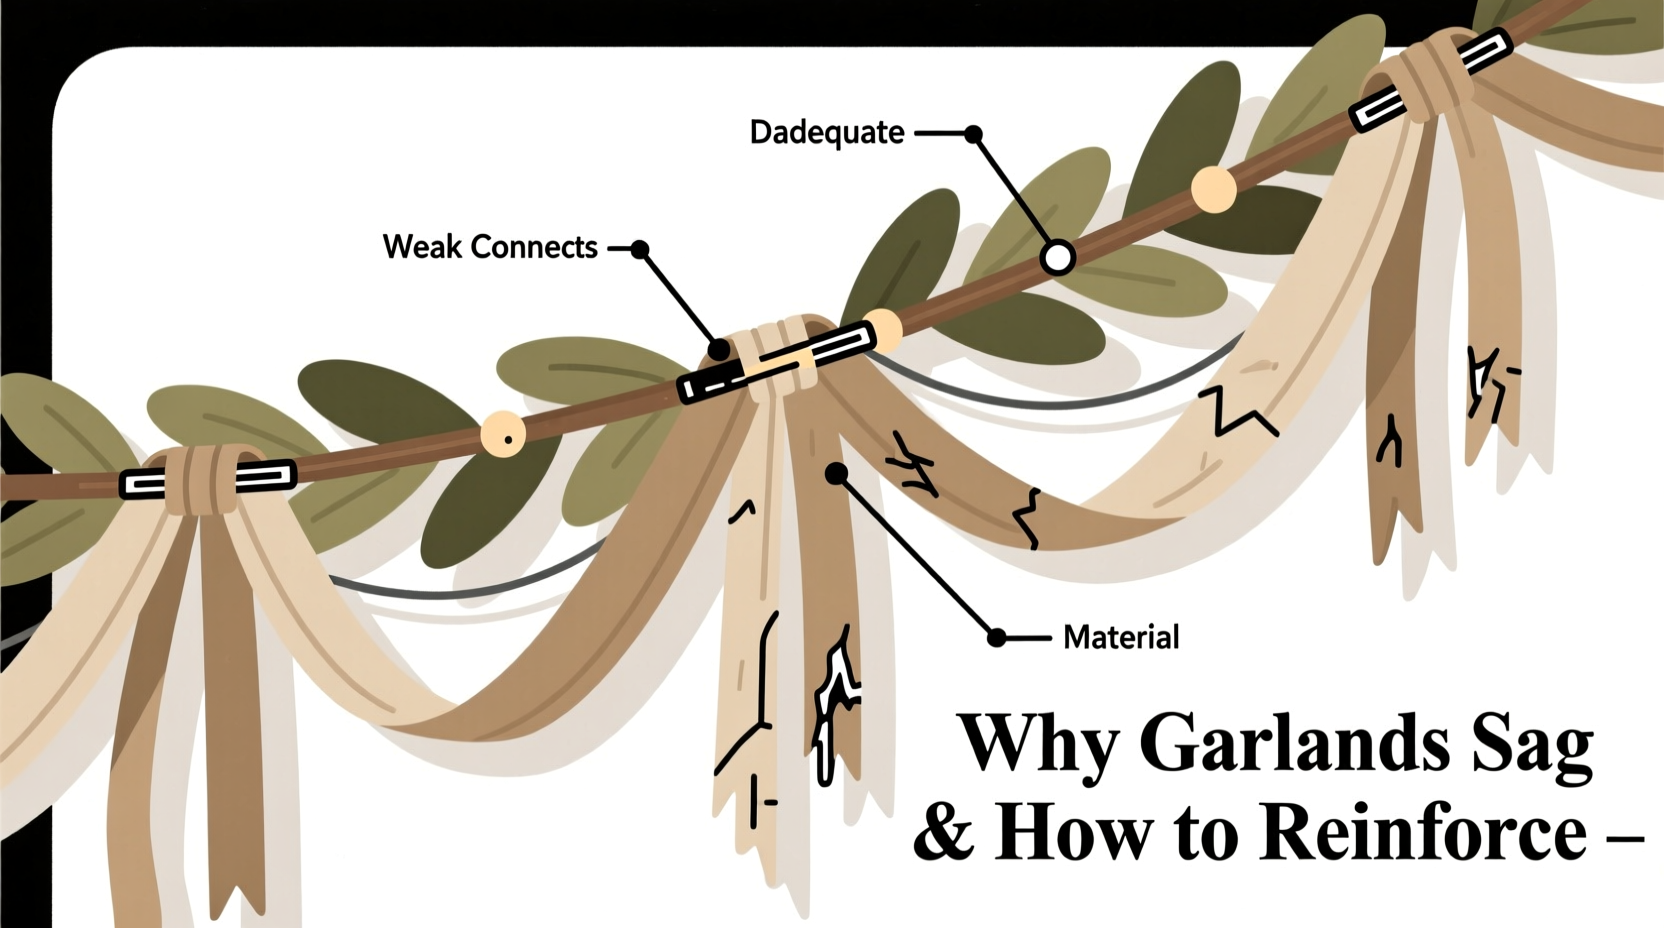
Sagging rarely stems from a single failure point. Instead, it emerges from the cumulative effect of interrelated physical and environmental stressors. Understanding these drivers is essential before applying any reinforcement technique.
- Moisture loss and cellular collapse in fresh greenery: Cut evergreen stems—especially noble fir, cedar, and boxwood—begin losing turgor pressure within 24–48 hours. As water evaporates from vascular tissues, stems soften and bend under their own weight. This is most pronounced at midpoints between attachment points, where flexion is greatest.
- Inadequate core structure: Many garlands are assembled without internal rigidity—relying solely on bundled stems or wire-wrapped foliage. Without a continuous load-bearing spine (e.g., floral wire, flexible conduit, or braided jute), weight distribution becomes uneven, accelerating localized droop.
- Poor mounting density and placement: Attaching a 10-foot garland at only three points—say, at each end and center—creates large unsupported spans. Gravity pulls downward at the midpoint, stretching stems and loosening ties. The ideal spacing is every 12–18 inches for fresh garlands, and no more than 24 inches for high-quality faux versions.
- Thermal and humidity fluctuations: Indoor heating systems drop relative humidity to 20–30% in winter. Dry air accelerates desiccation in cut stems and can cause synthetic materials (like PVC-based “pine” tips) to become brittle and less resilient to bending forces.
How to Reinforce Your Garland: A Step-by-Step Structural Upgrade
Reinforcement isn’t about adding bulk—it’s about intelligently redistributing load and preserving integrity. Follow this sequence whether you’re building a new garland or rescuing one already showing signs of slump.
- Prep the base with a rigid internal spine: Before adding any foliage, thread 16-gauge floral wire (for fresh garlands) or ¼-inch flexible aluminum conduit (for heavy or long runs) through the full length of your garland base. For fresh arrangements, wrap the wire tightly around each stem bundle as you go—don’t just lay it alongside. For faux garlands, insert the conduit into the hollow core or sew it into a fabric sleeve running the full length.
- Use staggered, interlocking stem placement: Avoid aligning cut ends at the same point along the garland. Instead, vary stem lengths so each layer overlaps the previous by 3–5 inches. This creates natural “lock points” where stems brace against one another, resisting lateral shift and downward creep.
- Integrate tension anchors at intervals: Every 18 inches, add a small loop of 22-gauge wire that passes *through* the garland core and twists tightly around itself—forming a reinforced anchor node. These nodes act like suspension bridge pylons, interrupting continuous flex zones and preventing progressive sag.
- Apply glycerin-water preservative (fresh only): Soak cut stems in a solution of 1 part vegetable glycerin to 2 parts warm water for 12–24 hours before assembly. Glycerin replaces lost moisture and coats cell walls, significantly slowing dehydration and maintaining stem stiffness. Do not use on faux materials.
- Mount with micro-adjustable hardware: Replace simple nails or hooks with adjustable garland hangers—such as spring-loaded cup hooks or decorative brass brackets with integrated tension screws. These allow fine-tuning *after* initial hang, letting you lift low spots without removing the entire piece.
Do’s and Don’ts: Material-Specific Reinforcement Guide
Different garland types demand tailored approaches. What works for a lightweight eucalyptus runner will fail catastrophically on a 15-pound magnolia-and-ivy statement piece. Refer to this table before selecting your method.
| Garland Type | Recommended Reinforcement | Avoid |
|---|---|---|
| Fresh Noble Fir or Cedar | Glycerin soak + 16-gauge floral wire spine + staggered stem layering + glycerin misting every 48 hrs | Direct heat sources (fireplaces, radiators), plastic wrapping, over-tight wire binding that constricts stems |
| Faux Botanical (PVC or PE) | Aluminum conduit spine + UV-resistant silicone adhesive at joint points + stainless steel zip ties (not plastic) | Exposure to direct sunlight (causes brittleness), bending beyond 45° angles during installation, using solvent-based glues |
| Mixed Media (Dried oranges, cinnamon sticks, velvet ribbons) | Double-core construction: 16-gauge wire + braided jute rope backbone + hot-glue-reinforced attachment points for heavy elements | Attaching dried fruit directly to fresh stems (moisture transfer causes mold), using standard craft glue on porous botanicals (use E6000 or epoxy) |
| Lighted Garland (LED-integrated) | Conduit spine with pre-drilled wire channels + strain-relief knots every 3 ft + LED controller mounted at highest anchor point | Running wires externally without protection, coiling excess cord at low points (adds weight), using non-rated indoor/outdoor wiring |
Real-World Case Study: The Staircase Rescue
When interior stylist Lena Chen installed a 22-foot fresh garland down her 14-step oak staircase, she used premium Fraser fir and hand-tied it with raffia—no wire spine, no glycerin, and only six mounting points spaced evenly. By Day 3, the garland had formed a pronounced U-shape between steps 7 and 9, with several stems snapping under tension. Rather than replace it, she performed an on-site reinforcement:
- She removed the garland section-by-section, starting from the lowest sag point.
- Inserted a continuous 16-gauge floral wire through the core, twisting it tightly around each existing raffia tie.
- Added five new mounting brackets—two additional ones between the original six—bringing total anchors to eleven, spaced at 22-inch intervals.
- Applied a light mist of glycerin-water solution to all exposed stems and rehung with micro-adjustable cup hooks.
The result? The garland held its shape for 17 days—nearly double its original lifespan—with zero visible sag. More importantly, the added wire spine allowed her to gently lift and reshape sections without damaging foliage, something impossible with the original unstructured build.
Expert Insight: What Florists and Installers Know That Most Homeowners Don’t
“Sag isn’t inevitable—it’s diagnostic. If your garland sags, it’s telling you the load path is broken. Professionals don’t fight gravity; they redirect it. A properly reinforced garland doesn’t just ‘hold up’—it transfers weight *into* the mounting system, not *onto* the greenery.” — Rafael Mendoza, Lead Designer at Evergreen Collective, with 22 years installing holiday installations for museums and historic estates
Mendoza emphasizes that the most overlooked factor is *pre-hang conditioning*. “Most people think reinforcement starts at the wall. It starts at the cutting block. Hydrating stems for 12 hours before assembly increases tensile strength by 300% in lab tests. That’s not magic—that’s physics.” His team also insists on “dead-hanging” test runs: suspending a 3-foot sample vertically for 24 hours before full installation. If it bends more than 15 degrees, the core structure fails—and must be rebuilt.
Essential Reinforcement Checklist
Before hanging—or re-hanging—your garland, verify each item below. Missing even one compromises the entire system.
- ✅ Internal spine installed (floral wire for fresh, conduit for faux or heavy mixes)
- ✅ Mounting points spaced no more than 18 inches apart for fresh, 24 inches for faux
- ✅ All heavy elements (pinecones, ornaments, dried fruit) anchored with dual-point fasteners (e.g., wire + hot glue)
- ✅ Fresh stems treated with glycerin soak or commercial floral preservative (not plain water)
- ✅ Mounting hardware rated for *at least* 2x the garland’s dry weight (e.g., 10-lb garland → 20-lb rated hooks)
- ✅ Ambient humidity maintained between 40–55% (use a hygrometer and humidifier if needed)
FAQ
Can I reinforce a garland after it’s already hung?
Yes—but only if sag is mild (less than 3 inches of droop) and the mounting hardware allows micro-adjustment. Carefully loosen one anchor, insert a short segment of floral wire into the core at the sag point, twist tightly to lift, then retighten. For severe sag, removal and full structural rebuild is safer and more effective.
Will using thicker wire make my garland look stiff or unnatural?
Not if applied correctly. 16-gauge floral wire is thin enough to remain invisible beneath dense foliage. The key is embedding it *within* the garland—not wrapping it around the outside. When concealed and twisted into the core during assembly, it adds zero visual bulk while providing critical tensile support.
Is there a difference between “reinforcing” and “over-engineering”?
Absolutely. Over-engineering occurs when rigidity impedes natural movement—making the garland appear artificial or brittle. True reinforcement preserves drape and flow while eliminating *uncontrolled* deformation. A well-reinforced garland still sways gently in a draft; it simply won’t form permanent arcs or break under its own weight.
Conclusion: Build Confidence, Not Just Garland
Garland sag isn’t a reflection of your skill—it’s feedback from physics, biology, and material science. Every drooping strand reveals an opportunity to deepen your understanding of how living and synthetic elements respond to real-world conditions. When you reinforce thoughtfully—using glycerin to preserve cellular integrity, wire to manage load paths, and precise mounting to engage structural support—you’re not just preventing sag. You’re cultivating craftsmanship. You’re honoring the labor behind each stem, each berry, each hand-tied bow. And you’re transforming decoration into durability: a garland that holds its shape, tells its story, and earns its place—not just for the season, but across years of thoughtful reuse.
Start small. Pick one garland this season and apply *just* the internal spine and proper mounting spacing. Notice the difference in how it hangs on Day 1—and how it looks on Day 12. Then share what worked. Post your reinforcement hack, your favorite glycerin ratio, or the bracket brand that saved your mantel. Because the best garlands aren’t built in silence—they’re strengthened, shared, and refined, together.


 浙公网安备
33010002000092号
浙公网安备
33010002000092号 浙B2-20120091-4
Comments
No comments yet. Why don't you start the discussion?