
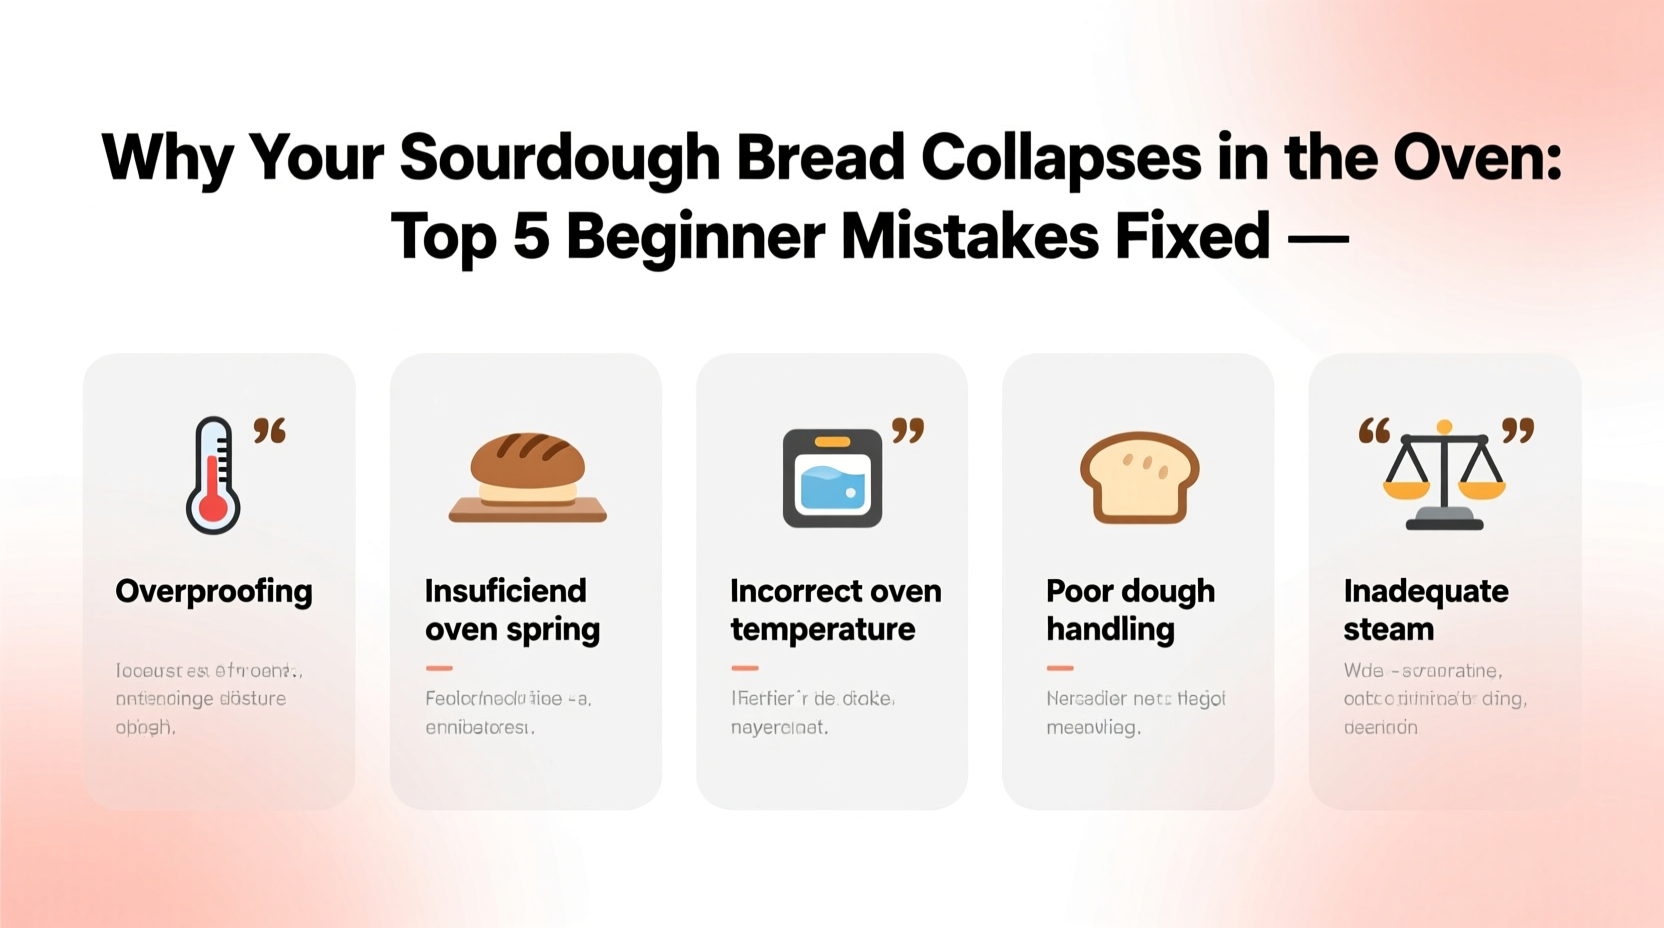
Sourdough baking is a rewarding craft, but few things are more disheartening than watching your carefully nurtured loaf rise beautifully—only to deflate like a punctured balloon as it comes out of the oven. This sudden collapse doesn’t mean you’ve failed; it’s a common signal that one or more key elements in your process need adjustment. For beginners, the causes often trace back to subtle but critical missteps in fermentation, shaping, scoring, or oven dynamics. Understanding these pitfalls is the first step toward achieving consistent, open-crumbed, and structurally sound sourdough.
The good news? Most causes of post-oven collapse are entirely preventable. By identifying where things go wrong—and why—you can refine your technique with confidence. Below are the top five beginner mistakes that lead to collapsed sourdough, along with practical fixes drawn from real bakers’ experiences and expert insights.
1. Overfermentation: The Silent Loaf Killer
One of the most frequent reasons sourdough collapses is overfermentation. When dough ferments too long—either during bulk fermentation or the final proof—it weakens the gluten structure. As gas builds up, the network stretches beyond its capacity. In the oven, the initial burst of steam and heat causes rapid expansion, but the compromised structure can't hold, resulting in deflation.
This mistake is especially common among new bakers who follow time-based schedules without adjusting for temperature, hydration, or starter strength. Dough doesn’t care about the clock—it responds to conditions. A warm kitchen accelerates fermentation, while cooler environments slow it down.
To avoid overfermentation:
- Monitor room temperature—ideal range is 74–78°F (23–26°C).
- Use cooler water in warm environments to slow fermentation.
- Refrigerate the final proof overnight to control timing and enhance flavor.
- Reduce bulk fermentation if your starter is very active.
“Overproofing is the number one reason home bakers end up with flat loaves. The dough looks puffy and promising, but internally, the gluten is already breaking down.” — Daniel Leader, author of *Local Breads*
2. Underdeveloped Gluten: Weak Structure from the Start
A strong gluten network is essential for holding gas during proofing and baking. Without sufficient development during mixing and folding, the dough lacks the elasticity and strength needed to support expansion in the oven. Many beginners skip or underperform the autolyse and coil fold stages, assuming time saved equals efficiency. In reality, this shortcut undermines structural integrity.
Gluten development occurs through mechanical action—kneading, stretching, and folding. In high-hydration doughs (common in sourdough), this is even more crucial because water dilutes protein bonds, requiring extra effort to align the strands properly.
Step-by-Step Guide to Proper Gluten Development
- Autolyse: Mix flour and water (no salt or starter yet) and let rest for 30–60 minutes. This allows hydration and early gluten formation.
- Add starter and salt: Incorporate and mix until no dry bits remain.
- Bulk fermentation with folds: Perform 3–4 sets of coil folds spaced 30 minutes apart during the first 2 hours. This strengthens the dough gradually.
- Check windowpane test: Gently stretch a small piece of dough. If it forms a thin, translucent membrane without tearing, gluten is well-developed.
If your dough tears easily or feels slack and sticky after folding, it likely needs more strengthening work. Don’t rush this phase—structure built now supports everything later.
3. Improper Scoring: Cutting Too Shallow or Too Deep
Scoring isn’t just decorative—it’s functional. It controls where the loaf expands during oven spring. Poor scoring can trap internal pressure, forcing the bread to split unpredictably or collapse when gases escape through weak spots.
Common scoring errors include:
- Cutting too shallow: The crust resists expansion, building dangerous internal pressure.
- Cutting too deep: Severs the surface tension needed to contain upward lift.
- Using a dull blade: Causes dragging instead of clean cuts, damaging dough integrity.
- Incorrect angle: Vertical cuts restrict expansion; angled cuts (about 30 degrees) allow better \"ear\" formation.
| Scoring Mistake | Result | Solution |
|---|---|---|
| Shallow cut | No oven spring, random bursting | Use sharp lame at 30° angle, 1/2 inch deep |
| Too many slashes | Loss of surface tension, collapse | Limits to 1–3 strategic cuts depending on shape |
| Slow, hesitant motion | Tearing, uneven expansion | Confident, swift stroke in one motion |
4. Lack of Oven Spring Control: Steam and Heat Mismanagement
Oven spring—the rapid rise during the first 15 minutes of baking—is critical for volume. But uncontrolled spring due to improper steam or heat distribution can lead to structural failure. Too much steam prolongs skin formation, delaying crust set and allowing the loaf to over-expand and sag. Too little steam causes premature crusting, restricting rise.
Additionally, opening the oven door too early releases steam and drops temperature, shocking the loaf and halting expansion abruptly—sometimes causing collapse.
Best Practices for Oven Environment
- Preheat oven and baking vessel (Dutch oven, combo cooker) for at least 45 minutes to ensure thermal stability.
- Use a covered vessel for the first 20–25 minutes to trap natural moisture and create steam.
- Never open the oven during the first 20 minutes of baking.
- After uncovering, allow proper drying and crust formation at 425–450°F (220–230°C).
If you don’t have a Dutch oven, place a metal tray on the bottom rack and pour 1 cup of boiling water into it just after loading the bread. Close the door quickly to retain heat and humidity.
“Steam isn’t optional—it’s essential. It keeps the surface pliable so the loaf can expand fully before the crust hardens.” — Ken Forkish, baker and author of *Flour Water Salt Yeast*
5. Incorrect Shaping: Trapped Air and Weak Tension
Shaping determines how evenly gas is distributed and how well the loaf holds its form. Poor shaping introduces large air pockets or fails to create surface tension, both of which compromise structure.
A common beginner error is “tucking” seams too loosely or failing to tighten the surface during shaping. The result is a dough ball that looks round but lacks tautness. When baked, the weak surface gives way under internal pressure, leading to sideways spreading or top collapse.
Mini Case Study: Sarah’s First Loaf Collapse
Sarah, a home baker in Portland, followed a popular online recipe to the letter. Her starter was bubbly, she proofed for 12 hours in the fridge, and scored neatly. But her loaf spread out and caved in the center. After reviewing her process, she realized she’d shaped the dough gently to avoid deflating it—leaving it loose and lacking tension. On her next attempt, she used a tighter shaping technique: pre-shaping into a tight boule, resting 20 minutes, then final shaping with deliberate surface tightening. The second loaf rose evenly, held its shape, and developed a beautiful ear. The difference? Controlled surface tension.
Proper shaping steps:
- Pre-shape into a round (boule) and let rest 20–30 minutes (bench rest).
- Flip dough seam-side up and flatten slightly.
- Begin folding edges toward the center, creating tension with each fold.
- Rotate and repeat until a taut ball forms.
- Seal the seam tightly and flip smooth side down.
- Roll gently on the counter to tighten further.
Checklist: Prevent Sourdough Collapse in 7 Steps
- ✅ Confirm starter is ripe (peaks 4–6 hours after feeding, floats in water).
- ✅ Use the poke test to verify proofing—never rely solely on time.
- ✅ Perform 3–4 coil folds during bulk fermentation for strong gluten.
- ✅ Shape with tight surface tension; avoid loose or under-tightened forms.
- ✅ Score with a sharp blade at a 30-degree angle, 1/2 inch deep.
- ✅ Bake in a preheated Dutch oven with lid on for first 25 minutes.
- ✅ Do not open oven during the first 20 minutes of baking.
Frequently Asked Questions
Can I rescue an overproofed loaf?
Partially. If caught early, reshape the dough gently and give it a short second proof (30–60 minutes at room temp). It won’t be ideal, but it may recover some structure. If the dough is soupy or collapses when touched, it’s too far gone.
Why does my loaf rise on the side instead of the top?
This usually means the score wasn’t deep enough or the surface tension was uneven. It can also happen if the dough wasn’t centered in the baking vessel, causing uneven heat exposure. Ensure even shaping and centered placement.
Is hydration level affecting my collapse?
Absolutely. Higher hydration (above 75%) increases difficulty. Beginners should start with 65–70% hydration to build skills. Excess water weakens structure unless gluten is exceptionally well-developed.
Conclusion: Build Confidence Through Precision
Collapsed sourdough isn’t a failure—it’s feedback. Each loaf teaches you something about your environment, ingredients, and technique. The five mistakes outlined here—overfermentation, weak gluten, poor scoring, unstable oven conditions, and loose shaping—are not flaws in your ability, but gaps in awareness. Fixing them doesn’t require fancy tools or years of experience. It requires observation, consistency, and a willingness to adjust.
Start by mastering one variable at a time. Nail your fermentation timing. Then focus on shaping tension. Once those are stable, refine your scoring and oven setup. Baking is iterative. Every baker, from novice to professional, has pulled a pancaked loaf from the oven. What separates success is the decision to learn, adapt, and bake again.


 浙公网安备
33010002000092号
浙公网安备
33010002000092号 浙B2-20120091-4
Comments
No comments yet. Why don't you start the discussion?