
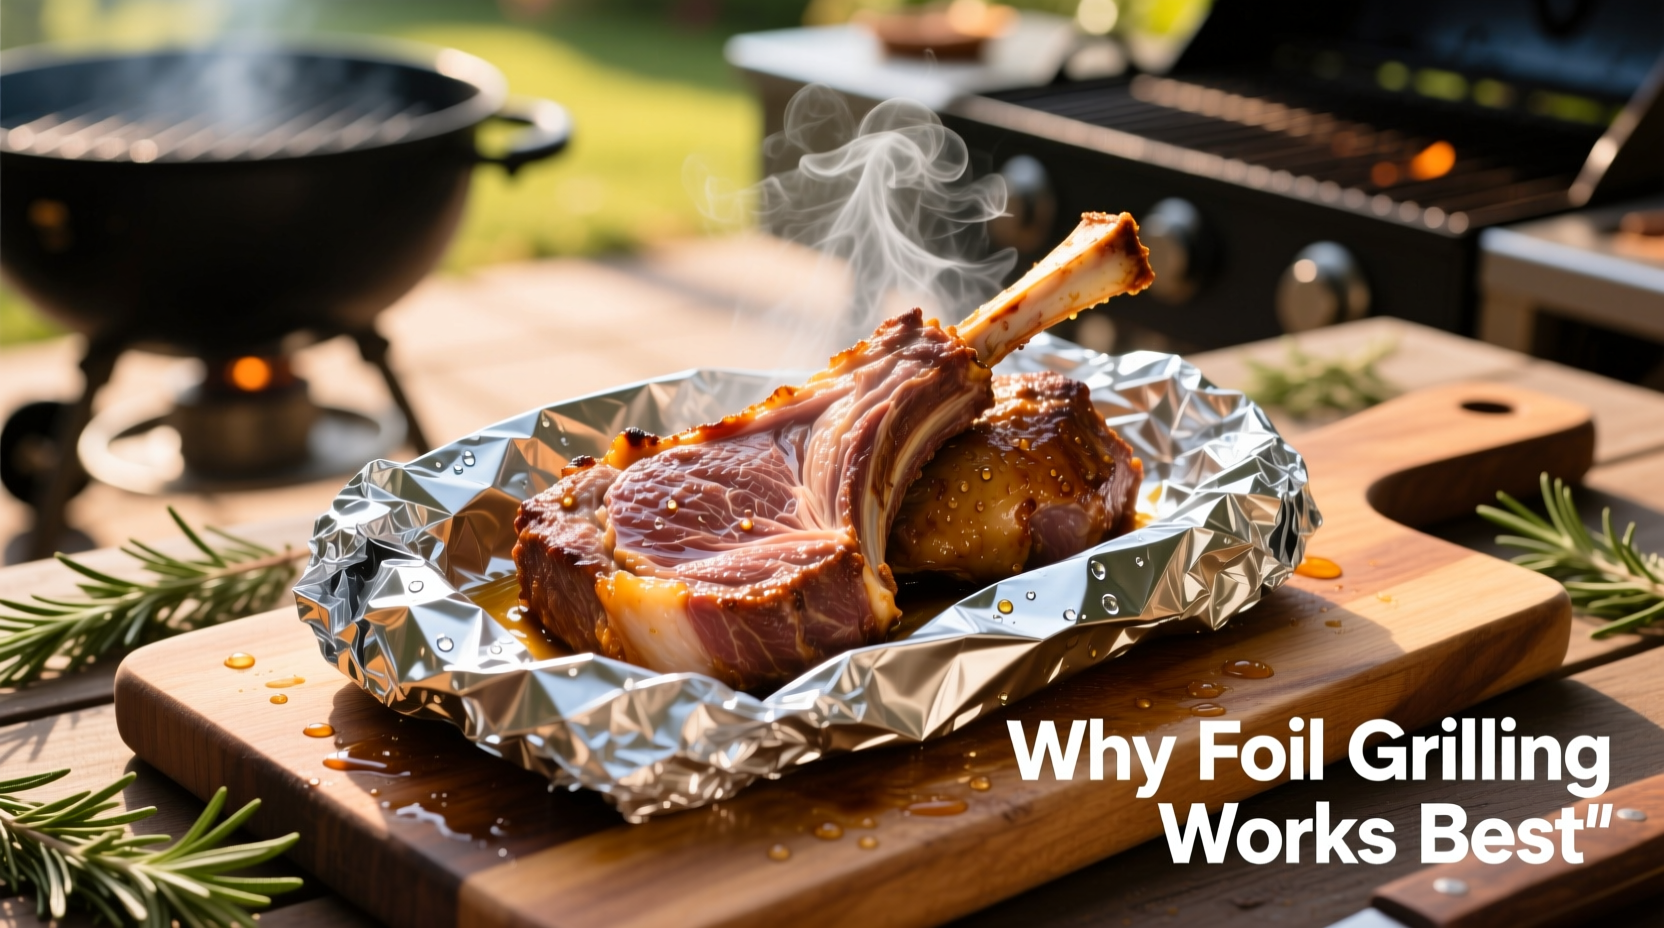
Grilling lamb is a beloved tradition across cultures, prized for its rich flavor and satisfying texture. Yet many home cooks struggle with dry, tough cuts after time on the grill. The solution? Wrapping lamb in foil during grilling. This simple technique locks in moisture, enhances tenderness, and ensures even cooking—without sacrificing that smoky charred exterior. Understanding how and why this method works can transform your outdoor cooking, turning even leaner cuts into succulent centerpieces.
The Science Behind Foil: Why Moisture Matters
Lamb, especially cuts like leg or loin chops, contains less intramuscular fat than beef. When exposed directly to high heat, moisture evaporates quickly, leading to dryness. Aluminum foil creates a semi-closed environment that traps steam generated from the meat’s natural juices. This self-basting effect gently cooks the lamb while minimizing moisture loss.
The foil also acts as a buffer against intense radiant heat, preventing overcooking at the surface while allowing the interior to reach optimal doneness gradually. This is particularly effective for thicker cuts or when using uneven grill zones where flare-ups are common.
“Using foil isn’t cheating—it’s precision. It gives you control over evaporation and temperature, two factors that make or break grilled meats.” — Chef Marcus Reed, Culinary Instructor & Grilling Specialist
Best Cuts of Lamb for Foil Grilling
Not all lamb cuts respond equally well to foil grilling. Some benefit more from direct flame, while others thrive in enclosed steam. Here’s a breakdown of ideal candidates:
- Lamb shoulder (bone-in or boneless): Marbled and tough when raw, but becomes fall-apart tender when slow-cooked in foil.
- Leg of lamb (half or full): Large and lean; benefits greatly from foil to retain moisture during extended grilling.
- Racks of lamb (especially double-cut): Best seared first, then wrapped to finish cooking without drying out.
- Loin chops: Thin and quick-cooking, but prone to drying—foil helps maintain pink, juicy centers.
Avoid using foil with already tender, fast-grilled items like skewered kofta unless finishing them after high-heat searing. Over-steaming delicate preparations can dull texture and aroma.
Step-by-Step Guide to Perfect Foil-Grilled Lamb
Follow this timeline-based method for consistent, restaurant-quality results every time:
- Prep (30–60 minutes before grilling): Trim excess fat, score thick areas lightly, and apply a dry rub or marinade. Let sit at room temperature for even cooking.
- Preheat grill: Set up two zones—one hot (direct heat) and one medium (indirect). Target 375°F–450°F on the indirect side.
- Sear (optional but recommended): Place lamb over direct heat for 2–3 minutes per side to develop crust and flavor.
- Wrap in foil: Place lamb on a large sheet of heavy-duty foil. Add aromatics—rosemary sprigs, crushed garlic, lemon slices, onions, or a splash of broth or olive oil.
- Seal tightly: Fold edges over twice to create a secure pouch. Ensure no gaps for steam escape.
- Grill indirectly: Transfer foil packet to the cooler zone. Close lid and cook based on thickness and desired doneness (see table below).
- Rest and finish: Open carefully to avoid steam burns. Rest 10 minutes. Optionally return to direct heat for 1 minute per side to re-crisp if needed.
Cooking Times and Internal Temperatures
| Cut Thickness | Rare (125°F) | Medium Rare (130–135°F) | Medium (140–145°F) | Foil Grilling Time (Indirect) |
|---|---|---|---|---|
| 1 inch (chops) | 8–10 min | 10–12 min | 12–14 min | 10–14 min |
| 2 inches (roasts) | 20–25 min | 25–30 min | 30–35 min | 25–35 min |
| 3+ inches (whole leg) | 45–50 min | 50–60 min | 60–70 min | 50–70 min |
Note: Use a digital meat thermometer inserted through the foil (reseal afterward with tape if needed) for accuracy. Carryover cooking adds 5–10°F after removal.
Do’s and Don’ts of Foil Grilling Lamb
| Do’s | Don’ts |
|---|---|
| Use heavy-duty foil to prevent leaks | Don’t wrap too loosely—steam must be contained |
| Add herbs and liquids for flavor infusion | Don’t overcrowd the packet—allow space for circulation |
| Double-fold seams for a tight seal | Don’t skip resting—the juices need time to redistribute |
| Finish with an open-flame sear for texture | Don’t discard the juices—they make excellent sauce bases |
Real Example: A Weekend Family Grill Gone Right
When Sarah hosted her family Easter barbecue, she planned a leg of lamb for eight guests. Worried about drying it out on her gas grill, she researched methods and decided to try foil grilling. She marinated the lamb overnight in garlic, rosemary, lemon zest, and olive oil. After a quick sear on both sides, she wrapped it tightly in double-layered foil with sliced onions and a quarter cup of red wine.
She placed it over indirect heat at 375°F, closed the lid, and checked temp after 50 minutes. At 132°F internal, she removed it, let it rest 15 minutes, then sliced. The result? Rosy-pink, moist slices with deep herbal aroma and no dry edges. Her uncle, a longtime skeptic of “wrapped” grilling, admitted it was the best lamb he’d had outside a restaurant.
Expert Tips for Maximum Flavor and Juiciness
- Baste before sealing: Brush with olive oil or melted butter to boost moisture retention.
- Layer aromatics: Onions, carrots, or fennel not only add flavor but elevate the meat slightly, promoting even steaming.
- Consider double-wrapping: For long cooks (over 60 minutes), use two foil layers to reduce risk of rupture.
Frequently Asked Questions
Can I grill frozen lamb in foil?
No. Cooking frozen lamb in foil leads to uneven results—outer layers may overcook while the center remains unsafe. Always thaw lamb fully in the refrigerator before grilling.
Is aluminum foil safe at high temperatures?
Yes, aluminum foil is stable up to 1,220°F. Grill temperatures rarely exceed 500°F, so there’s no risk of leaching under normal conditions. However, avoid direct contact with acidic ingredients like tomatoes for prolonged periods if concerned about metallic taste.
Can I reuse the juices from the foil packet?
Absolutely. The accumulated liquid is packed with flavor. Strain and reduce it slightly on the stove to make a quick pan sauce. Whisk in a pat of butter or fresh herbs for extra richness.
Final Checklist Before You Grill
- Choose the right cut (shoulder, leg, loin chops)
- Maintain proper marinating time (4–24 hours)
- Preheat grill with two-zone setup
- Use heavy-duty foil and seal securely
- Include aromatics and a splash of liquid
- Monitor internal temperature with a probe
- Rest meat before slicing
- Save and repurpose cooking juices
Conclusion
Grilling lamb in foil isn’t a shortcut—it’s a strategic approach to achieving consistently juicy, flavorful results. By harnessing steam, controlling heat exposure, and enhancing flavor infusion, this method elevates everyday grilling into something exceptional. Whether you're preparing a holiday roast or weeknight chops, the foil technique gives you confidence and control. Try it at your next cookout and experience the difference firsthand.


 浙公网安备
33010002000092号
浙公网安备
33010002000092号 浙B2-20120091-4
Comments
No comments yet. Why don't you start the discussion?