
Every year, families gather to set up their Christmas tree, a centerpiece of holiday joy and tradition. But nothing disrupts the festive mood faster than a lopsided tree leaning precariously toward the wall or threatening to topple with every ornament added. While it might seem like a minor issue at first, a crooked tree often points to a deeper problem: an uneven floor. Many homes—especially older ones—have subtle slopes or dips in flooring that go unnoticed until you place a tall, narrow object like a Christmas tree on them.
The good news is that this common frustration has practical, effective solutions. With the right techniques, tools, and a bit of patience, you can stabilize your tree and enjoy a perfectly upright display all season long. This guide dives into the root causes of instability, offers proven leveling methods, and provides actionable advice to ensure your tree stands proudly in the center of your celebrations.
Understanding Why Your Tree Won’t Stand Straight
The most frequent culprit behind a leaning Christmas tree is an uneven floor. Floors may appear flat to the naked eye, but over time, structural settling, foundation shifts, or subfloor irregularities can create subtle inclines. These variations are usually imperceptible when walking across the room but become glaringly obvious when placing a tall, top-heavy object like a Christmas tree.
Other contributing factors include:
- Improper stand adjustment: Not all tree stands allow for height adjustments on individual legs. If one leg sits lower due to floor slope, the entire tree tilts.
- Tree trunk not centered: Even if the floor is level, a trunk placed off-center in the stand’s clamp mechanism will cause imbalance.
- Overloading one side: Adding too many heavy ornaments or lights to one side of the tree increases torque, pulling it further out of alignment.
- Loose stand grip: Worn or poorly tightened screws in the stand fail to secure the trunk firmly, allowing movement.
Addressing only the symptom—pushing the tree upright—won’t solve the underlying issue. A sustainable fix requires correcting both the base (floor/stand) and the balance (tree weight distribution).
Step-by-Step Guide to Leveling a Tree on Uneven Floors
Correcting a leaning tree doesn’t require professional carpentry skills. Follow this systematic approach to achieve a stable, vertical display—even on sloped surfaces.
- Assess the Floor Slope
Use a spirit level or digital leveling tool across the area where the tree stand will sit. Identify which direction the floor slopes (e.g., front-to-back, left-to-right). Mark the lowest point under the stand footprint. - Select the Right Stand
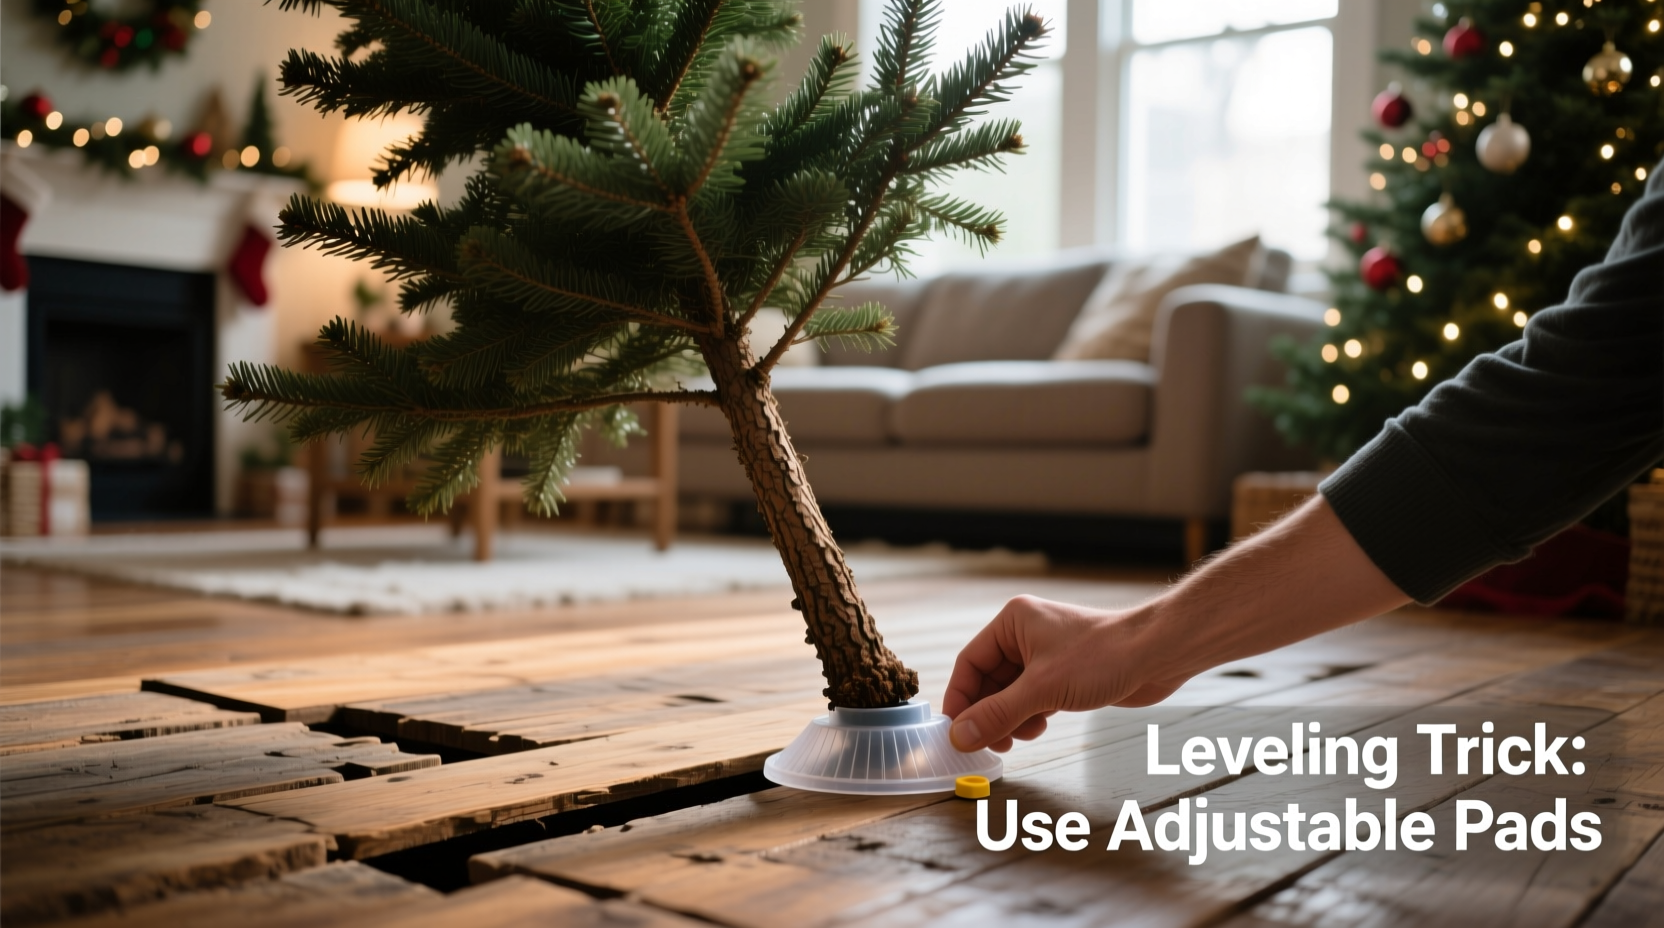
If possible, use an adjustable-height tree stand. These models feature threaded legs that can be independently raised or lowered to compensate for uneven ground. Avoid basic tripod stands on noticeably sloped floors. - Position the Tree and Initial Tighten
Place the tree in the stand and tighten the securing bolts just enough to hold it upright without locking it completely. Do not fully tighten yet. - Check Vertical Alignment
Hold a weighted string (plumb line) near the top of the tree or use a level against the trunk. Adjust the tree manually until it appears vertically aligned from multiple viewing angles. - Shim the Low Side
If your stand isn’t adjustable, place thin shims—such as wooden matchsticks, craft sticks, or cut pieces of cardboard—under the legs on the low side of the floor. Add gradually until the base is level. - Lock the Trunk Securely
Once the tree is plumb and the base is stable, fully tighten the stand’s clamping mechanism around the trunk. Recheck alignment after tightening, as pressure can shift positioning slightly. - Reinforce with Support Lines (Optional)
For extra security—especially with tall or wide trees—attach discreet fishing line from the upper branches to hooks in the wall or ceiling. This prevents swaying and adds stability during foot traffic or pet activity.
This process takes 15–30 minutes but ensures your tree remains upright throughout December, reducing fire hazards and preserving your decor investment.
Do’s and Don’ts When Stabilizing Your Tree
Mistakes during setup can compromise safety and aesthetics. Refer to this table to avoid common pitfalls and apply best practices.
| Do’s | Don’ts |
|---|---|
| Use wood or plastic shims to level non-adjustable stands | Stack books or folded fabric under the stand—they compress over time |
| Center the trunk precisely in the stand’s gripping mechanism | Force a thick trunk into a small clamp; it may crack or slip |
| Distribute ornaments evenly by weight and placement | Add heavy decorations only to one side of the tree |
| Check tree stability weekly, especially after decorating | Ignore a slight lean—it will worsen as the tree dries |
| Water real trees daily to maintain trunk integrity and grip | Allow the stand reservoir to run dry |
Real Example: Fixing a Leaning Tree in a Historic Home
Sarah M., a homeowner in a 1920s bungalow in Portland, Oregon, struggled for years with her Fraser fir leaning dramatically toward the living room window each holiday season. Her house, beloved for its charm, had noticeable floor sagging near exterior walls due to decades of settling. Each year, she resorted to propping the tree with sofa cushions—a temporary fix that ruined her decor symmetry.
After researching solutions, Sarah purchased an adjustable metal tree stand with screw-legs. She used a smartphone leveling app to determine the floor dropped about ¾ inch from back to front. By extending the front legs of the stand accordingly and centering the trunk, she achieved perfect vertical alignment. To prevent future issues, she now marks the ideal tree location each November and pre-measures the necessary leg extension. “It took five minutes more,” she said, “but now my tree looks professional, and I don’t worry about it falling.”
Expert Insight: Structural Considerations from a Holiday Decor Specialist
“Floor irregularities affect nearly 60% of homes built before 1980. The key isn’t fighting the slope—it’s adapting to it. Always level the *base*, not just the tree. A properly shimmed or adjusted stand transfers stability upward, making everything from lights to treetop angels look balanced.” — Daniel Reeves, Professional Holiday Stylist & Author of *Stress-Free Seasonal Decorating*
Reeves emphasizes that visual harmony begins at floor level. “Many people focus on how the tree looks from the couch but forget that a millimeter of tilt at the base becomes inches of lean at the top. Precision starts at the foundation.”
Leveling Solutions Compared: Tools and Materials
Different situations call for different fixes. Below is a comparison of common leveling methods based on effectiveness, cost, and ease of use.
| Solution | Best For | Pros | Cons |
|---|---|---|---|
| Adjustable Tree Stand | Frequent decorators, multi-level floors | Durable, reusable, precise | Higher upfront cost (~$40–$70) |
| Wood Shims | One-time fixes, tight budgets | Inexpensive, widely available | May need replacement annually |
| Cardboard or Felt Pads | Minor slopes (<¼ inch) | Recyclable, easy to cut | Compresses over time, less reliable |
| Adhesive Foam Levelers | Carpeted or delicate floors | No slipping, protects flooring | Limited thickness options |
| Ceiling-Wall Guy Wires (Fishing Line) | Tall trees (>7 ft), active households | Prevents tipping, invisible | Requires drilling, aesthetic trade-off |
FAQ: Common Questions About Tree Stability
Can I use a level on the tree stand instead of the trunk?
Yes, but with caution. While a level on the stand base ensures the platform is horizontal, it doesn’t guarantee the tree itself is vertical—especially if the trunk is bent or inserted off-center. Always verify alignment along the trunk’s length for true verticality.
What if my floor slopes in two directions?
Multi-directional slopes require compound adjustments. Use an adjustable stand and tweak each leg individually until both front-back and left-right levels read zero. Alternatively, stack shims diagonally under opposing corners. Test frequently with a cross-bubble level.
Is it safe to drill into walls or ceiling for support lines?
Yes, when done correctly. Use small drywall anchors or locate studs for heavier support. Opt for clear fishing line rated for at least 10 lbs. Attach lines to strong upper branches, not delicate tips. Remove promptly after the holidays to avoid paint damage.
Final Checklist: Ensuring a Straight, Stable Tree
Before turning on the lights, run through this final verification list:
- ✅ Floor has been checked for slope in multiple directions
- ✅ Tree stand is either adjustable or properly shimmed on low side
- ✅ Trunk is centered and tightly secured in the stand
- ✅ Bubble level confirms vertical alignment from two angles
- ✅ Ornament load is balanced; no single side is overloaded
- ✅ Water reservoir is full (for real trees)
- ✅ Support lines installed (if needed) and tensioned evenly
- ✅ Stability tested with gentle shake—minimal movement allowed
Conclusion: Enjoy a Safe, Picture-Perfect Tree This Holiday
A Christmas tree that stands straight isn’t just about appearance—it’s about safety, longevity, and peace of mind. Uneven floors don’t have to ruin your holiday setup. With thoughtful preparation and the right techniques, you can overcome structural quirks and present a flawless centerpiece for your family traditions.
Take the time this season to get it right: measure, adjust, secure, and balance. Whether you’re using a $10 shim or investing in a premium adjustable stand, the result is worth it. A stable tree means fewer worries, longer enjoyment, and photos that capture the magic—without a distracting tilt.


 浙公网安备
33010002000092号
浙公网安备
33010002000092号 浙B2-20120091-4
Comments
No comments yet. Why don't you start the discussion?