
Second fermentation is where kombucha transforms from a mildly tangy tea into a fizzy, flavorful beverage. When your bottles come out flat despite days of waiting, it’s frustrating—especially after investing time, ingredients, and care into the brewing process. The lack of carbonation doesn’t mean your batch is ruined; it usually points to one or more fixable issues in technique, environment, or ingredient balance. Understanding the science behind carbonation and identifying common pitfalls can help you achieve that satisfying pop every time.
The Science Behind Kombucha Carbonation
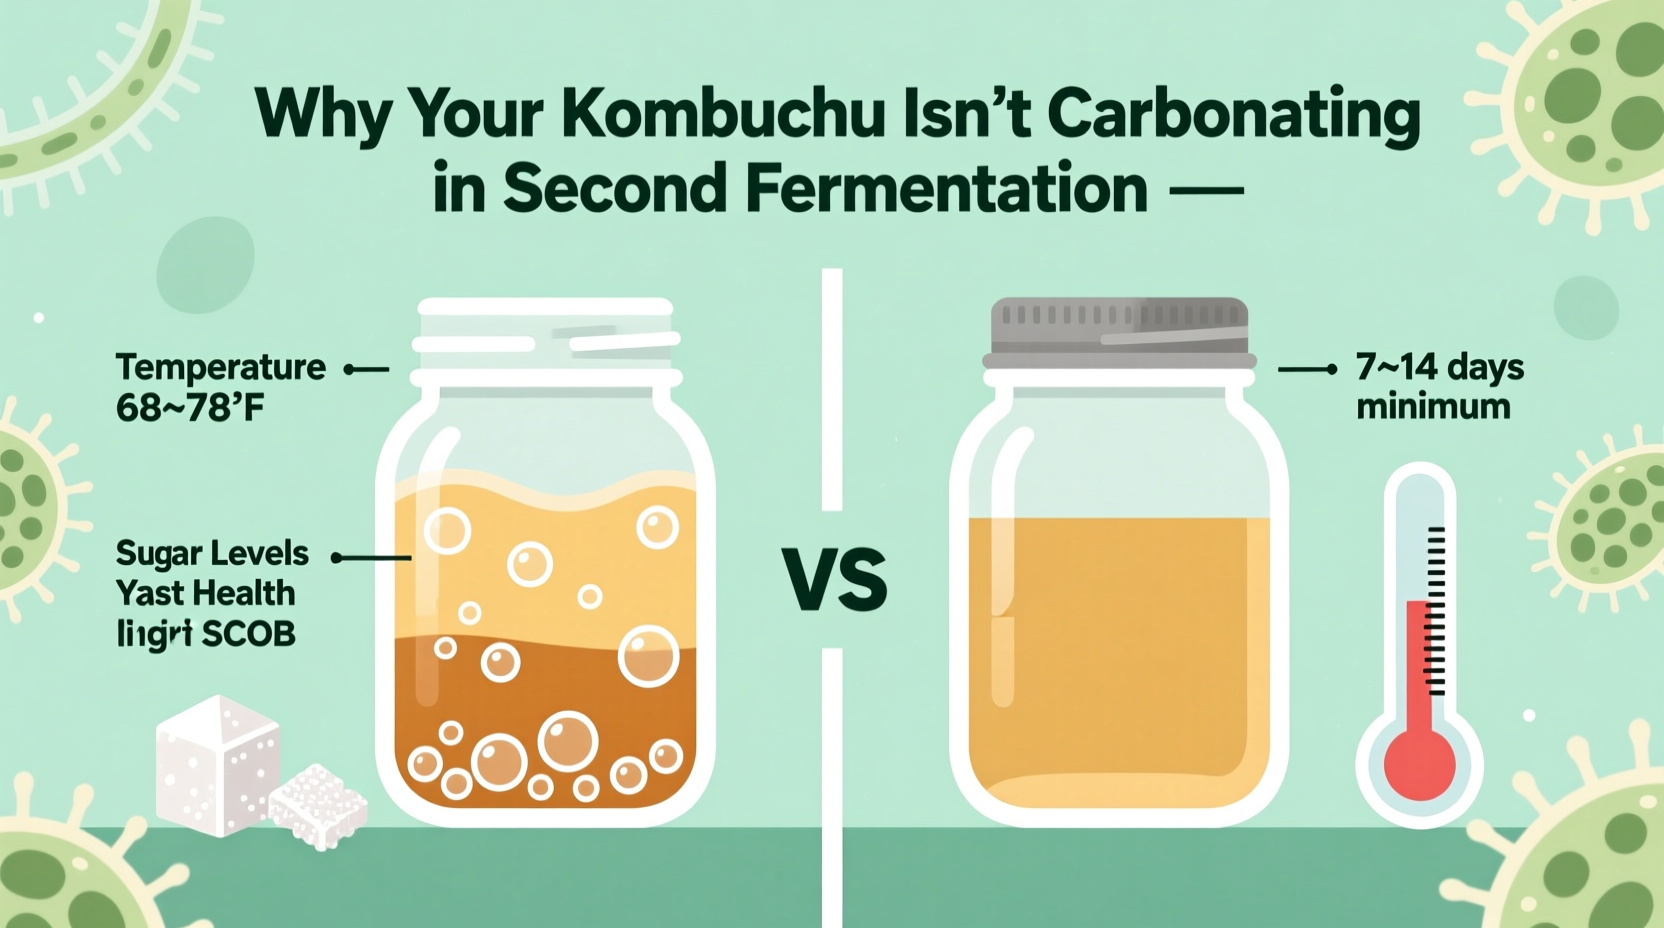
Carbonation in kombucha occurs when yeast consumes sugar and produces carbon dioxide (CO₂) as a byproduct. During the first fermentation, much of this gas escapes into the air. But in the second fermentation—conducted in sealed bottles—the CO₂ has nowhere to go, so it dissolves into the liquid, creating natural fizz.
This process relies on three key factors: residual sugar, active yeast, and an airtight environment. If any one of these elements is missing or compromised, carbonation fails. Unlike forced carbonation (like soda), kombucha's fizz is biological, making it sensitive to temperature, oxygen exposure, and microbial health.
“Natural carbonation depends on live yeast activity. If the culture is stressed or starved, gas production stops.” — Dr. Lena Patel, Fermentation Microbiologist
Common Causes of Poor Carbonation (and How to Fix Them)
1. Insufficient Sugar for the Yeast
The yeast in kombucha needs sugar to produce CO₂. While the first ferment reduces most of the initial sugar, the second ferment requires a fresh boost. If you skip adding fruit, juice, or a small amount of cane sugar, there may not be enough fuel left for carbonation.
2. Inadequate Sealing of Bottles
If bottles aren’t airtight, CO₂ escapes instead of building pressure. Swing-top bottles (like Grolsch-style) are ideal because their rubber gaskets create a reliable seal. Plastic soda bottles can work but degrade over time and may leak if caps are worn.
Test your seal by gently squeezing the bottle after 2–3 days. If it feels soft, check the cap or switch bottles. A properly carbonating bottle will feel firm and resist squeezing.
3. Low Ambient Temperature
Yeast activity slows significantly below 70°F (21°C). In cooler kitchens or basements, fermentation can stall entirely. This is especially common in winter months.
Move bottles to a warmer spot—near a radiator (not on it), on top of the fridge, or inside a turned-off oven with the light on. Ideal range: 72–78°F (22–26°C).
4. Over-Fermented First Ferment
If the primary fermentation runs too long, yeast consumes nearly all available sugar. What remains may not be enough to power a vigorous second ferment. Signs include overly sour kombucha with little sweetness.
To prevent this, taste your kombucha after 7–10 days. It should still have a hint of sweetness. If it’s sharply vinegary, it’s likely too far gone for effective carbonation later.
5. Dead or Dormant Yeast
Exposure to extreme temperatures, chlorine in tap water, or prolonged refrigeration before bottling can kill or suppress yeast. Pasteurized juice (common in store-bought brands) also lacks fermentable sugars and may contain preservatives like potassium sorbate that inhibit yeast.
Always use raw, unpasteurized juice or fresh fruit. If using tap water, dechlorinate it by boiling or leaving it uncovered for 24 hours.
Troubleshooting Checklist for Better Fizz
Use this checklist before starting your next second fermentation to maximize carbonation success:
- ✅ Added 1–2 tbsp flavoring (fruit, juice, ginger) per liter?
- ✅ Using airtight bottles with intact seals?
- ✅ Fermenting at 72–78°F (22–26°C)?
- ✅ First ferment ended before kombucha became too sour?
- ✅ Ingredients free of preservatives (e.g., no “potassium sorbate” on labels)?
- ✅ Bottles left undisturbed for 3–7 days?
- ✅ Burped bottles only if pressure builds excessively (optional safety step)?
Step-by-Step Guide to Successful Second Fermentation
- Prepare Your Base: After completing the first fermentation (7–10 days), taste the kombucha. It should be balanced—tangy but slightly sweet. Strain out large yeast strands if desired, but don’t filter excessively.
- Add Flavor & Fuel: Pour kombucha into clean bottles, leaving 1–2 inches of headspace. Add 1–2 tablespoons of fruit juice, chopped fruit, or grated ginger per liter. Avoid honey unless pasteurized (raw honey has antimicrobial properties).
- Seal Tightly: Close bottles securely. Test seals periodically by lightly pressing the cap. No give should be felt once fermentation begins.
- Store in a Warm, Dark Place: Keep bottles at room temperature away from direct sunlight. Ideal range: 72–78°F (22–26°C). Cooler temps extend fermentation time; hotter temps risk over-pressurization.
- Wait 3–7 Days: Check daily after day 3. Gently squeeze plastic bottles to test firmness. Glass bottles can be tested by carefully opening one after 5 days. If fizzy, refrigerate all immediately to halt fermentation.
- Refrigerate & Enjoy: Cold temperatures stop yeast activity. Chill bottles for at least 12 hours before opening to reduce foam and improve flavor integration.
Do’s and Don’ts of Second Fermentation
| Do | Don’t |
|---|---|
| Add fresh fruit or juice to feed yeast | Use preservative-laden juices (check labels) |
| Keep bottles in a warm, stable environment | Place bottles in cold garages or near AC units |
| Use swing-top bottles with rubber gaskets | Reuse cracked or warped bottle caps |
| Leave 1–2 inches of headspace | Fill bottles to the brim (risk of explosion) |
| Open one bottle at a time to test fizz | Shake bottles vigorously before opening |
A Real Brewing Scenario: From Flat to Fizzy
Sophia had been brewing kombucha for three months with inconsistent results. Her first few batches were flat, even after seven days of second fermentation. She followed recipes closely but couldn’t understand why her friend’s kombucha was bubbly while hers wasn’t.
After reviewing her process, she noticed three issues: she used store-bought apple juice labeled “preservative-free” but containing potassium sorbate, kept bottles in a basement that averaged 65°F (18°C), and used reused mason jars with metal lids that didn’t seal tightly.
She adjusted her method: switched to fresh-squeezed orange juice, moved bottles to a cupboard above her refrigerator, and invested in four swing-top bottles. On her next batch, she got audible pops upon opening and rich, lasting bubbles in the glass. The change wasn’t due to a single fix—but the combination made all the difference.
Frequently Asked Questions
How long does second fermentation usually take?
Most kombucha carbonates within 3 to 7 days at optimal temperatures (72–78°F). Cooler environments may require up to 10–14 days. Always check firmness or do a test open after day 5.
Can I add more sugar if my kombucha isn’t carbonating?
Only if caught early. If bottles have been sitting for more than 48 hours without fizz, reopen them, add 1 tablespoon of juice per liter, reseal, and return to warmth. Beyond that, yeast may be dormant, and results are uncertain.
Is it safe to burp bottles during second fermentation?
Yes, especially in warm climates or with high-sugar additions. Loosen the cap slightly for a second to release excess pressure, then reseal. Do this daily after day 3 if using glass bottles to prevent explosions.
Conclusion: Turn Flat Brews Into Bubbly Success
Lack of carbonation in kombucha isn’t a dead end—it’s a diagnostic clue. By evaluating sugar content, temperature, container integrity, and ingredient quality, you can systematically restore fizz to your fermentation. Each batch teaches you more about the living ecosystem you’re nurturing. Small adjustments often yield dramatic improvements.
Don’t let a flat bottle discourage you. Instead, treat it as feedback. With attention to detail and consistent practices, you’ll soon master the art of naturally effervescent kombucha. Start your next batch with confidence—and drink it with a satisfying fizz.


 浙公网安备
33010002000092号
浙公网安备
33010002000092号 浙B2-20120091-4
Comments
No comments yet. Why don't you start the discussion?