
A flickering laptop screen can be more than just a minor annoyance—it can disrupt work, strain your eyes, and signal deeper hardware or software problems. While some causes are simple and fixable in minutes, others may point to failing components that require professional attention. The good news is that many common causes of screen flickering can be diagnosed and often resolved from the comfort of your home, without immediately resorting to costly repairs or replacements.
Understanding the root cause starts with observation: Is the flicker constant or intermittent? Does it happen only during startup, under heavy load, or after updates? These clues help narrow down whether the issue stems from drivers, power settings, display hardware, or external factors like connected peripherals.
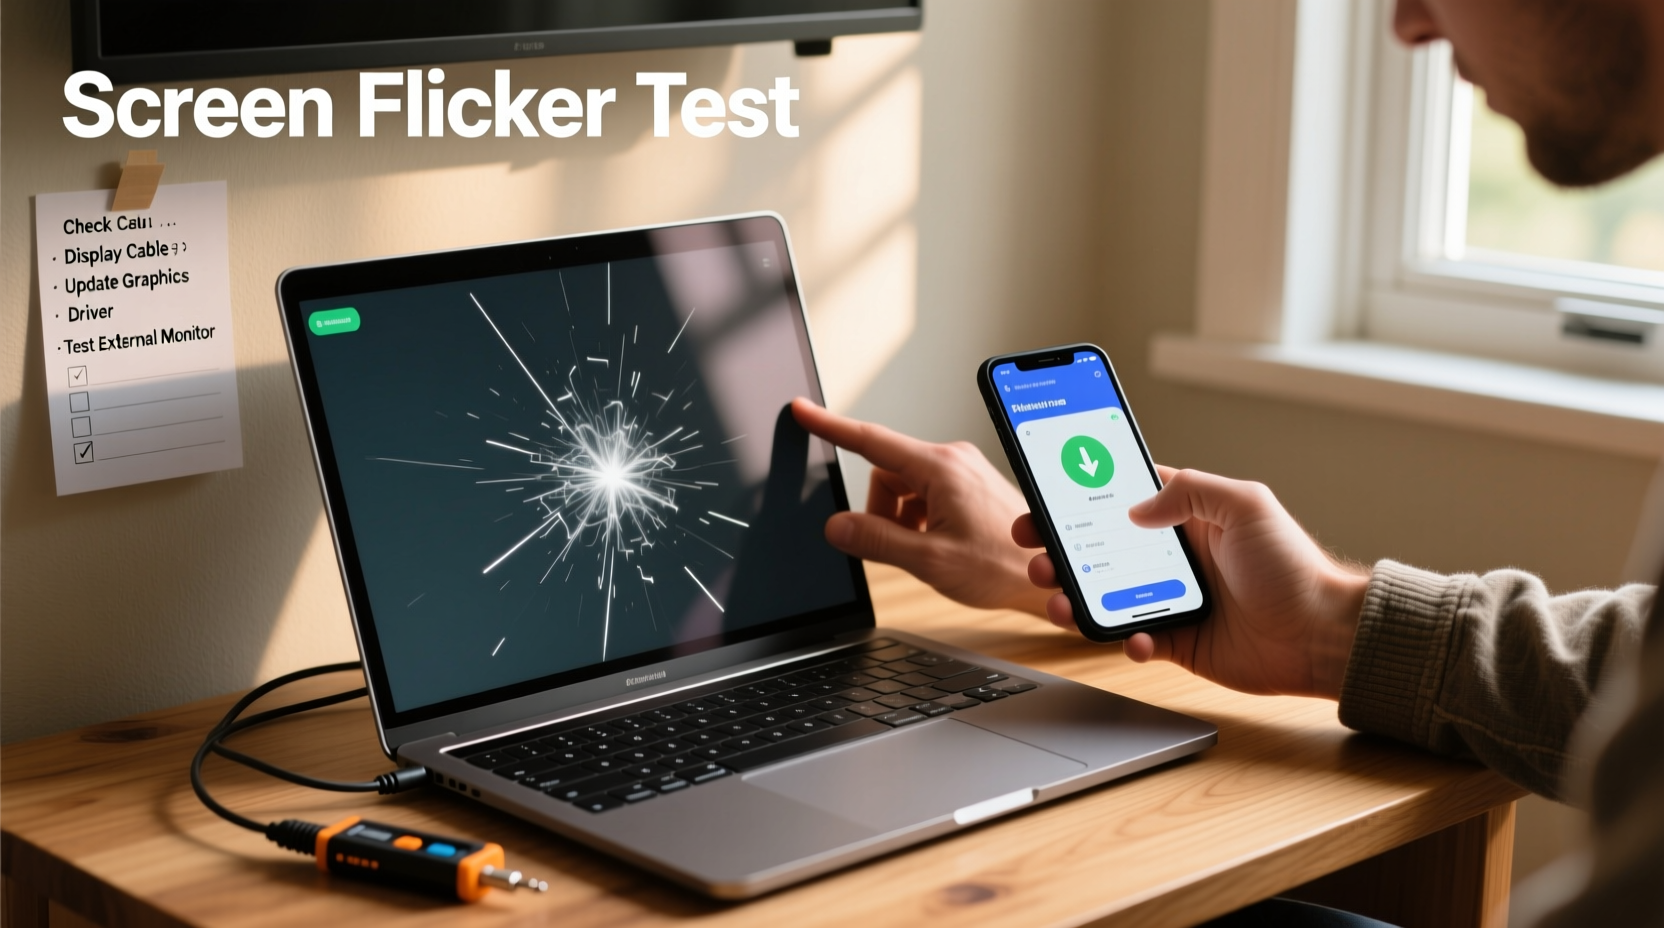
Common Causes of Laptop Screen Flickering
Laptop screen flickering isn’t usually caused by a single factor. Instead, it’s often the result of overlapping issues ranging from outdated software to physical damage. Identifying the most likely culprit requires evaluating both internal system behavior and external conditions.
- Outdated or corrupted graphics drivers: One of the leading causes, especially after OS updates.
- Incompatible or faulty applications: Certain programs, particularly those using GPU acceleration, can interfere with display output.
- Loose or damaged display cable: Internal wiring between the motherboard and screen can degrade over time due to hinge stress.
- Power-saving settings: Aggressive sleep or brightness adjustment features may trigger flickering.
- Hardware failure: Issues with the LCD panel, backlight, or GPU can manifest as visual instability.
- External monitor conflicts: Connecting or disconnecting secondary displays improperly can confuse the system.
- Electromagnetic interference: Rare, but nearby strong RF sources might affect older screens.
Step-by-Step Diagnosis at Home
You don’t need specialized tools to begin diagnosing a flickering screen. A methodical approach allows you to isolate variables and determine whether the problem is software-based (easily fixable) or hardware-related (potentially requiring service).
- Observe the pattern: Note when flickering occurs—during boot, idle, video playback, or gaming. Intermittent flickering during high GPU usage suggests a graphics issue.
- Test in Safe Mode: Boot into Safe Mode (press Shift + Restart on Windows). If the screen stops flickering here, the issue is likely software-driven.
- Disconnect peripherals: Unplug all external devices, including USB hubs, docking stations, and monitors. Reconnect one at a time to identify conflicts.
- Check for overheating: Feel around the vents. Excessive heat near the GPU or CPU area can cause display instability. Use software like HWMonitor to check temperatures.
- Inspect the hinges and screen movement: Gently open and close the lid. If flickering correlates with specific angles, the internal display cable may be damaged.
- Connect to an external monitor: Use HDMI or VGA to connect to a TV or second screen. If the external display works normally, the issue is likely with your laptop’s built-in screen or its connection.
Using External Display to Isolate the Problem
Connecting your laptop to an external monitor is one of the most effective diagnostic steps. Here's what different outcomes mean:
| External Monitor Result | Possible Cause |
|---|---|
| No flickering on external screen | Issue lies with laptop’s internal display, cable, or backlight |
| Flickering appears on both screens | Graphics driver, GPU, or operating system issue |
| External screen doesn't detect signal | Potential GPU failure or port damage |
“Over 60% of reported screen flickering cases we see in diagnostics turn out to be driver-related. Always rule out software before opening the chassis.” — Raj Mehta, Senior Technician at TechCare Solutions
Software-Based Fixes You Can Try Immediately
Before considering hardware disassembly, exhaust all software troubleshooting options. Many flickering issues resolve with simple adjustments.
Update or Roll Back Graphics Drivers
Corrupted or incompatible drivers are frequent culprits. To address this:
- Press Win + X and select Device Manager.
- Expand “Display adapters,” right-click your GPU (e.g., Intel UHD Graphics, NVIDIA GeForce), and choose “Update driver.”
- Select “Search automatically for updated driver software.”
- If the issue started recently, choose “Roll Back Driver” instead to revert to the previous version.
For greater control, download the latest driver directly from the manufacturer’s website—Intel, AMD, or NVIDIA—and install manually.
Adjust Power and Display Settings
Windows power plans sometimes force aggressive refresh rate changes or dimming behaviors.
- Navigate to Settings > System > Display > Advanced display settings.
- Click on “Display adapter properties,” then go to the “Monitor” tab.
- Ensure the “Screen refresh rate” is set to the recommended value (usually 60 Hz).
- Go to Power Options and select “High performance” or “Balanced” mode.
- Disable adaptive brightness: Settings > System > Power & sleep > Additional power settings > Change plan settings > Change advanced power settings > Display > Enable adaptive brightness → Set to Off.
Uninstall Conflicting Software
Applications such as screen recorders, RGB lighting utilities, or third-party display managers (e.g., f.lux, Dimmer) can interfere with GPU output. Temporarily uninstall them to test if flickering stops.
Hardware Checks and When to Seek Help
If software fixes fail, the issue may lie within the physical components of your laptop. While not everyone should open their device, basic inspection is possible with care.
Inspect the Display Cable
The flexible ribbon cable connecting the motherboard to the screen runs through the hinge mechanism. Repeated opening and closing can fray or loosen it over time.
To inspect (only on user-serviceable models):
- Power down and unplug the laptop. Remove the battery if possible.
- Use a plastic pry tool to gently remove the bottom case screws and panel.
- Locate the display cable near the hinge area—usually labeled “LCD” or “DISPLAY.”
- Check for visible fraying, discoloration, or loose connections. Reseat the connector at both ends if accessible.
Note: Many modern ultrabooks have sealed designs. If you're uncomfortable, skip disassembly and proceed to professional evaluation.
Backlight and Panel Failure Signs
A failing backlight often causes flickering that worsens in low light or appears as pulsing brightness. In contrast, dead pixels or dark spots indicate LCD panel degradation.
Try this test: Shine a flashlight on the screen while it’s flickering. If you can faintly see the image beneath the darkness, the backlight may be failing. This typically requires panel replacement.
Mini Case Study: Sarah’s Work-from-Home Glitch
Sarah, a freelance graphic designer, noticed her laptop screen flickered every time she launched Adobe Premiere Pro. At first, she assumed her aging laptop was failing. She followed online advice and reinstalled Windows—but the flicker returned after updating drivers.
She connected her laptop to a TV via HDMI. The external screen displayed smoothly, ruling out GPU failure. That pointed to the internal display. Upon closer inspection, she realized the flickering intensified when she tilted the screen past 110 degrees. A technician later confirmed the LVDS cable was partially detached due to worn hinges. Replacing the cable cost $75 and restored full function—far cheaper than a new machine.
Sarah’s experience highlights the importance of isolating variables: the external display test saved her from unnecessary OS reinstalls and premature replacement.
Troubleshooting Checklist
Follow this checklist to systematically eliminate potential causes of screen flickering:
- ✅ Observe when flickering occurs (startup, under load, randomly)
- ✅ Boot into Safe Mode to test for software conflicts
- ✅ Disconnect all external devices and test again
- ✅ Update or roll back graphics drivers
- ✅ Adjust screen refresh rate and disable adaptive brightness
- ✅ Connect to an external monitor to isolate the issue
- ✅ Check for overheating and clean vents if necessary
- ✅ Test with a flashlight for backlight failure signs
- ✅ Inspect display cable (if comfortable and model allows)
- ✅ Consult a technician if hardware faults are suspected
Frequently Asked Questions
Can a virus cause my laptop screen to flicker?
Directly, no. Malware doesn’t typically manipulate display drivers in a way that causes flickering. However, malicious software that hijacks GPU resources (like crypto-mining malware) can lead to overheating or graphical glitches that resemble flickering. Running a full antivirus scan is wise if other symptoms accompany the issue.
Is screen flickering covered under warranty?
Most manufacturers cover display defects under standard warranty if the unit is within the coverage period (typically 1 year). Physical damage, liquid exposure, or wear-and-tear (like a frayed cable from hinge stress) may not be included. Check your warranty terms before seeking service.
Should I replace the entire screen if it flickers?
Not necessarily. The issue could be the cable, inverter (on older models), or even the motherboard’s display controller. A qualified technician can diagnose whether a full panel replacement is needed or if a simpler, less expensive repair will suffice.
Conclusion: Take Control Before It Gets Worse
A flickering laptop screen doesn’t always mean your device is doomed. With careful observation and structured troubleshooting, you can often pinpoint whether the cause is a quick software fix or a sign of impending hardware failure. Acting early prevents further damage—like stressing a weakened display cable until it fails completely.
Start with the simplest solutions: update drivers, adjust settings, and test with an external monitor. Document what changes make a difference. If home fixes don’t resolve the issue, you’ll be better prepared to communicate with a repair professional, saving time and avoiding unnecessary charges.


 浙公网安备
33010002000092号
浙公网安备
33010002000092号 浙B2-20120091-4
Comments
No comments yet. Why don't you start the discussion?