
If your programmable Christmas light timer isn’t turning your lights on or off at the scheduled times, you're not alone. Thousands of holiday decorators face this frustrating issue each year. While these timers are designed to automate seasonal displays, various technical, environmental, and user-related factors can cause them to skip programmed events. The good news? Most problems are diagnosable and fixable without replacing the entire unit.
Understanding why your timer skips scheduled cycles begins with recognizing how digital timers work. Unlike mechanical models, programmable units rely on internal clocks, memory chips, and power stability to maintain accurate timing. When any one of these components fails or is disrupted, the result is missed on/off triggers—sometimes silently, without warning indicators.
This guide dives into the most common causes behind skipped schedules, offers step-by-step solutions, and includes real-world examples to help you restore reliable automation to your holiday lighting display.
Common Causes of Skipped On/Off Times
Before jumping to conclusions about a faulty device, consider that many issues stem from overlooked setup details or external conditions. Below are the top reasons programmable timers fail to execute their schedules:
- Power Interruptions: Even brief outages can reset some models or corrupt time settings.
- Clock Drift: Lower-end timers may lose or gain minutes over days, throwing off precise schedules.
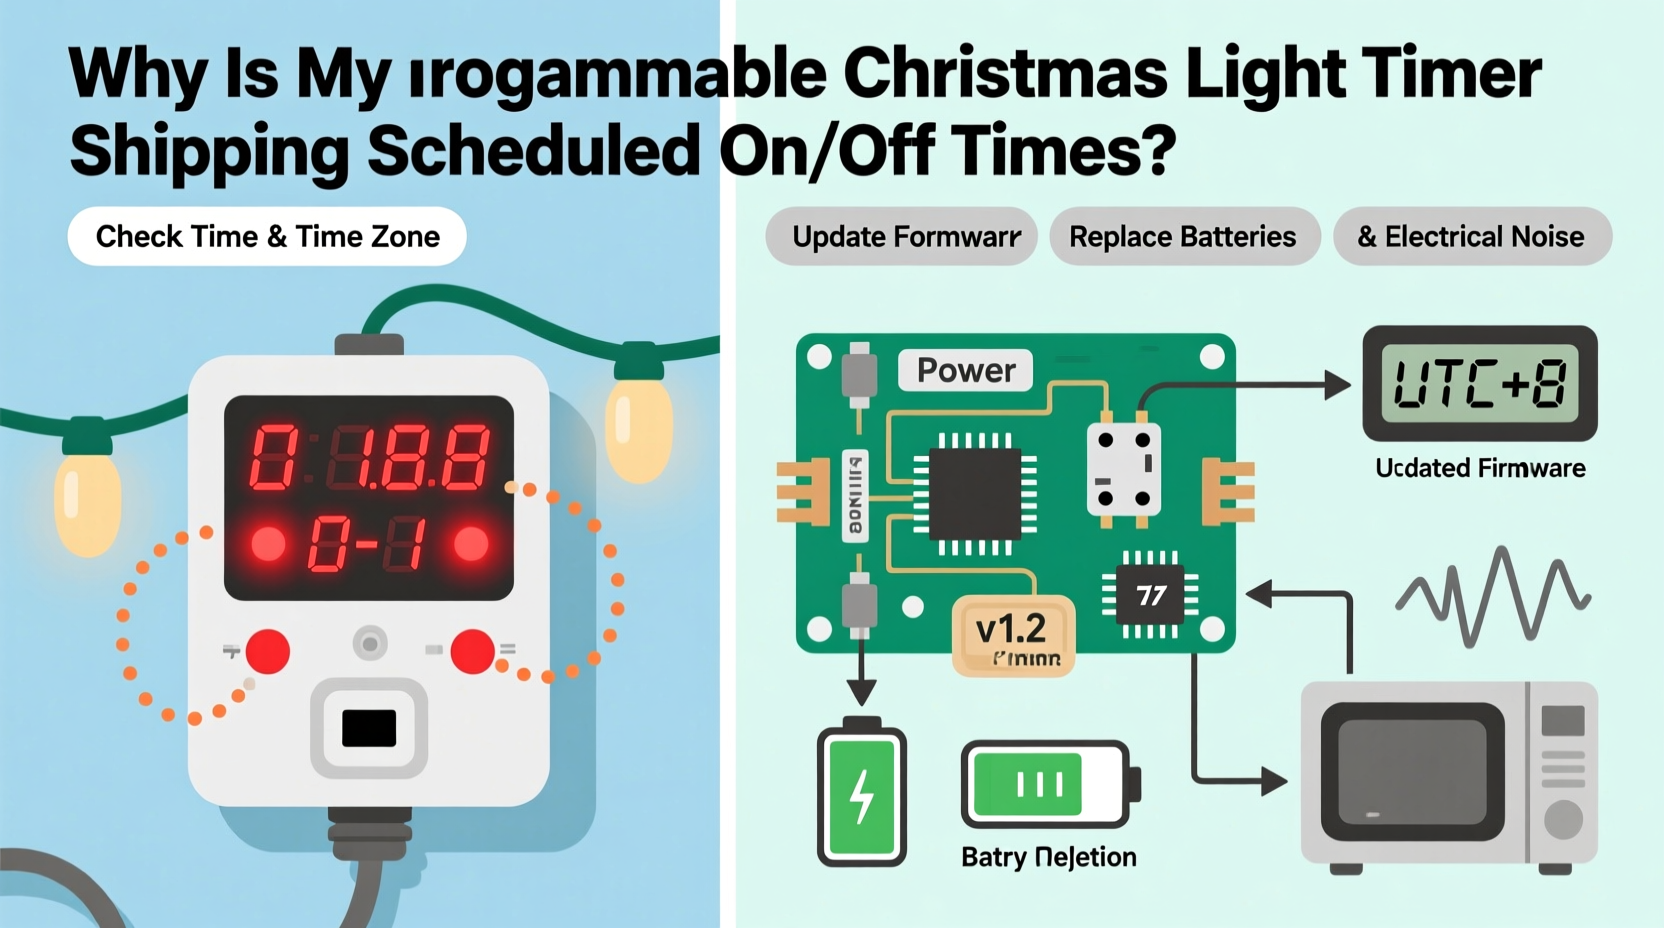
- Incorrect Programming: Misconfigured modes (e.g., random vs. cyclic), wrong AM/PM entries, or forgotten “save” steps.
- Daylight Saving Time Conflicts: Some non-smart timers don’t auto-adjust, causing a one-hour shift in operation.
- Overloaded Circuits: Exceeding wattage limits can cause voltage drops that disrupt internal electronics.
- Battery Backup Failure: Units with backup batteries may malfunction if the battery is dead or corroded.
- Temperature Extremes: Outdoor use in freezing or high-heat environments affects circuit performance.
Each of these issues can mimic hardware failure, but often only requires recalibration or minor adjustments.
Step-by-Step Diagnostic & Repair Process
Follow this structured approach to identify and resolve the root cause of your timer’s scheduling failures.
- Unplug and Reset: Disconnect the timer for at least 30 seconds. This clears temporary memory glitches. Reconnect and re-enter the current time manually.
- Reprogram from Scratch: Delete all existing schedules. Enter a simple test cycle (e.g., on at 5:00 PM, off at 10:00 PM). Observe for two consecutive days.
- Check Power Source Stability: Plug the timer into a different indoor outlet to rule out voltage fluctuations or tripped breakers.
- Inspect Battery Compartment: Open the battery case (if present). Replace old batteries with fresh alkaline ones. Clean corrosion with a cotton swab and vinegar.
- Verify Load Capacity: Add up the total wattage of connected lights. Ensure it’s below the timer’s rated maximum (usually 1875W for 15A devices).
- Test with One Light String: Eliminate load variables by connecting just one low-wattage strand. If timing stabilizes, the issue was overload-related.
- Monitor Temperature Exposure: If mounted outside, ensure the timer is under an eave or covered enclosure. Avoid direct snow contact or sun exposure.
If the timer still skips after these steps, proceed to firmware and compatibility checks.
Firmware, Compatibility, and Smart Timer Considerations
Modern programmable timers fall into two categories: basic digital and smart/Wi-Fi-enabled. Each has unique vulnerabilities.
Basic digital models use embedded microcontrollers with fixed logic. They don’t receive updates, so bugs remain unless mitigated through manual workarounds. In contrast, smart timers (like those from Philips, Kasa, or Meross) connect to apps and cloud services. These can skip schedules due to:
- Wi-Fi disconnections
- App syncing delays
- Firmware bugs after automatic updates
- Time zone misconfigurations in mobile settings
A recent case involved a homeowner using a Kasa KP400 outdoor timer. Despite correct programming, lights turned on 45 minutes late every evening. After troubleshooting, the issue was traced to an outdated app version that failed to sync sunset-based rules. Updating the app restored full functionality.
“Many users assume their timer is broken when it’s actually a communication gap between device and server.” — Daniel Reeves, Smart Home Integration Specialist
For Wi-Fi models, always ensure:
- The router is within range (preferably 2.4 GHz band)
- The associated app shows “online” status
- Automatic firmware updates are enabled
- Device time syncs with phone/tablet via NTP (Network Time Protocol)
Tips and Best Practices for Reliable Operation
Prevention is more effective than repair when it comes to holiday lighting automation. Implement these best practices before installing your timer each season.
Storage and Seasonal Maintenance
After the holidays, store your timer properly:
- Remove batteries to prevent leakage damage.
- Wrap cords neatly; avoid tight bends that weaken wiring.
- Keep in a sealed plastic container with desiccant packs to control moisture.
- Store indoors at room temperature—never in attics or unheated garages.
Programming Discipline
Mistakes during setup are among the top causes of apparent malfunctions. To avoid errors:
- Program the timer indoors first, where lighting and interface visibility are optimal.
- Write down your intended schedule before entering it.
- Use “test mode” if available to confirm immediate response.
- Double-check that the clock reflects correct AM/PM and DST status.
Comparison Table: Common Timer Models and Known Issues
| Model | Known Issue | Solution |
|---|---|---|
| GE 15076 Digital Timer | Loses time after short power loss | Replace internal CR2032 battery annually |
| Intermatic ST01C | Skips cycles in cold weather (<20°F) | Use only indoors or in insulated enclosures |
| Kasa KP400 | Delays due to Wi-Fi lag | Enable “local control” mode in app settings |
| Belkin Wemo Mini | App crashes interrupt schedules | Set redundant rules or use third-party automation (e.g., IFTTT) |
| Homesync Outdoor Timer | Random resets after firmware update | Roll back to stable version; disable auto-updates |
Mini Case Study: The Garage Outlet That Broke the Schedule
Mark from Minneapolis installed a new GE 15075 programmable timer to control his roofline lights. He set a consistent 4:30 PM on / 10:00 PM off schedule. For three days, it worked perfectly. Then, the lights stayed off entirely on December 10th.
He checked programming—still correct. Power to the outlet tested fine. Frustrated, he replaced the timer with a spare, only for the same problem to recur two nights later.
The breakthrough came when he noticed his garage door opener briefly flickered at 4:28 PM daily—the same moment the lights should have activated. An electrician diagnosed a shared circuit with unstable voltage during motor startup. Installing a dedicated outdoor-rated GFCI outlet resolved the issue permanently.
This case underscores a critical point: sometimes, the timer isn’t the problem—it’s the environment it operates within.
Essential Checklist for Reliable Timer Performance
Use this checklist before and during each holiday season to prevent skipped schedules:
- ✅ Test timer operation indoors before outdoor installation
- ✅ Confirm total light wattage is under timer’s capacity
- ✅ Install in a sheltered location away from rain and snow
- ✅ Replace backup battery annually, even if unused
- ✅ Verify time and date accuracy weekly during use
- ✅ Ensure DST setting matches local observance
- ✅ Use a surge protector for added safety
- ✅ Document schedule settings in case of reset
Frequently Asked Questions
Why does my timer work fine indoors but skip schedules outdoors?
Outdoor conditions like moisture, temperature swings, and power quality differ significantly from indoor environments. Many timers are rated for “outdoor use” but still require protection from direct exposure. Additionally, long extension cords can cause voltage drop, leading to inconsistent performance. Always use weatherproof covers and check cord gauge for long runs.
Can LED lights cause issues with programmable timers?
Yes, but indirectly. LED strings consume far less power than incandescent bulbs. Some older timers require a minimum load (often 20–40 watts) to activate relays properly. If your total LED load is too low, the timer may not switch reliably. Solution: add a small incandescent bulb to the circuit or use a timer specifically rated for low-load applications.
How do I know if my timer needs replacement?
Consider replacing your timer if: it consistently drifts by more than 5 minutes per day, fails to hold settings after power restoration, displays erratic behavior despite troubleshooting, or shows physical signs of damage (burn marks, warped casing, corrosion). Most digital timers have a functional lifespan of 3–5 years with seasonal use.
Conclusion: Take Control of Your Holiday Lighting
A programmable Christmas light timer should simplify your holiday routine, not complicate it. Skipped schedules are rarely due to irreparable defects—they’re usually the result of preventable oversights or environmental stressors. By understanding how these devices operate, applying disciplined setup practices, and performing regular maintenance, you can ensure flawless automation year after year.
Don’t let unreliable timing dim your festive spirit. Revisit your current setup, apply the diagnostics in this guide, and make the small adjustments that lead to big improvements. A well-maintained timer doesn’t just save time—it enhances the joy of your display by delivering consistency and precision.


 浙公网安备
33010002000092号
浙公网安备
33010002000092号 浙B2-20120091-4
Comments
No comments yet. Why don't you start the discussion?