
Have you ever looked at a group photo and noticed that your shadow appears significantly darker than everyone else’s? It’s not just your imagination — and it’s not necessarily about the camera either. The appearance of shadows in photographs is primarily governed by lighting dynamics, subject positioning, surface reflectivity, and exposure settings. Understanding these factors can help you diagnose and correct uneven shadows, whether you're shooting casually with a smartphone or working on a professional photoshoot.
Shadows are not just absences of light; they are visual records of how light interacts with objects and environments. When one person casts a darker shadow than others in the same frame, it often reveals subtle but meaningful differences in distance from light sources, body posture, clothing color, or even ground texture. By mastering the principles behind shadow formation, you gain control over image quality and visual storytelling.
The Science Behind Shadow Darkness
A shadow forms when an object blocks light from reaching a surface. The darkness of that shadow depends on how much ambient light fills in the blocked area. In photography, what we perceive as “dark” is relative to surrounding brightness and exposure settings. A shadow isn’t inherently black — its tone is determined by three key variables: direct illumination, indirect (ambient) light, and camera exposure.
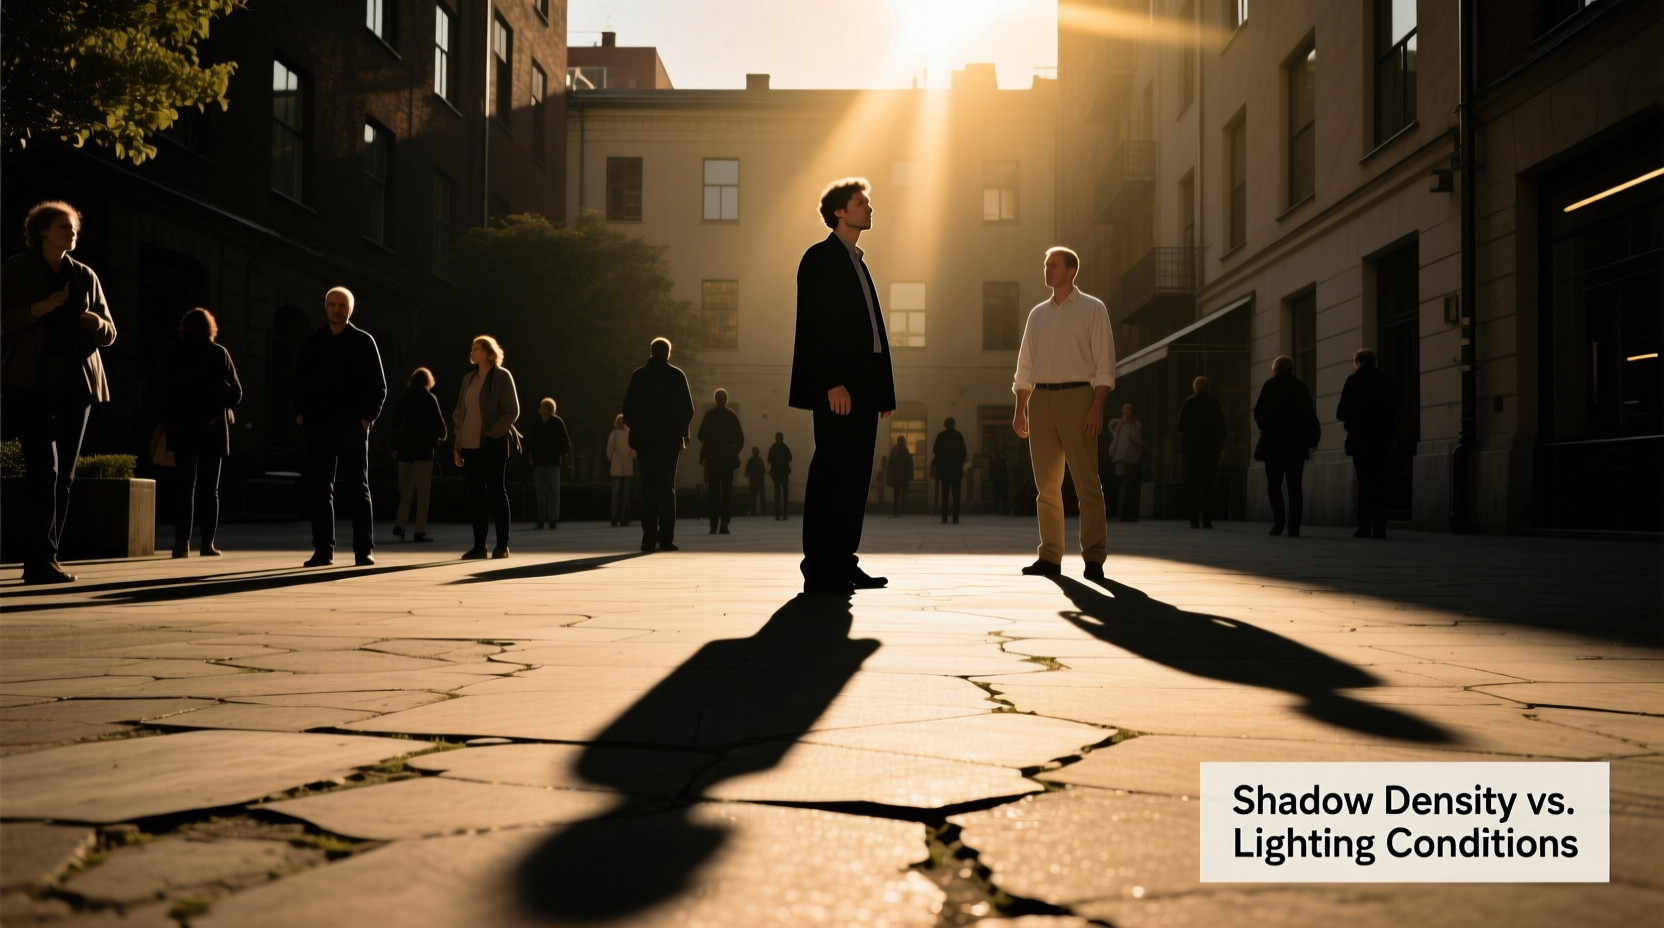
Direct light creates hard, sharply defined shadows. On a sunny day, sunlight acts as a strong directional source, producing high-contrast scenes. If you're standing directly under this light while others are partially shaded or in areas with more reflected light, your shadow will naturally appear deeper.
Ambient light — light that bounces off walls, pavement, or nearby surfaces — softens shadows by filling in dark areas. This is why shadows under a tree canopy or near light-colored buildings tend to be lighter. If someone stands on dark asphalt while another stands on white concrete, their shadows will differ dramatically, even under identical overhead lighting.
“Shadow density is rarely about the subject alone — it's about the environment's ability to redirect light.” — Dr. Lena Torres, Lighting Researcher at NYU Tisch School of the Arts
Key Factors That Make Your Shadow Appear Darker
Several interrelated elements can cause your shadow to look disproportionately dark compared to others. These include:
- Proximity to the light source: Being closer to the sun (or artificial light) increases the intensity of both highlights and shadows.
- Surface albedo (reflectivity): Light-colored surfaces reflect more fill light into shadows, reducing contrast.
- Clothing and skin tone: Dark clothing absorbs more light, casting a denser shadow than light-colored attire.
- Body shape and stance: A crouched or extended pose may block more light, creating a larger, more solid shadow.
- Camera exposure settings: Auto-exposure systems often prioritize faces, potentially underexposing background areas where shadows fall.
For example, if you’re wearing a black jacket and standing on asphalt while your friend in a white shirt stands on a limestone patio, your shadow will absorb more light and receive less bounce-back, making it appear far darker — even if both of you are under the same sun.
How Camera Exposure Influences Shadow Perception
Your camera doesn’t see light the way your eyes do. Human vision dynamically adjusts to different brightness levels within a scene — a process called adaptation. Cameras, especially in automatic mode, must choose a single exposure setting, which can lead to compromised shadow detail.
When a camera meters for a bright sky or illuminated faces, it often underexposes darker areas to prevent blown-out highlights. As a result, shadows — including yours — may appear unnaturally black. This effect is amplified in JPEG format, which has less dynamic range than RAW files.
Smartphones compound this issue with HDR (High Dynamic Range) modes that sometimes misfire — blending multiple exposures inconsistently across moving subjects or uneven terrain. One person might benefit from fill flash or tone mapping, while another ends up with a crushed shadow.
| Factor | Effect on Shadow Darkness | Solution |
|---|---|---|
| Auto Exposure Bias | Prioritizes faces, darkens background shadows | Use manual exposure or spot metering |
| Low Dynamic Range (JPEG) | Loses detail in dark areas | Shoot in RAW when possible |
| Inconsistent HDR Processing | Uneven shadow recovery between subjects | Disable HDR or use consistent lighting |
| Flash Usage | Eliminates shadows on face but may deepen ground shadows | Use diffused or bounced flash |
Mini Case Study: Family Portrait Gone Wrong
During a weekend family gathering, Maria took a group photo in her backyard at noon. Everyone was smiling — except when she reviewed the image, her shadow stood out like a black void, while her cousin’s shadow barely registered. Confused, she checked positions and realized she was standing directly on a patch of mulch near a wooden fence, while her cousin stood on a light-gray stone path.
Maria was also wearing a navy dress, whereas most others wore pastels. The camera’s auto-HDR attempted to brighten faces but failed to recover shadow detail on the non-reflective surface beneath her. The combination of dark clothing, low-reflectance ground, and midday sun created a perfect storm for a deep shadow.
After adjusting — stepping onto the stone path and recomposing — the next shot showed balanced, natural-looking shadows across all subjects.
Step-by-Step Guide to Achieving Balanced Shadows in Photos
Whether you're a casual photographer or managing a shoot, follow this sequence to minimize uneven shadow darkness:
- Assess the lighting environment: Identify primary light sources (sun, lamps) and note reflective surfaces nearby.
- Position subjects strategically: Place people on light-colored, reflective ground. Avoid mixing surfaces (e.g., grass vs. pavement) within the same shot.
- Coordinate clothing tones: Encourage neutral or light-colored outfits to reduce light absorption.
- Adjust camera settings manually: Use spot metering on a mid-tone area or set exposure compensation to +0.7 if shadows are too harsh.
- Use fill light: Employ a reflector, bounce flash, or portable LED panel to lift shadow values without altering natural appearance.
- Review histogram and preview: Check for clipped shadows (blocked-up blacks) and reshoot if needed.
- Edit selectively: In post-processing, lift shadows gently using editing software, ensuring consistency across subjects.
Practical Checklist for Shadow Control
Before taking any group or outdoor portrait, run through this checklist:
- ✅ Are all subjects on the same type of surface?
- ✅ Is anyone wearing very dark clothing that could intensify shadows?
- ✅ Is the sun directly overhead, creating harsh shadows?
- ✅ Have I disabled aggressive HDR if it causes inconsistency?
- ✅ Am I using manual exposure or compensated settings?
- ✅ Do I have a reflector or alternative light source available?
- ✅ Have I reviewed a test shot for shadow balance?
Expert Insight: The Role of Ambient Light
Professional photographers know that controlling shadows means controlling light — not just the main source, but the entire luminous environment. Reflective surfaces act as secondary light sources, subtly illuminating shadowed areas.
“In studio work, we spend more time on fill lights and reflectors than on key lights because shadows define dimension. Outdoors, the ground is your biggest reflector — treat it accordingly.” — Marcus Bell, Commercial Photographer
This principle applies universally: a white wall behind a subject can bounce enough light to halve shadow contrast. Similarly, shooting near water, sand, or light-colored architecture naturally evens out exposure differences.
Frequently Asked Questions
Why does my shadow look black while others have soft shadows?
Your shadow likely appears black due to a combination of surface absorption (e.g., dark ground), lack of ambient light, and camera exposure settings that don’t preserve shadow detail. Others may be benefiting from reflective surfaces or partial diffusion (like dappled shade).
Can editing fix a too-dark shadow in photos?
Yes, but with limits. Software like Adobe Lightroom or Snapseed allows you to increase the “Shadows” slider to reveal hidden detail. However, if the shadow is completely blocked (pure black with no data), recovery is impossible. Prevention through proper lighting is always better than correction.
Does the time of day affect shadow darkness?
Absolutely. Midday sun creates short, intense shadows due to its high angle and strong direct light. During golden hour (shortly after sunrise or before sunset), light travels through more atmosphere, becoming softer and more diffused, which results in gentler, less contrasting shadows.
Conclusion: Take Control of Light, Not Just the Camera
The reason your shadow appears darker than others in photos isn’t random — it’s a visible outcome of physics, environment, and technical choices. While cameras play a role, the real power lies in understanding and manipulating light. By choosing the right location, coordinating attire, adjusting exposure, and using simple tools like reflectors, you can ensure that no one is lost in the shadows — literally or figuratively.
Photography is as much about managing darkness as it is about capturing light. The next time you line up a group shot, take a moment to scan the ground, check clothing colors, and think beyond the lens. With a little awareness, every subject — and every shadow — can be perfectly balanced.


 浙公网安备
33010002000092号
浙公网安备
33010002000092号 浙B2-20120091-4
Comments
No comments yet. Why don't you start the discussion?