
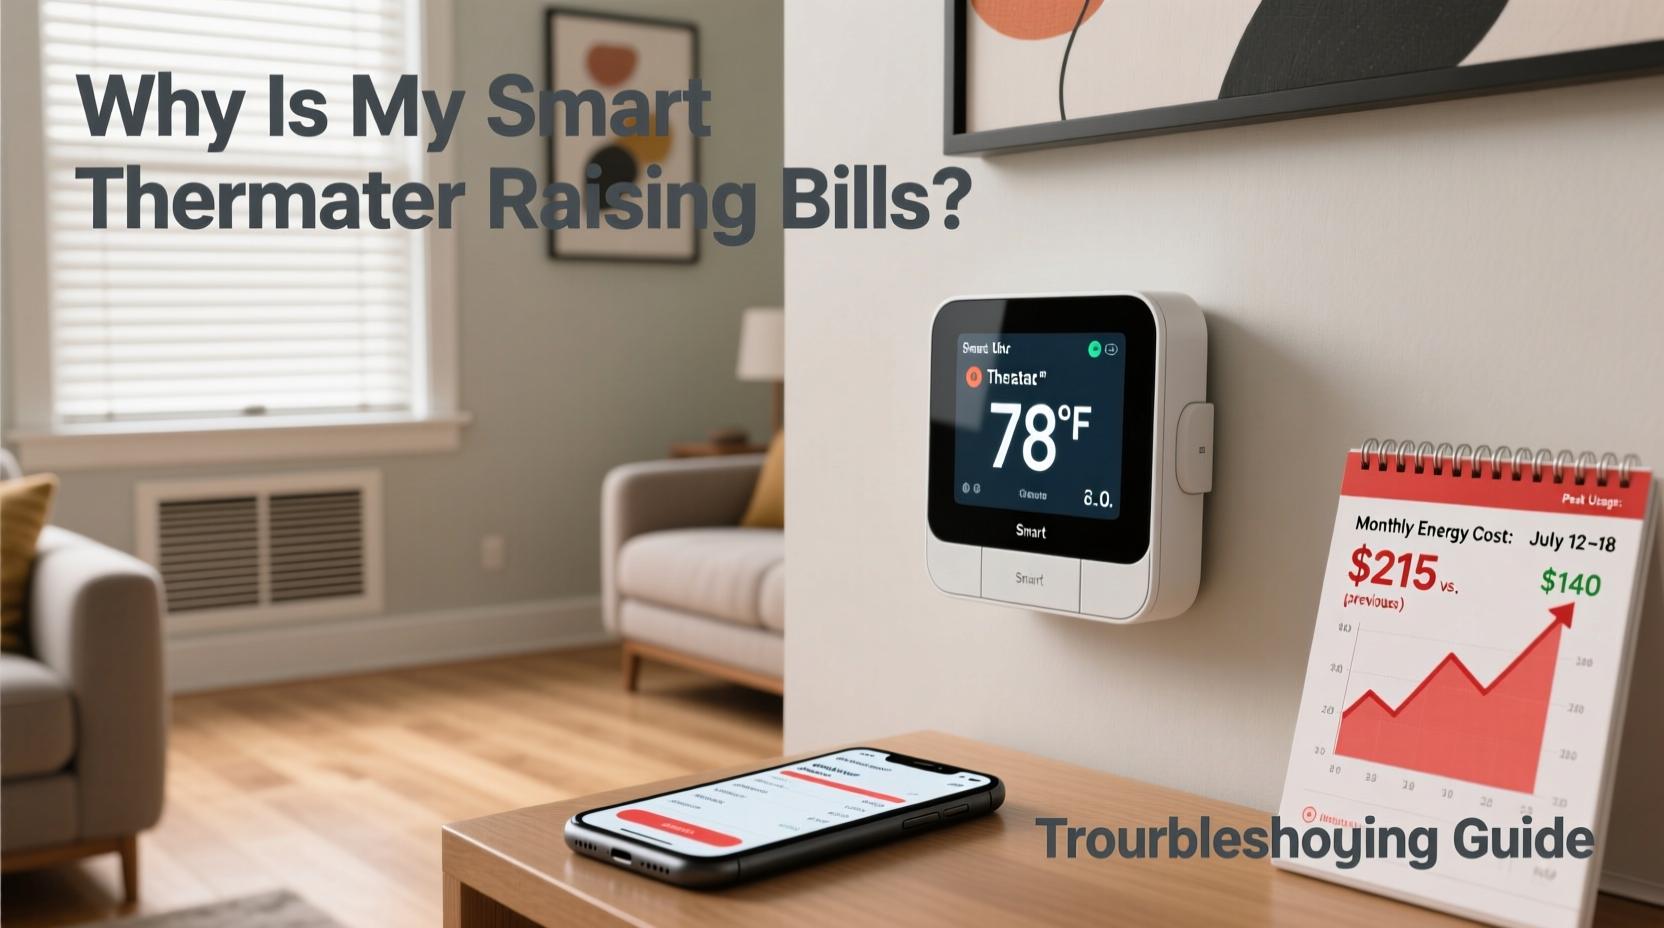
Smart thermostats promise energy savings, comfort, and convenience—all through intelligent automation. But what happens when your utility bill climbs after installation? You expected lower costs, not higher ones. When a device designed to cut energy use ends up increasing consumption, the issue isn’t the technology itself—it’s often in how it’s set up, used, or misunderstood. This guide breaks down the most common reasons why your smart thermostat might be raising bills and provides actionable steps to correct them.
How Smart Thermostats Are Supposed to Save Money
At their core, smart thermostats learn your schedule, adjust temperatures based on occupancy, and optimize heating and cooling cycles. They connect to Wi-Fi, allow remote control via smartphone apps, and can integrate with other smart home systems. Most models use algorithms to determine when to preheat or pre-cool your home just before you return, avoiding unnecessary runtime while maintaining comfort.
The savings come from reducing HVAC operation during times when no one is home or when occupants are asleep. According to the U.S. Department of Energy, properly programmed thermostats can save up to 10% annually on heating and cooling costs. However, these savings assume correct configuration and realistic usage patterns.
Common Reasons Your Smart Thermostat Is Increasing Bills
When energy bills rise after installing a smart thermostat, the culprit is rarely the hardware. More often, it’s user error, incorrect settings, or environmental factors that undermine efficiency. Below are the top causes.
1. Incorrect Installation or Placement
Where you install your thermostat matters. If it’s placed near a heat source—like direct sunlight, a lamp, or an appliance—it may read a higher ambient temperature than the rest of the house. This tricks the system into thinking the space is warmer than it actually is, causing the AC to run longer than necessary.
Similarly, placing it in a drafty hallway or near an exterior door can lead to false cold readings in winter, prompting excessive heating.
2. Overriding the Learning Algorithm Too Often
Many users disable auto-scheduling because they don’t like the temperature when they arrive home. So they manually override it—“I’ll just bump it up for now.” But frequent manual adjustments confuse the learning algorithm. The thermostat can’t establish a reliable pattern, so it defaults to constant conditioning, defeating its energy-saving purpose.
“The biggest mistake homeowners make is treating a smart thermostat like a traditional one—constantly adjusting it. Consistency is key to unlocking real savings.” — Dr. Alan Reeves, Energy Efficiency Researcher at the National Home Lab
3. Poorly Defined Schedules or Geofencing Failures
If your household has irregular hours—shift workers, remote employees, or frequent guests—the thermostat may struggle to predict occupancy. Without accurate data, it defaults to “comfort mode” too often, keeping the house at ideal temperatures around the clock.
Geofencing, which tracks smartphones to determine when people leave or return, can also fail due to poor phone battery settings, disabled location services, or weak signal. When this happens, the thermostat doesn’t know you’ve left and continues conditioning the space.
4. Mismatched HVAC System Compatibility
Not all smart thermostats work seamlessly with every HVAC system. Older furnaces, multi-stage units, or systems with heat pumps require specific wiring (like O/B reversal) and configuration. If these aren’t set correctly during setup, the thermostat may trigger inefficient cycling or run auxiliary heat strips unnecessarily—especially in colder climates where electric backup heat is costly.
5. Unintentional Vacation Mode or False Occupancy Detection
Some users forget to disable vacation mode after returning home, leading the thermostat to maintain an energy-saving setback indefinitely. Others experience false occupancy detection: if no motion is sensed for several hours, the thermostat assumes the house is empty—even if someone is quietly reading or working in another room.
Troubleshooting Steps to Fix Rising Bills
Follow this step-by-step process to diagnose and resolve issues causing unexpected energy use.
Step 1: Audit Your Thermostat Settings
- Log into your thermostat’s app or web portal.
- Review the current schedule and compare it to your actual routine.
- Check if geofencing is enabled and functioning (test by leaving and returning home).
- Verify that vacation mode is off and no temporary holds are active.
- Ensure the temperature setbacks are meaningful—e.g., 7°F (4°C) difference between occupied and unoccupied modes.
Step 2: Confirm Proper Installation Location
- Move the thermostat away from windows, vents, lamps, or kitchens.
- Ensure it’s on an interior wall, at eye level, and not obstructed.
- Use a separate thermometer to verify accuracy—if the thermostat reads 74°F but the room is 68°F, recalibration or relocation may be needed.
Step 3: Review HVAC Compatibility and Wiring
Check the manufacturer’s compatibility tool (e.g., Nest’s compatibility checker or Ecobee’s wiring guide). Look for signs of improper heat pump configuration, such as:
- Frequent use of emergency heat (indicated in app logs)
- Short cycling (system turns on/off rapidly)
- Inconsistent indoor temperatures despite long runtimes
If unsure, consult an HVAC technician to verify wiring and system type.
Step 4: Reset and Relearn
If the thermostat has been misused or overridden repeatedly, reset it to factory settings and go through setup again. Allow two weeks of consistent behavior without manual changes so the algorithm can relearn your habits.
Step 5: Monitor Energy Reports
Most smart thermostats provide weekly energy reports showing runtime, cost estimates, and comparisons to previous weeks. Use these to identify spikes and correlate them with weather changes, system issues, or behavioral patterns.
Do’s and Don’ts: Smart Thermostat Best Practices
| Do | Don't |
|---|---|
| Set realistic temperature setbacks (e.g., 68°F in winter when away, 78°F in summer) | Set extreme setbacks (below 60°F or above 85°F), which force longer recovery times and higher energy use |
| Enable geofencing and ensure all family members have the app installed | Disable location services or ignore low-battery warnings on phones used for geofencing |
| Update firmware regularly for performance improvements | Ignore software update notifications—older versions may lack efficiency optimizations |
| Use room sensors (if supported) to monitor temperature in frequently used areas | Place sensors near windows, heaters, or in unused rooms |
| Allow the thermostat to learn for at least 10–14 days without interference | Manually adjust temperature multiple times per day—this resets the learning process |
Real-World Example: The Johnson Family Case Study
The Johnsons installed a popular smart thermostat in their suburban home, expecting $150 annual savings. Instead, their winter heating bill increased by 22%. Confused, they contacted customer support, who reviewed their system logs.
The report showed that emergency heat was activating daily, even though outdoor temps were only moderately cold. Further investigation revealed incorrect O/B valve wiring—a common oversight in heat pump setups. The thermostat mistakenly triggered electric backup heat instead of reversing the refrigerant cycle.
After a technician corrected the wiring and recalibrated the system, the Johnsons reset the thermostat and followed a strict no-adjustment policy for two weeks. Within a month, their runtime dropped by 31%, and their next bill reflected a 14% decrease compared to the previous year—finally realizing the promised savings.
Essential Checklist: Optimize Your Smart Thermostat Now
Use this checklist to ensure your smart thermostat is working efficiently:
- ✅ Verify thermostat is installed in a neutral, interior location
- ✅ Confirm geofencing is enabled and tested with all household devices
- ✅ Check for active vacation modes or manual overrides
- ✅ Review weekly energy reports for abnormal runtimes
- ✅ Ensure HVAC system compatibility and correct wiring (especially for heat pumps)
- ✅ Install firmware updates
- ✅ Set meaningful temperature setbacks (at least 7°F from comfort level)
- ✅ Avoid frequent manual adjustments for at least two weeks to allow learning
- ✅ Use remote sensors if rooms are unevenly heated or cooled
- ✅ Schedule annual HVAC maintenance to keep system running efficiently
Frequently Asked Questions
Can a smart thermostat increase my bill if I use it wrong?
Yes. Frequent manual adjustments, incorrect placement, or failure to configure system type (e.g., heat pump vs. gas furnace) can cause the thermostat to operate inefficiently, leading to higher energy use.
Should I keep my smart thermostat on Auto or Manual mode?
Use Auto or Smart mode for best results. Manual mode disables learning and scheduling features. Reserve manual adjustments for rare, short-term needs only.
How long does it take for a smart thermostat to start saving money?
Most users see initial savings within 1–2 months, provided the device is correctly installed and not overridden. Full optimization may take up to 60 days as the system adapts to seasonal changes and usage patterns.
Conclusion: Take Control of Your Energy Use
A smart thermostat isn’t a “set and forget” solution—it’s a tool that requires thoughtful setup and consistent use. When bills rise unexpectedly, the answer usually lies in configuration, environment, or behavior, not the device itself. By auditing your settings, verifying installation, and allowing the system to learn, you can transform your thermostat from a cost increaser into a true energy saver.


 浙公网安备
33010002000092号
浙公网安备
33010002000092号 浙B2-20120091-4
Comments
No comments yet. Why don't you start the discussion?