
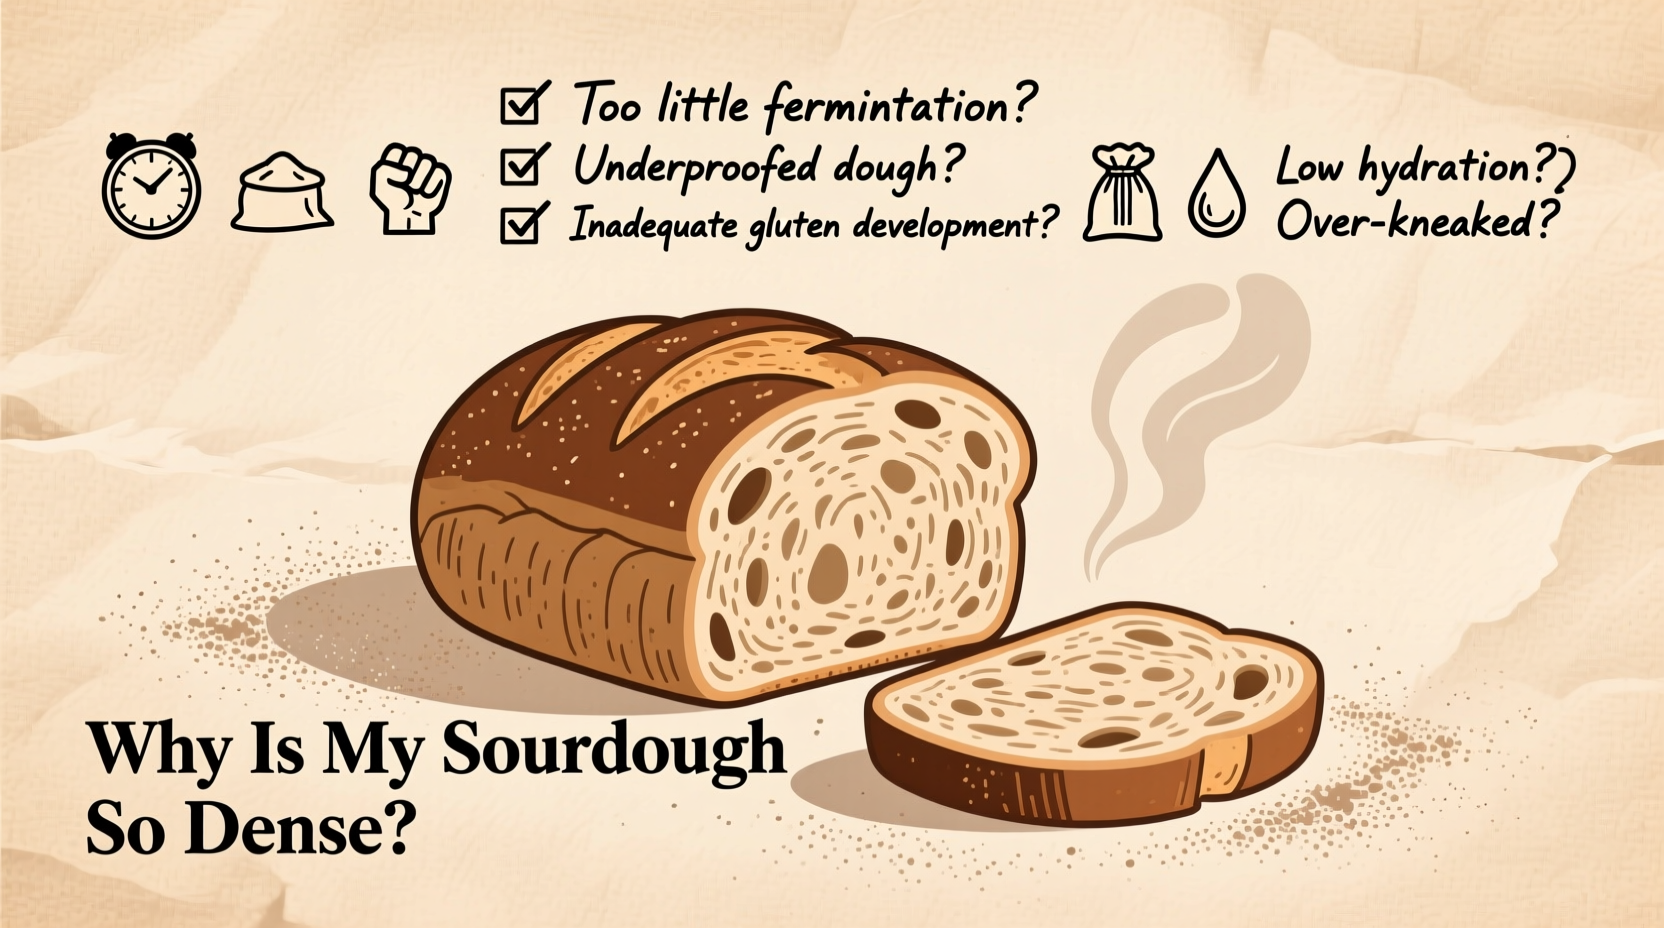
Sourdough baking is a rewarding craft, but few things are more disappointing than slicing into a loaf only to find it heavy, gummy, or disappointingly flat. A dense crumb isn’t just unappealing—it can signal deeper issues in your process. The good news? Density is almost always fixable. Unlike commercial yeast breads, sourdough relies on wild fermentation, which introduces variability. That means even experienced bakers encounter setbacks. By understanding the science behind dough development and identifying where things go wrong, you can transform your next loaf from dense brick to airy masterpiece.
The Science Behind Sourdough Texture
Sourdough’s open crumb structure depends on three key factors: gluten development, gas retention, and oven spring. Gluten forms a network that traps carbon dioxide produced by your active starter. As the dough proofs, bubbles expand. When baked, steam and heat cause a final burst of expansion—oven spring—before the crust sets. If any part of this chain breaks down, density results.
Density isn't one problem but a symptom. It could stem from under-proofing, weak gluten, low starter activity, or improper shaping. Pinpointing the root cause requires examining each stage of the process—from feeding your starter to scoring the loaf before baking.
“Sourdough rewards patience and precision. A dense loaf often reflects a single misstep in timing, temperature, or technique.” — Dr. Laura Chen, Fermentation Scientist and Artisan Baker
Common Causes of Dense Sourdough (And How to Fix Them)
1. Under-Proofed Dough
One of the most frequent culprits behind dense bread is under-proofing. If your dough hasn’t fermented long enough, the yeast haven’t produced sufficient gas to create an airy structure. The result is tight, compact crumbs with little rise.
To test if your dough is properly proofed, perform the “poke test”: gently press a fingertip about half an inch into the dough. If it springs back slowly and leaves a slight indentation, it’s ready. If it snaps back quickly, it needs more time. If it doesn’t spring back at all, it’s over-proofed.
2. Weak or Inactive Starter
Your sourdough starter is the engine of your loaf. If it’s sluggish or underfed, it won’t produce enough gas to leaven the bread. A healthy starter should double in size within 4–8 hours of feeding and have a bubbly, slightly tangy aroma.
If your starter peaks too early or doesn’t rise at all, refresh it with equal parts flour and water (by weight) for two to three consecutive feedings before baking. Use it when it’s at its peak activity—usually 4–6 hours after feeding at room temperature.
3. Poor Gluten Development
Gluten gives dough its elasticity and strength. Without proper development, the dough can’t hold gas, leading to collapse and density. This often happens with low-protein flours, insufficient kneading, or skipping stretch-and-folds.
For best results, use bread flour (12–14% protein) instead of all-purpose. During bulk fermentation, perform 4–6 sets of stretch-and-folds spaced 30 minutes apart. This builds strength without excessive kneading. After folding, the dough should feel smooth, taut, and resist gentle pulling.
4. Over-Hydration or Under-Hydration
Water content dramatically affects texture. Too much water can break down gluten; too little makes the dough stiff and hard to expand. Most beginner-friendly sourdough recipes use 70–75% hydration (e.g., 700–750g water per 1000g flour).
If your dough feels soupy or spreads out during proofing, reduce hydration by 5–10%. If it’s stiff and difficult to shape, increase water gradually. Always adjust based on flour type—whole grain absorbs more water than white.
5. Improper Shaping
A poorly shaped loaf lacks surface tension, causing it to spread rather than rise upward in the oven. This leads to flat, dense loaves even if fermentation was perfect.
When shaping, degas gently, then fold and tighten the dough into a taut round or oval. Cup your hand around it and rotate against the counter to create surface tension. The top should feel like a trampoline—firm and resilient.
Troubleshooting Checklist: Is Your Process On Track?
- ✅ Is your starter peaking predictably within 6–8 hours of feeding?
- ✅ Did you feed your starter 4–6 hours before mixing the dough?
- ✅ Did you perform stretch-and-folds every 30 minutes during the first 2 hours of bulk fermentation?
- ✅ Does the dough pass the windowpane test (thin, translucent membrane when stretched)?
- ✅ Was the final proof complete (poke test shows slow rebound)?
- ✅ Was the dough shaped tightly with visible surface tension?
- ✅ Was the oven fully preheated with Dutch oven inside for at least 45 minutes?
- ✅ Was the loaf scored deeply (½ inch) with a sharp blade before baking?
Step-by-Step Guide to Baking Lighter Sourdough
- Feed your starter 6 hours before baking. Use equal parts flour and water by weight. Let it sit at 70–75°F (21–24°C) until bubbly and doubled.
- Mix dough using 1000g bread flour, 750g water (75% hydration), 200g active starter, and 20g salt. Autolyse (rest) for 30 minutes before adding salt and starter.
- Bulk ferment for 3–5 hours at room temperature. Perform 4–6 sets of stretch-and-folds in the first 2 hours.
- Shape the dough into a tight boule or batard. Place seam-side up in a floured banneton for final proof.
- Proof for 2–4 hours at room temp or overnight in the fridge. Use the poke test to confirm readiness.
- Preheat oven to 450°F (230°C) with Dutch oven inside for 45 minutes.
- Bake covered for 20 minutes to trap steam, then uncover and bake 20–25 minutes more until deep golden brown.
- Cool completely—at least 2 hours—before slicing to prevent gumminess.
Do’s and Don’ts for Achieving Open Crumb
| Do’s | Don’ts |
|---|---|
| Use a digital scale for precise measurements | Measure ingredients by volume (cups) |
| Feed your starter consistently and use it at peak | Bake with a starter that hasn’t doubled |
| Perform stretch-and-folds to build strength | Skip gluten development steps |
| Preheat Dutch oven thoroughly | Bake in a cold or inadequately heated vessel |
| Score the loaf deeply and confidently | Make shallow or hesitant cuts |
| Cool bread fully before slicing | Cut into hot bread expecting perfect crumb |
Real Example: Sarah’s Journey from Dense Loaves to Bakery-Quality Bread
Sarah, a home baker in Portland, struggled for months with dense sourdough. Her starter looked active, but her loaves never rose well. She followed recipes exactly but still ended up with hockey pucks.
After reviewing her process, she discovered two issues: First, she was using her starter immediately after feeding, not waiting for peak activity. Second, she skipped stretch-and-folds, assuming bulk fermentation alone would develop gluten.
She adjusted her routine: feeding her starter the night before, baking the next morning at peak rise, and incorporating four sets of stretch-and-folds. She also switched from all-purpose to bread flour. Her next loaf had a noticeable improvement—lighter, with visible air pockets. Within two weeks, she achieved an open, irregular crumb she’d only seen in artisan bakeries.
Sarah’s breakthrough wasn’t a single change but a series of small corrections grounded in understanding each step’s purpose.
Frequently Asked Questions
Why is my sourdough dense even though I used an active starter?
An active starter is essential, but other factors matter just as much. Even with a strong starter, poor gluten development, under-proofing, or inadequate shaping can prevent proper rise. Check your entire process—not just the starter.
Can I fix a dense loaf after baking?
No—once baked, the structure is set. However, you can repurpose dense sourdough into croutons, breadcrumbs, or panzanella salad. For future loaves, focus on improving fermentation and dough handling.
Does refrigerating the dough affect density?
Retarding dough in the fridge (cold proof) can actually improve texture by enhancing flavor and strengthening gluten. But if the dough is under-proofed before chilling, it may not recover, leading to density. Ensure it has risen significantly before refrigerating—about 75% of full proof.
Expert Insight: Temperature Matters More Than You Think
Temperature influences every stage of sourdough baking. Cooler environments slow fermentation; warmer ones accelerate it. Ideal bulk fermentation occurs between 74–78°F (23–26°C). Below that, proofing can take twice as long. Above it, the dough may over-ferment before structure develops.
Many home bakers overlook ambient temperature. A kitchen at 65°F will yield drastically different results than one at 75°F. To control conditions, place your dough in a turned-off oven with the light on, or use a proofing box. Consistency here leads to predictable outcomes.
“The difference between a good loaf and a great one is often just 5 degrees and 30 minutes.” — Marcus Reed, Professional Sourdough Instructor at The Bread Lab
Final Tips for Consistent Results
Beyond technique, consistency is built through tracking. Keep a sourdough journal noting:
- Starter feeding time and rise duration
- Dough temperature after mixing
- Bulk fermentation length
- Room temperature
- Final loaf outcome (crumb, flavor, rise)
This log helps identify patterns. For example, if loaves are dense every time the kitchen dips below 70°F, you’ll know to adjust proofing time or find a warmer spot.
Also, don’t underestimate the power of steaming. Baking in a preheated Dutch oven traps moisture, allowing the dough to expand freely during the first 20 minutes. This “oven spring” is critical for lightness. Never skip preheating the vessel—it must be hot enough to generate instant steam when the dough hits the pot.
Conclusion: Turn Density Into Discovery
Dense sourdough isn’t failure—it’s feedback. Each loaf teaches you something about your starter, your environment, and your technique. The path to airy, flavorful bread isn’t about perfection but persistence. By methodically addressing each variable—starter health, gluten strength, proofing, shaping, and baking—you’ll steadily improve.
Start with one adjustment at a time. Master the poke test. Perfect your folds. Trust your senses over the timer. Soon, that elusive open crumb will become your standard. The best sourdough isn’t made in a day—it’s earned through attention, care, and a willingness to learn from every loaf.


 浙公网安备
33010002000092号
浙公网安备
33010002000092号 浙B2-20120091-4
Comments
No comments yet. Why don't you start the discussion?