
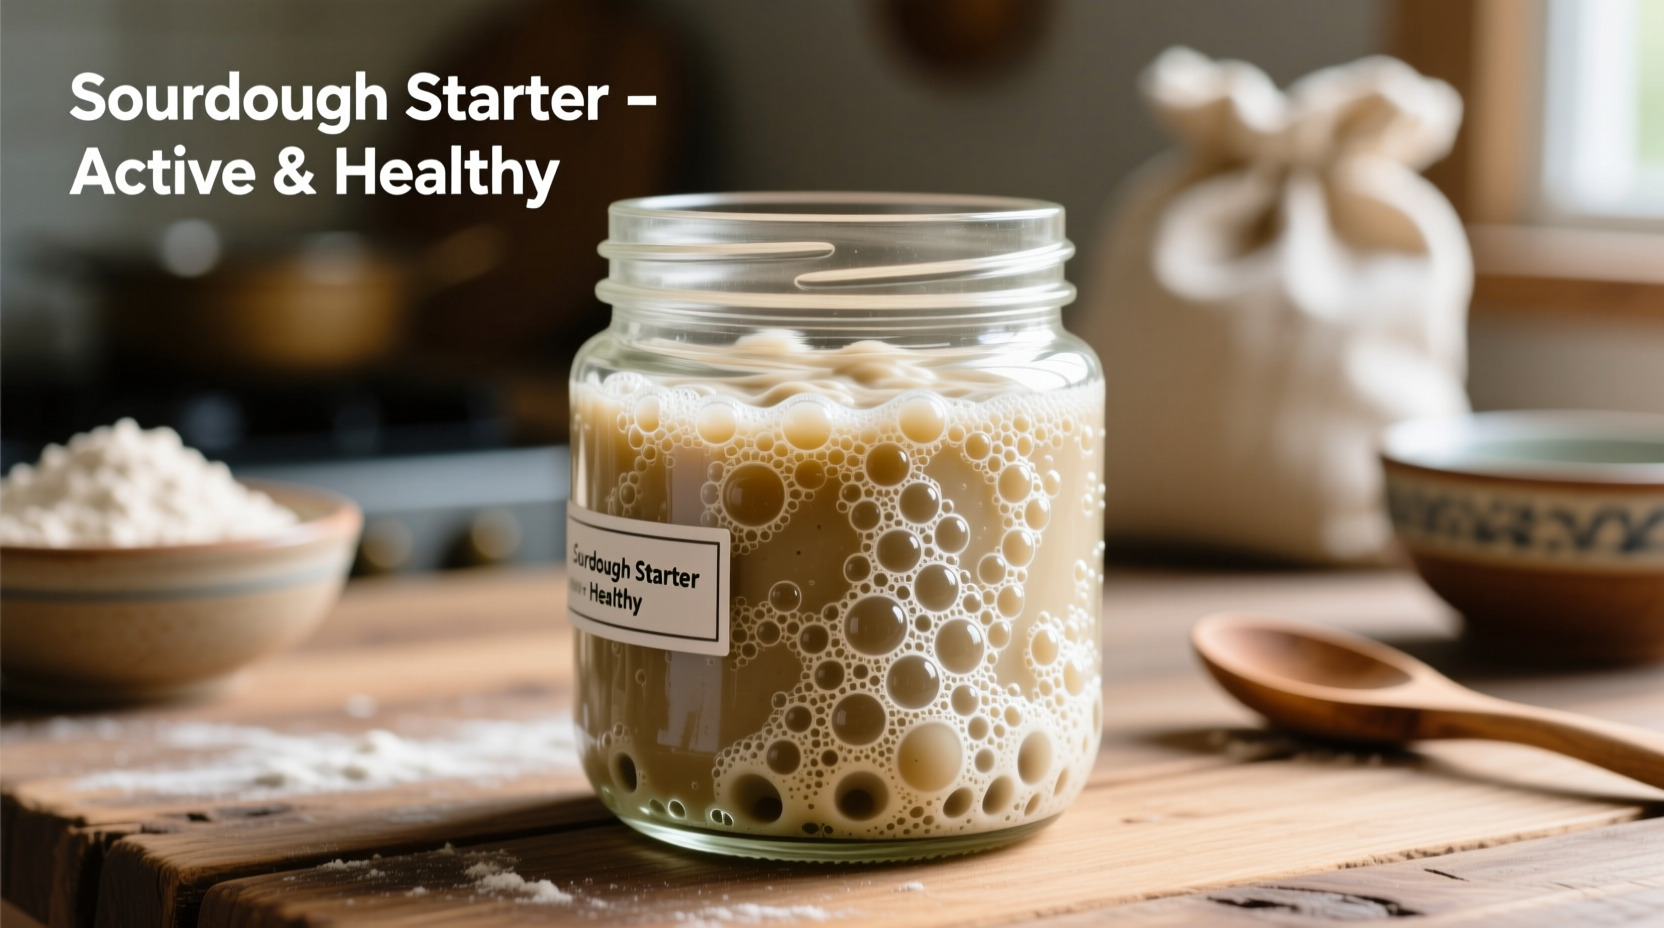
A sourdough starter that bubbles but refuses to rise can be one of the most frustrating experiences for home bakers. You see signs of life—tiny bubbles forming, a faint tang in the air—but when you check it hours later, there’s no puffiness, no dome, no expansion. It looks alive but behaves dormant. This contradiction often leads to confusion: Is my starter healthy? Should I feed it again? Is it dead?
The truth is, bubbling without rising is a common phase many starters go through, especially during development or after environmental changes. Bubbles indicate microbial activity—yeast and bacteria are fermenting sugars and producing gas—but rising requires more than just gas production. It demands strong gluten structure, consistent feeding, optimal temperature, and balanced microbiology. When any of these elements fall out of alignment, your starter may bubble but fail to expand.
This article breaks down the root causes behind this issue and offers practical, science-backed solutions to get your starter reliably doubling in volume.
Understanding the Difference Between Bubbling and Rising
Bubbling and rising are related but distinct indicators of starter health. Bubbling shows that microorganisms (wild yeast and lactic acid bacteria) are metabolizing flour and producing carbon dioxide. However, rising occurs only when enough gas is trapped within a cohesive gluten network. If the gluten is weak, over-fermented, or diluted with too much water, the gas escapes instead of lifting the mixture.
Think of it like blowing up a balloon. You can blow air into a plastic bag (bubbling), but unless the bag is sealed and elastic (gluten strength), it won’t inflate (rise). A starter needs both active microbes and structural integrity to perform properly.
“Bubbles mean fermentation is happening, but volume increase reflects functional strength. The real test of a healthy starter isn’t just activity—it’s predictable expansion.” — Dr. Karl DeSautel, Microbial Fermentation Scientist, University of Washington
Common Causes of Bubbling Without Rising
Several interrelated factors can cause your starter to bubble yet remain flat. Identifying which applies to your situation is key to fixing it.
1. Weak Gluten Structure Due to Low-Protein Flour
Using all-purpose flour with low protein content (below 10%) results in weaker gluten development. While such flour supports microbial growth, it doesn’t provide enough elasticity to trap gas effectively. This is especially problematic in high-hydration starters (above 100% hydration), where excess water further dilutes the protein matrix.
2. Over-Fermentation from Irregular Feeding
If your starter sits too long between feedings, it consumes all available sugars. The initial burst of CO₂ creates bubbles, but as acidity increases and food depletes, the culture weakens. At this stage, gas production slows, and the gluten begins to break down from prolonged exposure to acids, preventing proper rise even if some bubbles remain.
3. Inconsistent Temperature
Wild yeast thrives between 70°F and 80°F (21°C–27°C). Cooler environments slow fermentation dramatically, while temperatures above 85°F (29°C) favor acid-producing bacteria over gas-producing yeast. Bubbles may still form, but the balance shifts toward sourness rather than lift.
4. Imbalanced Microbial Ecosystem
A young or stressed starter may have an overpopulation of lactic acid bacteria relative to yeast. These bacteria produce flavor and acidity but contribute little to leavening. The result? A bubbly, sour-smelling starter that lacks oomph.
5. Excessive Hydration (Too Much Water)
High hydration (e.g., 125% or more) makes starters more liquid and harder to rise visibly. While popular for open-crumbed breads, overly wet starters lack the viscosity needed to hold gas. They bubble vigorously at the edges but don't dome in the center.
Step-by-Step Fix: Reviving a Non-Rising Starter
Follow this five-day protocol to reset and strengthen your starter. Use precise measurements (grams recommended) and maintain consistency.
- Day 1 – Full Refresh: Discard all but 25g of starter. Feed with 50g whole grain rye or whole wheat flour and 50g lukewarm water (75–80°F). These flours contain more nutrients and microbes to jumpstart activity.
- Day 2 – Twice-Daily Feeding: Every 12 hours, discard down to 25g and feed with 50g unbleached all-purpose flour and 50g water. Keep in a warm spot (ideally 75°F).
- Day 3 – Monitor Peak Activity: After each feeding, mark the jar with a rubber band or tape at the starter’s level. Observe when it doubles. If it doesn’t double within 8–10 hours, continue twice-daily feeds.
- Day 4 – Switch to 1:2:2 Ratio: Once signs of improvement appear, adjust feeding ratio to 1 part starter : 2 parts flour : 2 parts water. This reduces acidity and gives microbes more fuel.
- Day 5 – Test for Strength: Perform a float test: Place a teaspoon of starter in a glass of room-temperature water. If it floats within 1–2 minutes, it’s ready to bake with. If not, repeat Day 4 feeding.
This process resets pH, replenishes food, and encourages a yeast-dominant culture capable of sustained gas production and retention.
Do’s and Don’ts for Starter Maintenance
| Do | Don’t |
|---|---|
| Feed consistently every 12 hours during revival | Let starter sit unfed for more than 12 hours when building strength |
| Use filtered or bottled water if tap water is chlorinated | Use boiling or ice-cold water for feedings |
| Store in a loosely covered jar to allow gas escape | Seal tightly—pressure buildup can collapse the culture |
| Use a kitchen scale for accurate feeding ratios | Rely solely on volume measurements (cups/spoons) |
| Keep starter in a warm place (75°F ideal) | Place near drafty windows or heat vents causing fluctuations |
Real Example: Sarah’s Stalled Starter Recovery
Sarah, a home baker in Portland, OR, had been maintaining her starter for three weeks. It bubbled daily but never rose, leading her to discard it twice in frustration. She switched to rye flour for two feedings, adjusted to 100% hydration, and placed the jar on top of her refrigerator—where warmth from the motor kept it at 77°F. Within 36 hours, her starter doubled within six hours of feeding and passed the float test. Her first loaf since beginning the process had an open crumb and noticeable oven spring. “I didn’t realize temperature was the missing piece,” she said. “Now I use a seedling mat in winter.”
Essential Tips for Long-Term Success
- Stick to a feeding schedule: Irregular feeding destabilizes pH and starves yeast. Even refrigerated starters need weekly refreshment.
- Use quality flour: Unbleached, organic flours retain more natural enzymes and microbes essential for fermentation.
- Control hydration: For beginners, 100% hydration (1:1 flour-to-water ratio by weight) offers the best balance of manageability and performance.
- Warmth matters: In cold kitchens, place the jar in a turned-off oven with the light on, or use a proofing box.
- Patient observation: True maturity takes 7–14 days post-creation. Early bubbling doesn’t equal full strength.
Frequently Asked Questions
Can a starter be too bubbly?
Yes. Excessive bubbling accompanied by hooch (dark liquid) and a sharp vinegar smell indicates over-fermentation. The starter has exhausted its food supply. Feed more frequently or reduce the time between feedings to prevent this.
Does whole wheat or rye flour really make a difference?
Absolutely. Whole grain flours contain more minerals, fiber, and wild microbes than refined white flour. They provide better nutrition for yeast and bacteria, accelerating starter development and improving resilience.
How long should I wait before giving up on a starter?
Never give up too soon. Even a sluggish starter can recover with consistent feeding. If there’s any sign of bubbles within 8–12 hours of feeding, it’s still alive. Most starters stabilize within 10–14 days of daily care. Only discard if mold appears (pink, orange, or fuzzy spots).
Final Checklist: Troubleshooting Your Starter
- ✅ Is your flour unbleached and preferably whole grain?
- ✅ Are you measuring ingredients by weight?
- ✅ Is your water free of chlorine or other disinfectants?
- ✅ Is your environment consistently warm (70–80°F)?
- ✅ Are you feeding every 12 hours during activation?
- ✅ Have you reduced hydration to 100% temporarily?
- ✅ Did you perform a float test after peak activity?
- ✅ Is your container tall and clear to monitor rise accurately?
Conclusion: From Bubbles to Bread
A sourdough starter that bubbles but doesn’t rise isn’t broken—it’s communicating. It tells you that fermentation is occurring, but structural or nutritional support is lacking. By adjusting feeding routines, flour types, temperature, and hydration, you restore balance and build a resilient culture capable of leavening bread naturally.
Every successful sourdough journey includes setbacks. What separates consistent bakers from frustrated ones isn’t perfection—it’s persistence. Apply these fixes methodically, track your progress, and trust the process. Within days, you’ll see that telltale dome form, feel the airy texture between your fingers, and know your starter is truly ready.


 浙公网安备
33010002000092号
浙公网安备
33010002000092号 浙B2-20120091-4
Comments
No comments yet. Why don't you start the discussion?