
Sourdough baking is both an art and a science, and the heart of every successful loaf lies in a healthy, active starter. When your sourdough starter isn’t rising—failing to double in size or show signs of vigorous bubbles—it can be frustrating, especially after days of careful feeding and patience. The good news? Most issues are fixable with the right adjustments. Understanding the root causes behind a sluggish or inactive starter is the first step toward reviving it and getting back on track with your baking goals.
Understanding Sourdough Starter Basics
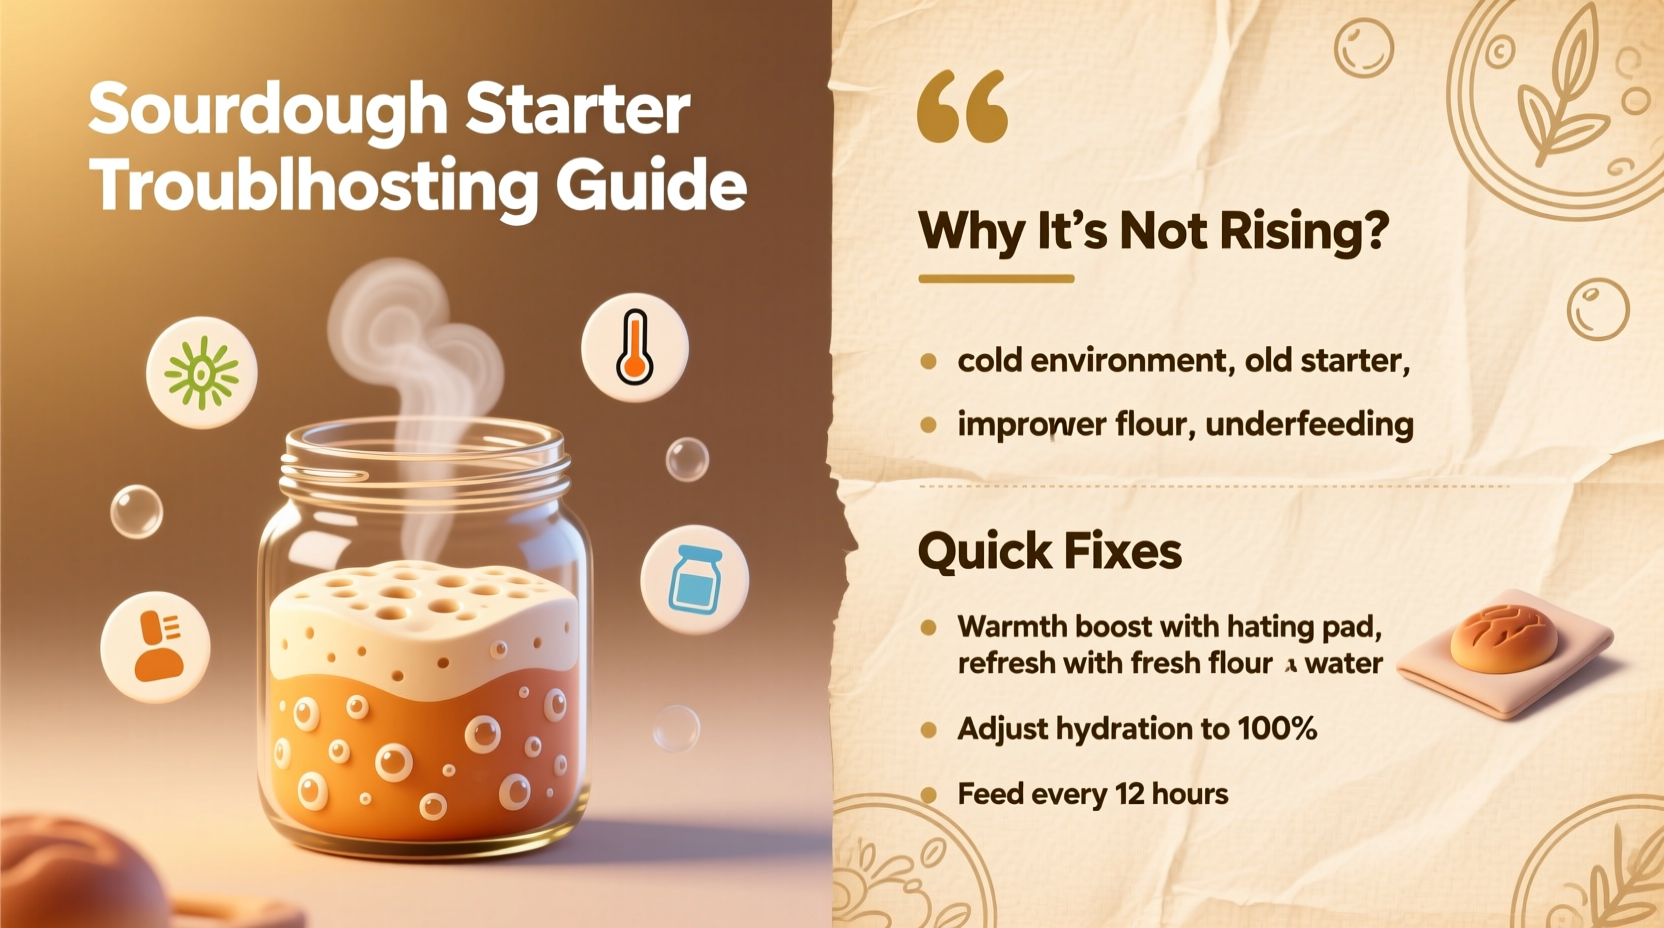
A sourdough starter is a living culture of wild yeast and lactic acid bacteria that feed on flour and water. When fed regularly, this mixture ferments, producing carbon dioxide that causes bread to rise. A healthy starter should become bubbly, expand significantly (ideally doubling), and develop a pleasant tangy aroma within 4–8 hours after feeding, depending on temperature and flour type.
The key indicators of a strong starter:
- Bubbles throughout the surface and sides of the jar
- Noticeable rise and fall cycle (peaks 4–8 hours post-feeding)
- Pleasant sour, yogurt-like smell (not rotten or alcoholic)
- Smooth, slightly stretchy texture when stirred
If your starter lacks these traits, it’s likely struggling. But before assuming it’s dead, consider the environmental and procedural factors that may be holding it back.
Common Causes of a Non-Rising Sourdough Starter
1. Inconsistent or Incorrect Feeding Schedule
Irregular feeding disrupts microbial balance. Wild yeast and bacteria need a steady supply of fresh flour and water to thrive. Skipping feeds or extending intervals beyond 12–24 hours (for room-temperature starters) starves the culture, leading to weak activity or dormancy.
2. Wrong Flour Type
Not all flours support fermentation equally. Highly processed white flours lack the nutrients wild microbes need. Conversely, 100% whole grain flours (especially rye) are rich in minerals and enzymes but can be too dense if used exclusively. A blend often works best.
3. Cold Environment
Temperature is critical. Below 68°F (20°C), fermentation slows dramatically. Many home bakers keep their starters in kitchens that are too cool, especially during winter. Yeast becomes dormant below 60°F (15°C), halting rise altogether.
4. Chlorinated Water
Treated tap water containing chlorine or chloramine can inhibit microbial growth. These chemicals are designed to kill pathogens—and unfortunately, they don’t distinguish between harmful bacteria and your beneficial sourdough cultures.
5. Overfermentation or Hooch Buildup
If you see a grayish liquid (hooch) on top of your starter, it’s a sign of alcohol accumulation from prolonged hunger. While not harmful, persistent hooch indicates underfeeding, which weakens the culture over time.
6. Contamination or Imbalance
Mold, pink streaks, or foul odors signal contamination. More subtly, an imbalance between yeast and bacteria can result in slow rise even without visible spoilage—often due to inconsistent conditions or poor hygiene.
Quick Fixes and Recovery Steps
Most underperforming starters can be revived within 2–5 days with consistent care. Follow this structured approach to restore vitality.
Step 1: Assess the Current State
- Smell: Should be tangy, not putrid or excessively alcoholic.
- Color: Uniform beige or light tan; avoid pink, orange, or black spots.
- Texture: Should stir easily; thick paste is fine, but mold or slime is not.
If mold or rot is present, discard and restart. Otherwise, proceed with revival.
Step 2: Switch to Optimal Flour
Use high-quality, unbleached all-purpose or bread flour mixed with 20–30% whole wheat or rye. Rye flour is particularly effective for jumpstarting sluggish starters due to its high enzyme and mineral content.
Step 3: Establish a Consistent Feeding Routine
Feed your starter every 12 hours at room temperature using a 1:1:1 ratio (starter:water:flour by weight). For example:
- Discard down to 20g starter
- Add 20g water, 20g flour
- Mix well, cover loosely, and rest at warm room temperature
After several feeds, increase to a 1:2:2 ratio to build volume and strength.
Step 4: Increase Temperature
Place your starter in a consistently warm spot—ideally 75–80°F (24–27°C). Use creative solutions like:
- An oven with only the light on
- Near a radiator (not directly on it)
- Inside a microwave with a cup of hot water
- A proofing box or yogurt maker set to low heat
Step 5: Monitor and Record Progress
Track each feeding: time, temperature, consistency, and rise. Note when it peaks and begins to fall. This helps identify patterns and adjust timing for baking.
“Many people give up too soon. A starter can take 5–7 days of twice-daily feedings to fully activate, especially in cooler homes.” — Katherine Whitmyer, Artisan Baker & Fermentation Educator
Troubleshooting Table: Symptoms and Solutions
| Symptom | Most Likely Cause | Recommended Fix |
|---|---|---|
| No bubbles after 24 hours | Cool temperature, wrong flour, or new starter phase | Move to warmer spot, switch to rye/all-purpose blend, feed every 12 hrs |
| Starter rises slightly then collapses quickly | Overfermented, fed too much starter | Reduce starter percentage in feed (use 1:2:2 ratio), feed more frequently |
| Gray liquid (hooch) forms daily | Underfed or infrequent feeding | Feed twice daily, reduce interval, stir hooch in before discarding |
| Foul, acetone-like smell | Hungry culture producing excess alcohol | Feed immediately, increase frequency, refresh with fresh flour |
| Mold or pink discoloration | Contamination or prolonged neglect | Discard entirely, sterilize jar, restart from scratch |
| Bubbly but no rise | Weak gluten structure (from low-protein flour) or cold temp | Use higher-protein flour, warm environment, ensure proper hydration (100%) |
Real Example: Reviving a Dormant Starter
Jessica, a home baker in Portland, OR, had stored her starter in the fridge for three weeks while traveling. Upon returning, she found a layer of dark hooch and no signs of life after feeding. Instead of discarding it, she followed a recovery protocol:
- She poured off the hooch and stirred the remaining starter.
- She began feeding it twice daily with a 1:1:1 ratio using 50% rye and 50% all-purpose flour.
- She placed the jar on top of her refrigerator, where ambient heat kept it around 76°F.
- By day three, small bubbles appeared. By day five, it doubled within six hours.
Jessica successfully baked her first loaf on day six. Her experience shows that even long-dormant starters often retain resilient microbes capable of revival with consistent effort.
Preventative Checklist for Long-Term Success
To keep your starter thriving and avoid future issues, follow this checklist weekly:
- ✅ Feed at consistent times (every 12 hours if unfed at room temp)
- ✅ Use filtered or dechlorinated water
- ✅ Store in a clean, breathable container (airtight lids can trap pressure)
- ✅ Keep in a warm location (70–80°F ideal)
- ✅ Use quality, unbleached flour with some whole grain content
- ✅ Discard and refresh regularly—even if storing in fridge, revive monthly
- ✅ Label feeding times to track peak activity
FAQ: Common Starter Questions Answered
Can I use tap water for my starter?
It depends. If your tap water is heavily chlorinated, it may harm microbial activity. Letting water sit uncovered for 24 hours allows chlorine to evaporate. Alternatively, use filtered or bottled water. Avoid distilled water, as it lacks essential minerals microbes need.
How long should a healthy starter take to rise?
A mature, active starter should double in size within 4–8 hours after feeding when kept at 75–80°F. Cooler temperatures extend this window. New starters may take longer—up to 12 hours—during early development.
Do I have to discard part of my starter every time?
Yes, unless you're building volume for baking. Discarding prevents excessive acidity and maintains a balanced ratio of microbes to food. If you dislike waste, use discard in recipes like pancakes, crackers, or muffins.
Final Thoughts and Next Steps
A sourdough starter that isn’t rising is rarely beyond saving. Most problems stem from manageable factors: temperature, feeding routine, flour quality, or water chemistry. With patience and precision, nearly any starter can be restored to peak performance.
Begin today by auditing your current process. Is your kitchen too cold? Are you using the right flour? Are feedings consistent? Make one adjustment at a time, monitor results, and trust the process. Fermentation isn’t always predictable, but it is deeply responsive to care and attention.
“The best sourdough bakers aren’t those with perfect starters—they’re the ones who learn from each setback and keep going.” — Daniel Arrigo, Sourdough Instructor at The School of Natural Baking


 浙公网安备
33010002000092号
浙公网安备
33010002000092号 浙B2-20120091-4
Comments
No comments yet. Why don't you start the discussion?