
In digital cinematography and professional videography, the choice of ISO is more than just a setting—it’s a critical factor in determining image quality, dynamic range, and noise performance. While many assume that lower ISO always means cleaner footage, the reality is more nuanced, especially when working with modern digital cinema cameras. For numerous popular cameras, ISO 800 isn’t just a convenient midpoint; it’s the native ISO—the sensor’s optimal sensitivity baseline. Understanding why ISO 800 matters—and how to use it effectively—can transform your video results.
What Is Native ISO?
Native ISO refers to the base sensitivity of a camera’s image sensor before any internal amplification or gain is applied. At this level, the sensor operates at peak efficiency, delivering the best possible balance between dynamic range, color accuracy, and signal-to-noise ratio. Unlike older film-based systems where ISO was tied directly to emulsion speed, digital sensors have an electronic “native” point where analog-to-digital conversion performs most cleanly.
When you shoot at or near native ISO, you’re capturing footage with minimal artificial boosting, which reduces noise and preserves detail in both shadows and highlights. This is particularly crucial in video, where long exposures, consistent frame rates, and grading flexibility demand clean source material.
“Shooting at native ISO gives you the widest dynamic range and cleanest shadows—foundational for any professional workflow.” — Daniel Linnet, Cinematographer & Camera Technician
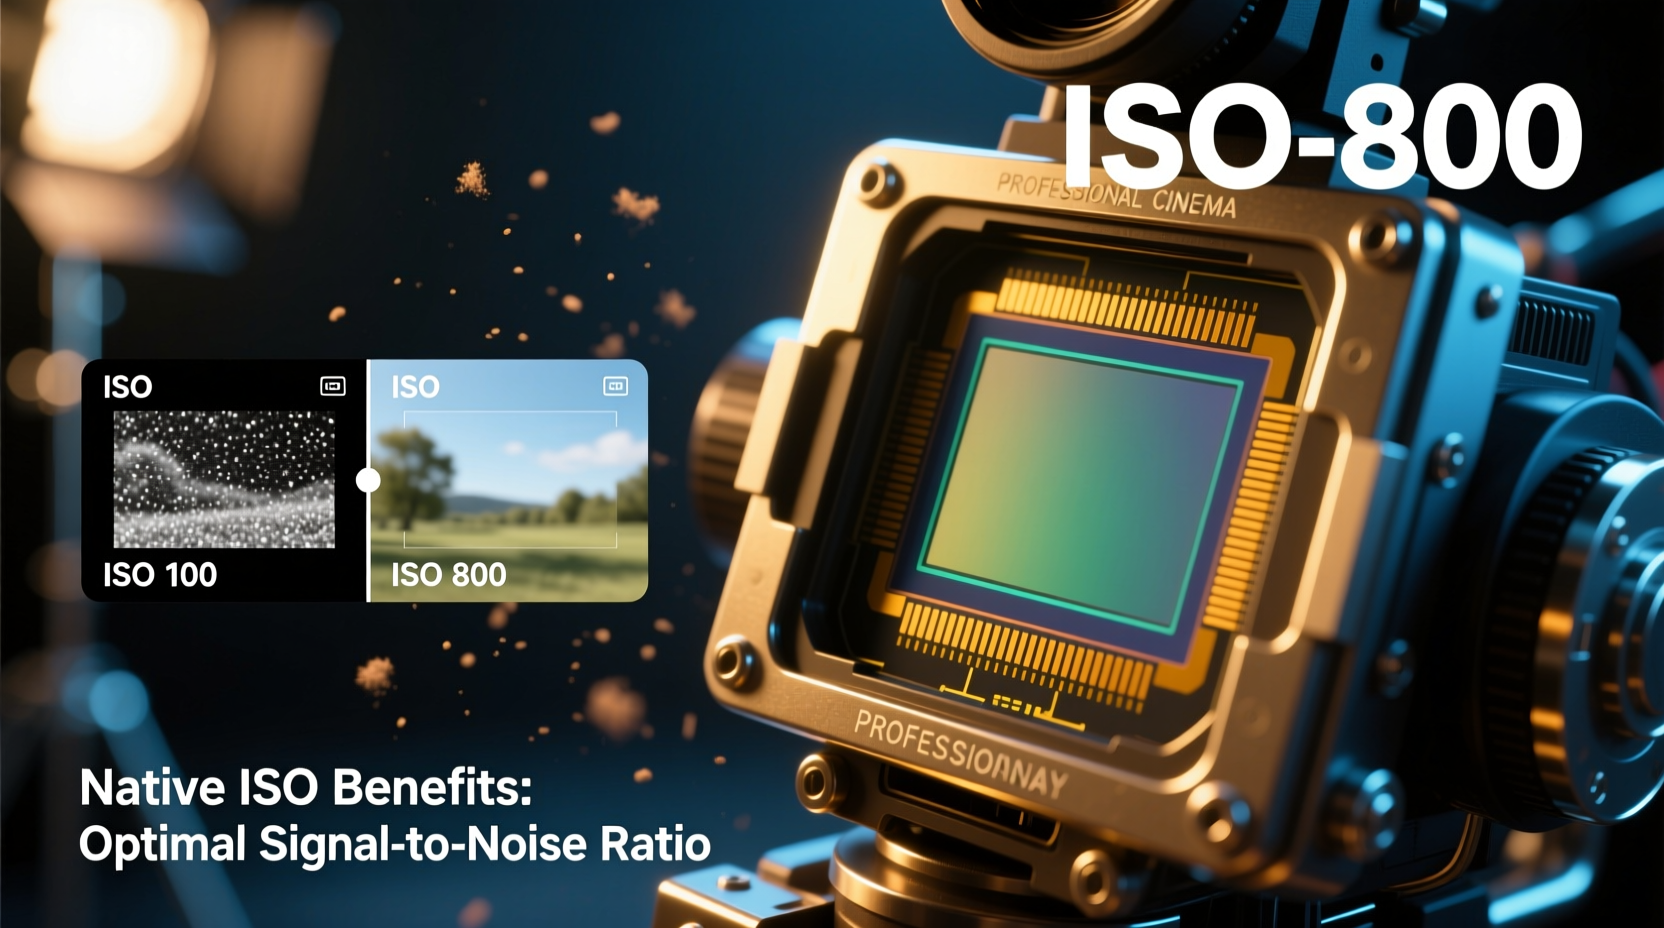
Why ISO 800 Is Commonly the Native Setting
Many high-end mirrorless and cinema cameras—including models from Sony (e.g., FX3, A7S III), Blackmagic (Pocket Cinema Camera 6K), and Canon (C70)—list ISO 800 as their native or dual-native ISO base. This isn't arbitrary. It stems from sensor design choices that prioritize performance in typical shooting environments.
Modern CMOS sensors are engineered to perform optimally when slightly amplified. Due to limitations in pixel well capacity and readout circuitry, true base ISOs like 100 or 200 may not provide enough signal strength for clean output under standard lighting. By setting native ISO at 800, manufacturers ensure the sensor produces a strong initial signal, reducing reliance on downstream amplification that introduces noise.
Benefits of Using ISO 800 for Video
- Maximized Dynamic Range: At native ISO, sensors can capture the broadest range of light intensities, preserving details in both bright skies and dark shadows.
- Reduced Noise in Shadows: Amplifying too far below native ISO forces the system to boost weak signals, increasing grain. ISO 800 avoids this by starting with a robust signal.
- Better Color Science: Clean sensor data translates to more accurate color reproduction, essential for skin tones and post-production grading.
- Consistent Exposure Across Scenes: When lighting varies, staying close to native ISO ensures predictable image characteristics without sudden jumps in noise or banding.
This makes ISO 800 ideal not only for low-light situations but also for mixed lighting environments—such as indoor interviews with window backlighting or outdoor shoots during golden hour transitions.
How to Work Effectively at ISO 800
Because ISO 800 is relatively high compared to traditional photo standards, managing exposure requires careful balancing of aperture, shutter speed, and neutral density (ND) filters.
Step-by-Step Guide to Optimizing ISO 800 Footage
- Determine Your Frame Rate: Choose based on motion needs (e.g., 24fps for cinematic look).
- Set Shutter Speed: Follow the 180-degree rule—double the frame rate (e.g., 1/50 sec for 24fps).
- Open Aperture Strategically: Use wide apertures (f/2.8 or lower) only when shallow depth of field is desired; otherwise, stop down slightly for sharpness.
- Apply ND Filters: In daylight, use ND filters to reduce incoming light without changing ISO or shutter angle.
- Monitor Histogram and Zebras: Ensure highlights aren’t clipped and midtones remain balanced.
- Shoot Log Profile (if available): Capture flat gamma curves to maximize dynamic range utilization.
| Setting | Recommended Value at ISO 800 | Notes |
|---|---|---|
| Frame Rate | 24 – 30 fps | Cinematic motion rendering |
| Shutter Speed | 1/50s (for 24fps) | Maintains natural motion blur |
| Aperture | f/4 – f/5.6 | Balances light and depth of field |
| ND Filter (Daylight) | ND0.9 to ND1.8 | Reduces light by 3–6 stops |
| Color Profile | S-Log3, C-Log2, BMD Film | Preserves highlight and shadow detail |
Real-World Example: Documentary Filming in Mixed Light
A documentary crew filming inside a dimly lit factory with large windows faced challenges balancing indoor exposure with bright exterior daylight. Their Sony FX3 had a native ISO of 800. Instead of lowering ISO and risking noisy shadows, they set ISO 800, used a 1/50s shutter speed, and stopped down to f/5.6. To manage the bright windows, they added an ND1.2 filter. Shooting in S-Log3 allowed them to retain cloud detail outside while pulling up interior shadows in post without introducing excessive noise. The result was broadcast-ready footage requiring minimal cleanup.
This scenario illustrates how respecting native ISO leads to better decisions across the entire exposure triangle—not just technically sound images, but creative flexibility in editing.
Common Misconceptions About High ISO
Many beginners avoid ISO 800 because they associate higher numbers with grainy photos. However, video workflows differ significantly from still photography:
- Longer Exposures: Video uses continuous readout, making heat buildup and rolling noise more problematic at non-native settings.
- Grading Needs: Noisy shadows degrade poorly in color correction, unlike minor highlight roll-off.
- Codec Limitations: Compressed video codecs struggle more with noise patterns than with subtle exposure shifts.
For these reasons, choosing ISO 800—even in moderately lit scenes—is often smarter than dropping to ISO 100 and losing dynamic range.
Checklist: Are You Maximizing Native ISO 800?
- ✅ Verified your camera’s native ISO in the manual or specs sheet
- ✅ Set shutter speed according to the 180-degree rule
- ✅ Used ND filters instead of adjusting ISO downward in bright conditions
- ✅ Shot in a log or flat profile to preserve latitude
- ✅ Monitored exposure using waveform or histogram, not just LCD brightness
- ✅ Avoided extreme underexposure followed by brightening in post
Frequently Asked Questions
Can I go below ISO 800 if my scene is very bright?
You can, but only if your camera supports true gain reduction below base ISO (like some Panasonic models). Most cameras simulate lower ISOs through software manipulation, which sacrifices dynamic range. It’s usually better to use ND filters and stay at ISO 800.
Does ISO 800 work for outdoor daytime shooting?
Absolutely—provided you use ND filters to control exposure. Without them, you’d need extremely fast shutter speeds or tiny apertures, harming image quality. ND filters maintain proper motion blur and depth of field while allowing ISO 800 usage.
Is ISO 800 suitable for all cameras?
No. Some cameras have native ISO at 160, 400, or even dual bases (e.g., 400 and 3200). Always consult your model-specific documentation. For instance, ARRI Alexa cameras use ISO 800 natively, while RED KOMODO uses ISO 800 as one of two optimized points.
Conclusion: Embrace ISO 800 as Your Creative Foundation
Understanding and embracing ISO 800 as a native standard unlocks the full potential of modern digital cinema cameras. It’s not merely a compromise for low light—it’s a strategic decision that enhances image fidelity, protects dynamic range, and simplifies post-production. Whether you're shooting corporate videos, documentaries, or indie films, aligning your exposure strategy with your camera’s native ISO leads to cleaner, more professional results.


 浙公网安备
33010002000092号
浙公网安备
33010002000092号 浙B2-20120091-4
Comments
No comments yet. Why don't you start the discussion?