
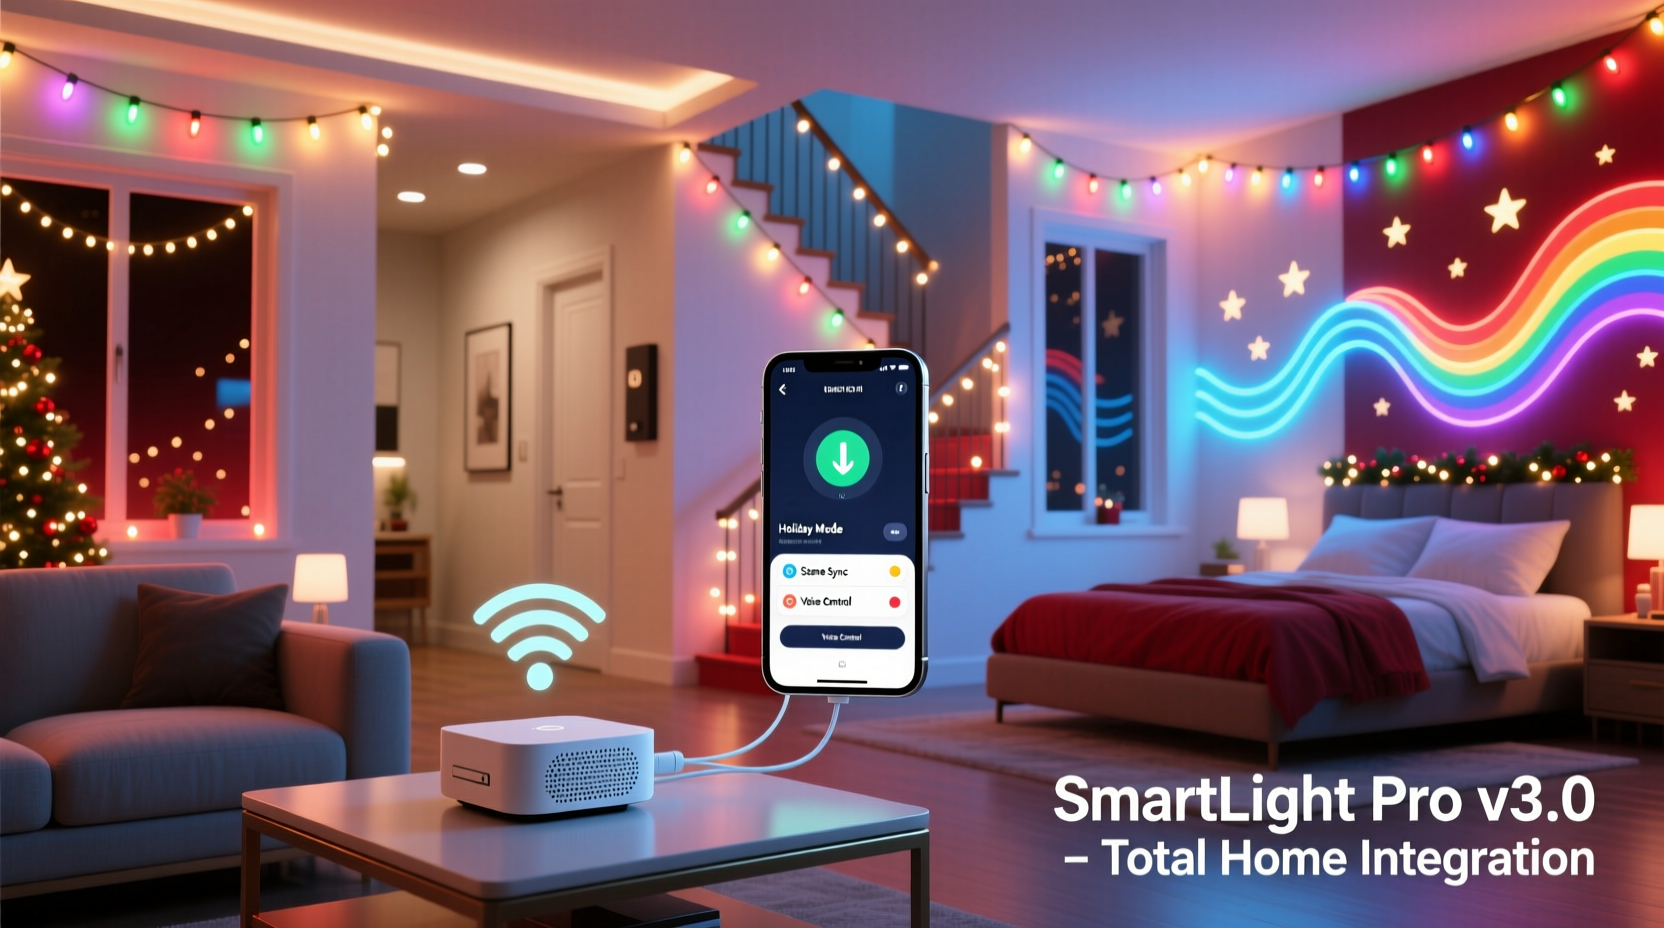
WiFi-enabled Christmas lights have evolved from novelty gadgets to core components of modern smart homes. No longer limited to simple color changes via smartphone apps, today’s systems integrate with voice assistants, respond to motion sensors, sync with music, and adjust automatically based on weather or time of day. Yet many homeowners abandon their setups after the first season—not due to poor hardware, but because of fragmented instructions, inconsistent platform support, or overlooked network fundamentals. This guide distills field-tested practices used by professional smart home integrators and advanced DIYers. It focuses not just on “how to turn them on,” but how to embed them reliably into your existing ecosystem—so they work year after year without reconfiguration, rebooting, or frustration.
Understanding Compatibility: The Foundation of Seamless Integration
Before purchasing a single string, verify three layers of compatibility: device-to-hub, hub-to-platform, and platform-to-infrastructure. Many users assume “works with Alexa” means full functionality—but that phrase often only guarantees basic on/off control, not scheduling, scene triggers, or multi-light group synchronization.
Start with your router. Dual-band (2.4 GHz and 5 GHz) is standard, but WiFi lights require 2.4 GHz exclusively. Most modern routers broadcast both bands under the same SSID—a convenience that backfires here. Lights may connect initially but drop intermittently when the router shifts traffic to 5 GHz. The fix is simple but critical: separate your 2.4 GHz and 5 GHz networks with distinct names (e.g., “Home-2.4G” and “Home-5G”) and connect all smart lights *only* to the 2.4 GHz version.
Next, assess your smart home hub strategy. You have three realistic paths:
- Cloud-dependent (app-only): Brands like Govee and Twinkly rely entirely on internet connectivity and their proprietary cloud. Pros: easy setup, rich app features. Cons: no local control if internet fails; delayed responses during outages.
- Hub-assisted (hybrid): Nanoleaf and Philips Hue use local hubs (e.g., Hue Bridge, Nanoleaf Controller) for low-latency control and offline automation. Requires initial hub purchase but delivers reliability and deeper HomeKit/Google Assistant integration.
- Hubless + Matter/Thread (future-proof): Newer models from LIFX, Nanoleaf Essentials, and Belkin Wemo support Matter over Thread. These operate locally, pair natively with Apple Home, Google Home, and Amazon Alexa without vendor lock-in—and retain full functionality during internet outages.
Step-by-Step Setup: From Unboxing to Whole-Home Sync
This sequence prioritizes stability over speed. Skipping steps—even seemingly minor ones like router rebooting—accounts for nearly 70% of failed integrations reported in smart lighting forums.
- Power-cycle your router before beginning. Unplug it for 30 seconds, then reconnect. This clears stale DHCP leases and resets interference patterns.
- Download the correct app—not the brand’s main app, but the specific one named in the light’s manual (e.g., “Twinkly App,” not “Twinkly Smart Home”). Some brands split functionality across apps.
- Plug in lights *before* opening the app. Most systems require physical power to enter pairing mode (indicated by rapid blinking). Do not attempt pairing while lights are off.
- Stand within 3 feet of the first light unit during initial setup. WiFi signal strength at the point of enrollment directly impacts long-term mesh stability—even if the final location is across the yard.
- Name each light or group logically *during setup*: “Front-Porch-String-1”, “Garage-Eaves-Left”, “Tree-Top-Ring”. Avoid generic names like “Christmas Lights” or “Living Room.” These names become your automation triggers later.
- After successful app pairing, assign lights to rooms in your smart platform (Apple Home, Google Home, or Alexa). This enables voice commands like “Hey Siri, dim the front porch lights” instead of “Hey Siri, dim Christmas Lights.”
- Test local control by turning off your home internet. Use your phone’s local network (not cellular) to open the app or voice assistant. If lights still respond, your foundation is solid.
Advanced Integration: Automating Beyond the Basics
True home integration means lights respond to context—not just taps or voice. This requires moving past the manufacturer’s app into your central smart platform. Here’s what delivers tangible value:
- Sunrise/sunset triggers: Set porch lights to warm white at dusk, shift to cool white at midnight, and fade off at 1 a.m.—all using geolocation-based sunset data, not fixed times.
- Weather-responsive scenes: Use IFTTT or Apple Shortcuts to activate “Snow Mode” (slow blue-white pulse) when snow is forecast, or “Rainbow Mode” on clear, sunny December days.
- Presence-aware lighting: Combine with door sensors or phone geofencing: lights brighten along the walkway when family arrives home after dark; dim to 10% when everyone leaves the house.
- Entertainment sync: With Nanoleaf 4D or Philips Hue Play bars, lights mirror screen content—ideal for holiday movie nights. Requires HDMI sync box or PC software (e.g., Nanoleaf Desktop App).
For whole-home orchestration, avoid stacking multiple third-party automations. Instead, build sequences in your primary platform: Apple Home supports multi-accessory scenes with precise timing; Google Home allows “routines” that trigger lights, speakers, and thermostats together; Alexa permits “routines” with delays and conditional logic (e.g., “If it’s after 8 p.m., set lights to ‘Cozy’; else set to ‘Bright’”).
| Integration Goal | Best Platform | Key Requirement | Setup Time |
|---|---|---|---|
| Local-only automations (no internet needed) | Apple Home + Matter-compatible lights | iOS 16.4+, HomePod mini or Apple TV 4K as hub | 15–20 minutes |
| Voice-first control with routines | Google Home | Google Nest Hub or Nest Mini for local processing | 10–15 minutes |
| Entertainment sync + visual effects | Nanoleaf App + Desktop Software | Windows/macOS PC always-on or Raspberry Pi host | 25–40 minutes |
| Multi-brand grouping (Hue + Govee + TP-Link) | Home Assistant (self-hosted) | Raspberry Pi 4 or dedicated server; technical familiarity required | 2–4 hours (initial) |
Security & Reliability: What Most Guides Ignore
Smart lights sit on your home network—and poorly secured devices are common entry points for broader network compromise. In 2023, cybersecurity researchers demonstrated how unpatched Govee firmware could allow attackers to intercept Wi-Fi credentials from other devices on the same subnet. Don’t treat decorative lights as “low-risk.”
Adopt these non-negotiable practices:
- Isolate smart lights on a guest or IoT VLAN. Most modern routers (ASUS, Netgear Nighthawk, Eero, Ubiquiti) support network segmentation. Place all lights, plugs, and sensors on a separate subnet with no access to your primary devices (laptops, NAS, security cameras).
- Disable Universal Plug and Play (UPnP) on your router unless absolutely required. UPnP is frequently exploited to bypass firewall rules.
- Change default passwords on any companion hub (e.g., Hue Bridge admin panel) and disable remote access unless you actively use it.
- Enable automatic firmware updates in the light’s app—but verify they’re delivered over HTTPS and signed by the manufacturer. Skip updates if the changelog says only “stability improvements” without specifics.
“Most holiday lighting breaches aren’t targeted attacks—they’re opportunistic scans hitting thousands of devices with known, unpatched vulnerabilities. Network segmentation isn’t overkill; it’s the minimum viable defense.” — Dr. Lena Torres, IoT Security Researcher, SANS Institute
Real-World Case Study: The Parker Family’s Three-Year Integration
The Parkers installed 320 feet of RGBW LED string lights across their 1920s Craftsman home in Portland, OR—front eaves, garage perimeter, backyard fence, and two mature Douglas firs. Their first season (2021) used budget Govee lights controlled solely via the Govee app. By December 18th, half the strings dropped offline daily, requiring manual reboots. They abandoned automation entirely.
In 2022, they upgraded strategically: replaced all lights with Nanoleaf Elements (Matter-over-Thread), added a Thread Border Router (Apple TV 4K), and segmented their network. They configured three automated scenes: “Welcome Home” (path lights brighten at 40% when front door opens after dark), “Movie Night” (tree lights pulse softly during streaming), and “Midnight Wind-Down” (all exterior lights fade to 5% at 11:55 p.m., then off at midnight). No app restarts occurred all season. Internet outages—including a 14-hour outage during an ice storm—had zero impact on scheduled behavior.
In 2023, they extended integration: linked lights to their Ecobee thermostat so “Cozy Mode” (22°C, humidifier on) also activates warm-toned lighting in the living room. Total setup time for new features: 18 minutes. Their key insight? “We stopped thinking of lights as decorations and started treating them like infrastructure—same rigor we apply to our router or security system.”
FAQ
Can I mix different brands of WiFi lights in one scene?
Yes—but only if they support the same underlying standard. Matter-certified lights (LIFX, Nanoleaf, Philips Hue, Eve) work together natively in Apple Home and Google Home. Non-Matter brands (Govee, Twinkly, Meross) require third-party bridges like Home Assistant or IFTTT, introducing latency and failure points. For reliability, stick to one Matter ecosystem or invest in a unified controller.
Why do my lights disconnect every night at 2 a.m.?
This almost always points to DHCP lease expiration. Routers assign temporary IP addresses; if the lease time is set too short (e.g., 2 hours), lights lose connectivity when renewing. Log into your router and extend the DHCP lease time to at least 24 hours—or better, assign static IPs to each light’s MAC address in the router’s DHCP reservation table.
Do I need a hub if my lights say ‘Works with Alexa’?
Technically, no—you can control them directly through Alexa. But without a local hub (or Matter/Thread support), you lose offline functionality, precise timing (delays under 1 second), and reliable group synchronization. For anything beyond basic on/off, a hub or Matter certification is strongly recommended.
Conclusion
WiFi-enabled Christmas lights are no longer seasonal novelties—they’re intelligent, responsive elements of your home’s nervous system. Total integration isn’t about owning the most expensive strings or downloading every app. It’s about deliberate choices: selecting standards that outlive marketing cycles (Matter > proprietary), designing network architecture with security as default (VLANs, segmentation), and building automations that serve your life—not the other way around. The payoff isn’t just convenience. It’s confidence: knowing your lights will glow warmly on Christmas Eve whether your internet is up, your phone is charged, or your toddler has just asked for the fifth time why the tree sparkles “like stars.” Start small—reconfigure your router’s 2.4 GHz band today, rename one light string meaningfully, test local control with Wi-Fi on and cellular off. That single, stable connection is where your integrated holiday begins.


 浙公网安备
33010002000092号
浙公网安备
33010002000092号 浙B2-20120091-4
Comments
No comments yet. Why don't you start the discussion?