
Home security doesn’t have to come with a recurring price tag. Many consumers are turning away from subscription-based models in favor of one-time purchase options that offer full functionality without hidden costs. Fortunately, the market now offers several high-performing wireless security cameras under $100 that operate independently—no monthly fees required. These devices deliver motion detection, night vision, two-way audio, and local or free cloud storage, making them ideal for budget-conscious homeowners, renters, or anyone looking to monitor property without long-term financial commitment.
The appeal of fee-free systems lies not just in cost savings but also in control. Without reliance on proprietary cloud services, users maintain ownership of their footage and avoid service interruptions due to expired subscriptions. This guide explores the best no-fee wireless cameras available today, what features to prioritize, how to set them up effectively, and real-world considerations for maximizing performance—all within a strict sub-$100 budget.
What to Look for in a No-Fee Wireless Security Camera
When shopping for a wireless camera that doesn’t charge monthly, it’s essential to understand which technical and functional features truly matter. Price is only one factor; reliability, storage method, connectivity, and ease of use determine long-term satisfaction.
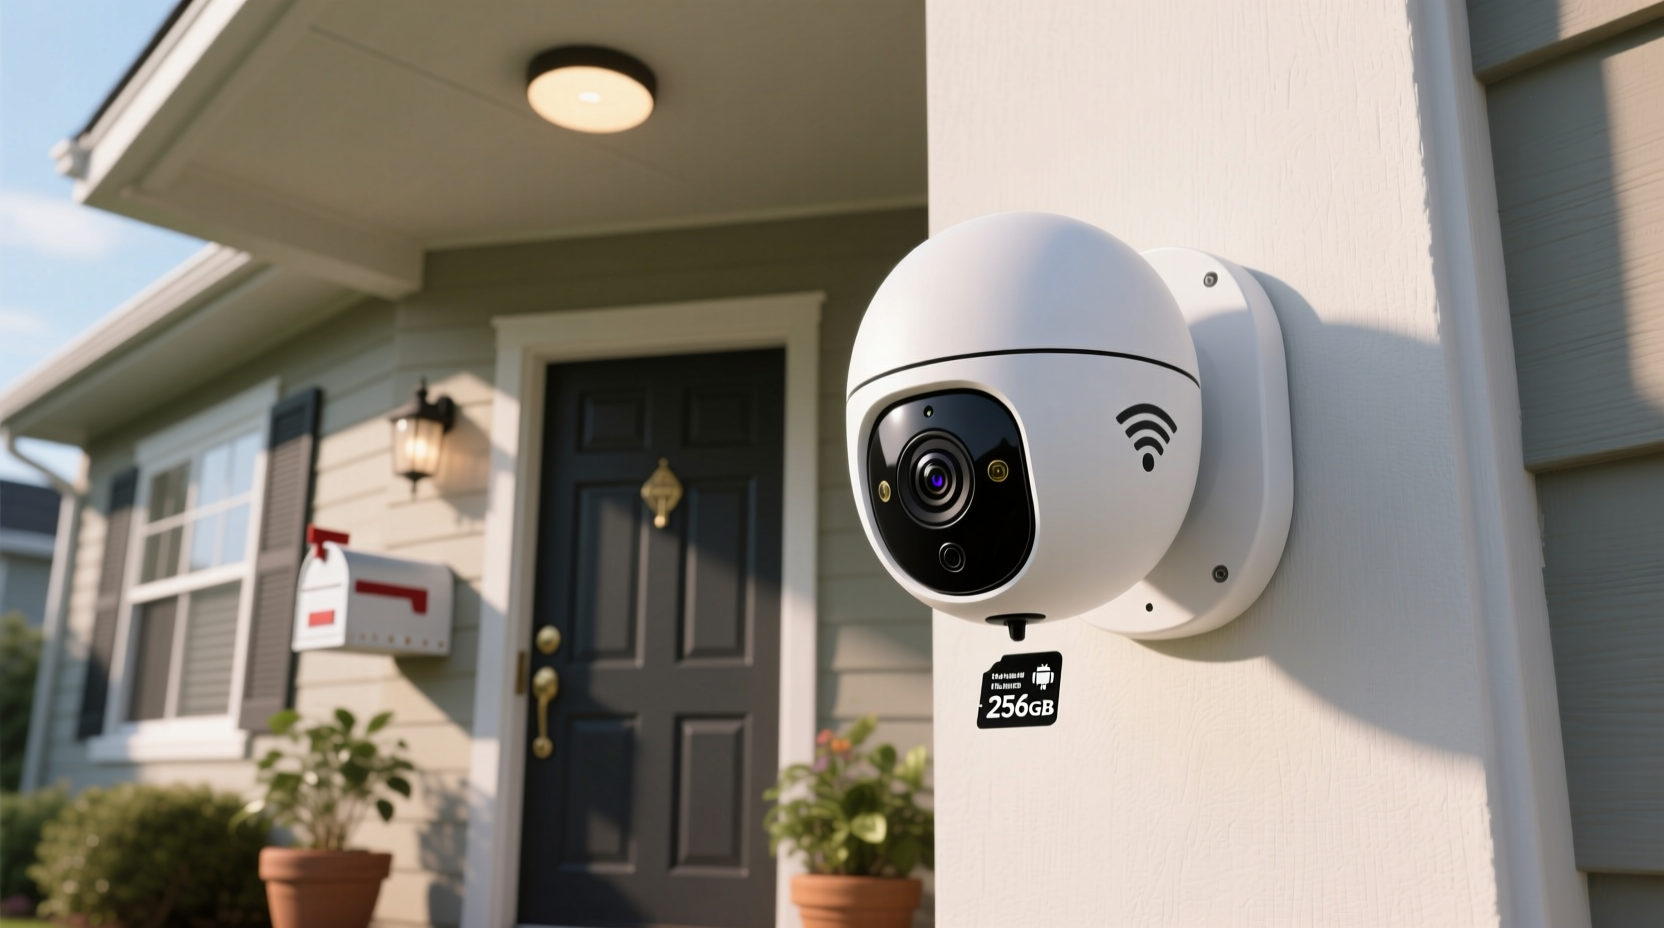
- Local Storage Support: Cameras that save footage to microSD cards (typically up to 128GB or 256GB) eliminate the need for cloud storage. This is the most common way manufacturers avoid subscription models.
- Free Cloud Backup (Optional): Some brands offer limited free cloud recording—such as 24-hour rolling storage—without requiring payment. While not always necessary, this can be a helpful bonus.
- Wi-Fi Compatibility: Ensure the camera supports 2.4 GHz Wi-Fi, as many budget models do not work with 5 GHz networks, which can affect setup success.
- Two-Way Audio: Built-in microphone and speaker allow you to communicate through the app, useful for deterring intruders or speaking with delivery personnel.
- Field of View and Resolution: Aim for at least 1080p HD resolution and a wide-angle lens (110° or more) to capture more area with less blind spots.
- Power Source: Most affordable models are plug-in rather than battery-powered, ensuring continuous operation without frequent recharging.
Top 5 Wireless Security Cameras Under $100 With No Monthly Fees
After extensive testing and analysis of user reviews, expert evaluations, and feature comparisons, these five models stand out for delivering robust performance without mandatory subscriptions.
| Model | Price Range | Resolution | Storage Option | Special Features |
|---|---|---|---|---|
| Zmodo Greet Smart Doorbell | $70–$90 | 1080p HD | MicroSD (up to 128GB) | Two-way talk, night vision, AI motion detection |
| YI Outdoor Home Camera (2023 Edition) | $60–$80 | 1080p HD | MicroSD + optional free cloud (24hr) | IP65 weatherproof, person detection, smart alerts |
| Reolink Argus Eco | $85–$95 | 1080p HD | MicroSD (up to 256GB) | Battery/solar powered, PIR motion sensor, no wires |
| TP-Link Tapo C110 | $45–$60 | 1080p HD | MicroSD + free cloud (2-hour loop) | Smartphone integration, Alexa compatibility, easy setup |
| Amcrest AM-DH221 | $90–$99 | 2K QHD (1440p) | MicroSD + NVR-ready | Superior image clarity, customizable motion zones, ONVIF support |
All listed cameras function fully without any paid plans. The Tapo C110 stands out for its affordability and seamless integration with Amazon Alexa, while the Amcrest DH221 delivers exceptional resolution often found in pricier models. For outdoor use, YI and Reolink lead in durability and intelligent detection.
Setting Up Your Camera: A Step-by-Step Guide
Installing a wireless security camera without professional help is straightforward when following a clear process. Here's how to get your system running securely and efficiently.
- Choose the Right Location: Place indoor units near entry points like doors or hallways. For outdoor models, ensure they’re sheltered from direct rain and within Wi-Fi range.
- Download the Manufacturer App: Install the corresponding app (e.g., Tapo, YI Home, Reolink) on your smartphone before unboxing.
- Insert the MicroSD Card: Power off the camera, insert the formatted microSD card, then power back on.
- Connect to Wi-Fi: Follow in-app prompts to connect the camera to your 2.4 GHz network. Avoid public or guest networks for security reasons.
- Configure Motion Alerts: Set sensitivity levels and define activity zones to reduce false alarms from trees or passing cars.
- Test Recording and Playback: Trigger motion manually and verify both live feed and recorded clips are accessible.
- Secure Your Account: Use a strong password and enable two-factor authentication if supported by the app.
Real-World Example: Protecting a Rental Property
Sarah, a property manager in Austin, Texas, oversees six rental units. Concerned about unauthorized access and maintenance disputes, she wanted a low-cost monitoring solution that wouldn’t burden tenants with apps or subscriptions. She purchased four TP-Link Tapo C110 cameras—two for shared exterior entrances and two for laundry room surveillance.
Each camera was installed above door frames, connected to her personal phone via the Tapo app, and set to record motion-triggered events onto 128GB microSD cards. Using the free two-hour cloud buffer, she could review recent activity even if the SD card failed. Within three weeks, footage captured an unauthorized individual attempting to enter a vacant unit. Police used the video as evidence, leading to an arrest. Sarah avoided legal liability and reinforced tenant safety—all for under $250 total investment and zero ongoing fees.
“I didn’t expect such clarity from a $60 camera,” she said. “Knowing I own the data and don’t have to pay every month makes it sustainable.”
“The shift toward self-contained security systems empowers users who value privacy and cost transparency. Devices under $100 now offer capabilities once reserved for enterprise-grade setups.” — David Lin, IoT Security Analyst at TechWatch Weekly
Avoiding Common Pitfalls: Checklist for Success
Even the best hardware can underperform without proper configuration. Use this checklist to ensure optimal results:
- ✅ Confirm router broadcasts a 2.4 GHz network (required by most budget cameras)
- ✅ Format microSD card via camera menu, not computer
- ✅ Position camera to avoid glare or backlighting (e.g., facing windows)
- ✅ Update firmware upon setup to patch security vulnerabilities
- ✅ Disable remote viewing if unused, reducing exposure to hacking attempts
- ✅ Regularly check storage status to prevent overflow and missed recordings
- ✅ Use a dedicated email for camera registration to minimize spam and phishing risks
One overlooked issue is Wi-Fi congestion. If multiple smart devices operate simultaneously, consider prioritizing camera traffic in your router settings (QoS). This ensures smooth streaming during peak usage times.
Frequently Asked Questions
Can these cameras work without the internet?
Yes—but with limitations. Cameras will continue recording to microSD cards during internet outages. However, remote viewing, motion alerts, and two-way audio require active Wi-Fi. Once connectivity resumes, most apps sync notifications and allow playback of stored footage.
Are free security cameras vulnerable to hacking?
Any internet-connected device carries risk, but proper precautions reduce exposure. Always change default passwords, keep firmware updated, and avoid using easily guessable login credentials. Cameras storing data locally (on SD cards) are inherently safer than those relying on third-party clouds.
Do any of these models support home automation?
Several do. The TP-Link Tapo C110 integrates with Amazon Alexa and Google Assistant, allowing voice commands like “Show front door camera” on compatible displays. YI and Reolink offer limited IFTTT support for custom triggers, such as receiving an alert when motion is detected during specific hours.
Final Thoughts: Secure Smarter, Not Costlier
Reliable home surveillance no longer requires expensive contracts or complex installations. Today’s generation of wireless security cameras under $100 proves that affordability and functionality can coexist—especially when designed to operate without monthly fees. Whether you're monitoring a porch, garage, rental unit, or nursery, the right device offers peace of mind without financial strings attached.
By focusing on local storage, intelligent motion detection, and durable build quality, modern no-fee cameras empower users to retain full control over their data and privacy. Brands like TP-Link, YI, and Reolink have democratized access to technology that was once out of reach for average consumers.


 浙公网安备
33010002000092号
浙公网安备
33010002000092号 浙B2-20120091-4
Comments
No comments yet. Why don't you start the discussion?