All categories
Featured selections
Trade Assurance
Buyer Central
Help Center
Get the app
Become a supplier
(578 products available)
 Ready to Ship


 Ready to Ship

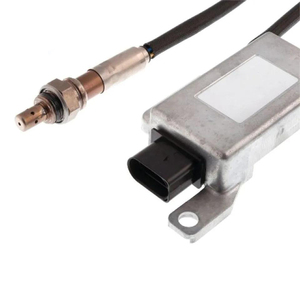
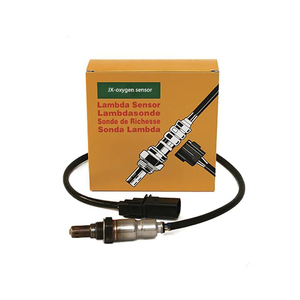
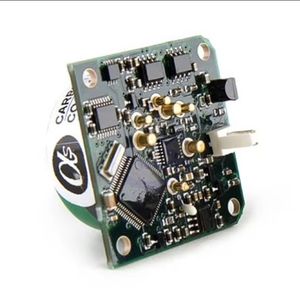
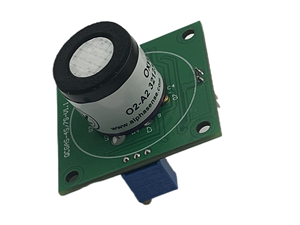
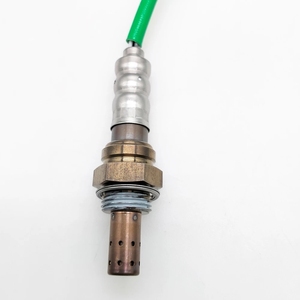
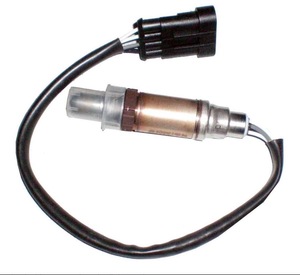
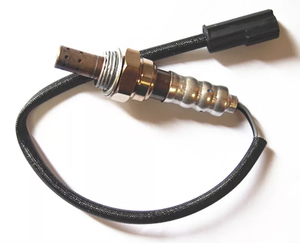
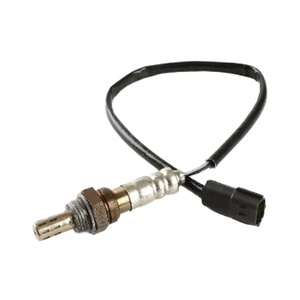
Oxygen sensors are used primarily in vehicles to monitor the level of oxygen present in the exhaust fumes that leave the vehicle. This information is relayed to the engine control unit, which helps in maintaining the correct air-fuel ratio, optimizing emissions, and improving fuel efficiency. A 2-wire oxygen sensor has two electrical wires connected to it. The first wire is a signal wire that sends a voltage signal to the engine control unit. The second wire is a power ground that provides a ground connection for the sensor. The 2-wire oxygen sensor is also referred to as a zirconia sensor. Below are some types of 2-wire oxygen sensors:
Two-wire O2 sensors are used in various applications, including automotive, industrial, and environmental monitoring. The specifications of a two-wire O2 sensor can vary depending on the specific application and manufacturer, but here are some general specifications:
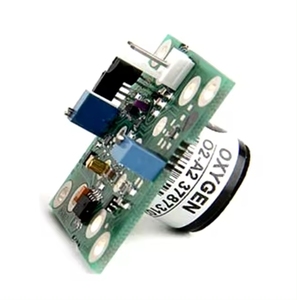
Electrical Characteristics
The 2-wire oxygen sensor generates a voltage signal based on the amount of oxygen in the exhaust. The voltage signal typically ranges between 0.1 and 0.9 volts. The two wires are connected to the engine control unit (ECU) to monitor the sensor signal. The sensor is powered using a 5-volt power supply.
Performance Characteristics
The sensor's response time is 15 seconds, and it has an accuracy of ±0.05% oxygen. Its measurement range is 0-100% oxygen, and it has a sensitivity of 0.5 μA/%O2. The two-wire oxygen sensor has a linearity of ±1% and a resolution of 0.1% O2. It also has a long-term drift of ±0.5% O2/year.
Physical Characteristics
The physical characteristics include a sensing element made of zirconia ceramic, a size of 5.7 mm in diameter and 120 mm in length, a housing material made of stainless steel, and a weight of 15 grams. The sensor is designed to operate in harsh environments, such as high temperatures and pressures.
Operating Conditions
Two-wire oxygen sensors are designed to operate under specific conditions. This includes being exposed to high temperatures of up to 900 degrees Celsius. The sensor can also withstand high levels of exhaust pressure. Additionally, the sensor is resistant to contaminants such as lead and sulfur compounds.
It is essential to maintain two-wire lambda sensors to ensure optimal performance and longevity. Here are some general maintenance tips:
Regular Inspections
Regular inspections of the oxygen sensors are key to ensuring proper sensor function. Look for signs of damage, such as cracks or corrosion, and replace the sensors when necessary. Additionally, inspect the wiring and connectors for wear and tear.
Cleansing
Two-wire oxygen sensors should be cleaned regularly to remove any contaminants that may affect their performance. Use a mild detergent and water to clean the sensor housing and wiring. Avoid using harsh chemicals or abrasive materials that could damage the sensor.
Follow Manufacturer Instructions
Follow the manufacturer's instructions for maintaining and installing two-wire oxygen sensors. Use the recommended torque specifications when installing the sensor, and ensure proper sealing to prevent exhaust leaks.
Avoid Engine Misfires
Engine misfires can damage oxygen sensors over time. Address any issues related to engine misfires, such as faulty spark plugs or ignition coils, to prevent premature sensor wear.
Proper Fuel Quality
Using low-quality fuel or fuel additives that can affect sensor performance is important. Choose high-quality fuel from reputable sources and avoid additives that could harm the oxygen sensor.
Here are some factors to consider when choosing a 2-wire O2 sensor:
Vehicle Compatibility
It is important to consider the make, model, and year of the vehicle before selecting the oxygen sensor. This is important because different vehicles require different types of oxygen sensors. Also, the exact positioning of the sensors may differ in vehicles with multiple sensors.
Quality and Reliability
When selecting a 2-wire oxygen sensor, it is important to consider the brand. One should go for a reputable brand that is known for producing high-quality and durable products. This is important because reliable sensors ensure optimal performance and longevity.
Temperature and Environmental Conditions
One should consider the environmental conditions and the operating conditions of the vehicle before selecting a 2-wire oxygen sensor. This is important because the sensor's ability to withstand extreme temperatures, harsh conditions, and high wear levels in high-performance applications is ensured.
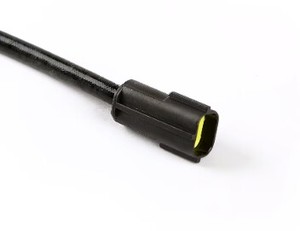
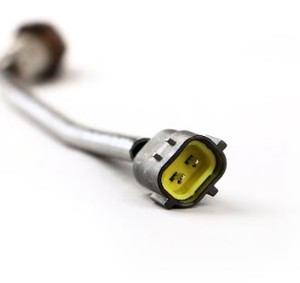
Connector Type
When selecting a 2-wire oxygen sensor, it is important to pay attention to the connector type. It is important to ensure that the connector type and wiring harness are compatible with the vehicle to avoid issues caused by incompatible connections.
Price
When selecting a 2-wire oxygen sensor, it is important to consider the budget. One should go for a sensor that is within budget but still offers quality and reliability. This is important because there are many options available, hence the importance of shopping around for the best deal.
Replacing a 2-wire oxygen sensor is a manageable DIY task. Here is a step-by-step guide on how to DIY and replace a 2-wire oxygen sensor:
Step-by-Step Guide
By following these steps, drivers can successfully replace their 2-wire oxygen sensors. If the problem persists after the replacement, it may be advisable to consult a professional mechanic for further diagnosis and assistance.
Q1: Are there any differences between 2-wire, 3-wire, and 4-wire oxygen sensors?
A1: Yes, there are differences. 2-wire oxygen sensors are basic and less commonly used in modern vehicles. In contrast, 3-wire and 4-wire sensors are more advanced. The 3-wire sensors have a heating element that requires power to heat the sensor faster. On the other hand, 4-wire sensors are even more complex because they have two heaters. All these differences make the later models more effective in controlling emissions and improving fuel efficiency.
Q2: Can any vehicle use a 2-wire oxygen sensor?
A2: No, not all vehicles can use a 2-wire oxygen sensor. Older vehicles that use basic fuel injection systems are more likely to be compatible with 2-wire sensors. Most modern vehicles require more advanced oxygen sensors, such as 3 or 4-wire sensors, to meet emissions standards and optimize engine performance.
Q3: How long does a 2-wire oxygen sensor last?
A3: A 2-wire oxygen sensor is designed to last between 50,000 and 100,000 miles. However, its lifespan can be affected by various factors, such as driving habits, engine conditions, and fuel quality. Regular maintenance and using good quality fuel can help extend the sensor's life.
Q4: Can a 2-wire oxygen sensor be used in a 4-stroke engine?
A4: Yes, a 2-wire oxygen sensor can be used in a 4-stroke engine. 2-wire oxygen sensors are compatible with most gasoline engines, including 4-stroke engines. However, it's crucial to ensure that the sensor matches the engine's specifications and requirements for optimal performance and emissions control.
Q5: Is the installation of a 2-wire oxygen sensor complicated?
A5: The installation of a 2-wire oxygen sensor is relatively straightforward. It typically involves removing the old sensor, cleaning the exhaust pipe thread, applying anti-seize compound to the new sensor's threads, and then screwing the new sensor into the exhaust pipe. After that, the two wires from the sensor need to be connected to the vehicle's electrical system. It's important to follow the manufacturer's instructions and ensure proper wire connections for correct sensor operation.