All categories
Featured selections
Trade Assurance
Buyer Central
Help Center
Get the app
Become a supplier
(781 products available)

 Ready to Ship


 Ready to Ship


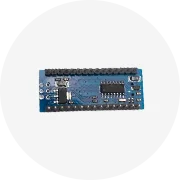
Arduino Mega boards are available in several types. The main difference lies in their additional features and complexity.
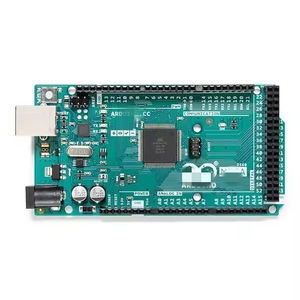
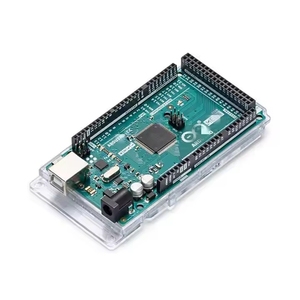
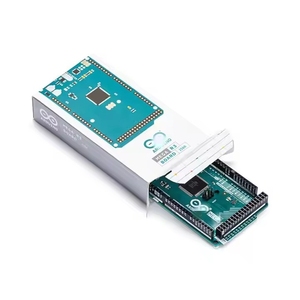
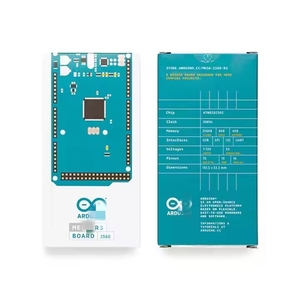
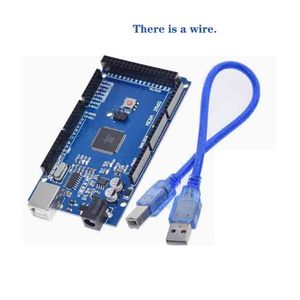
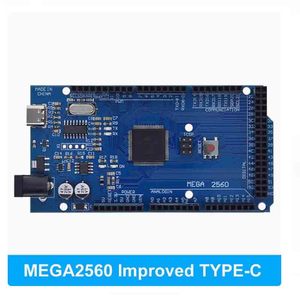
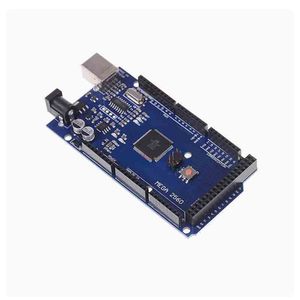
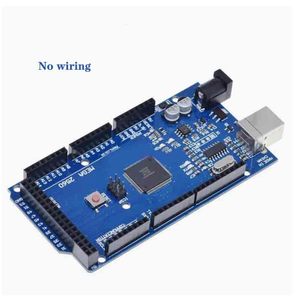
Arduino Mega 2560
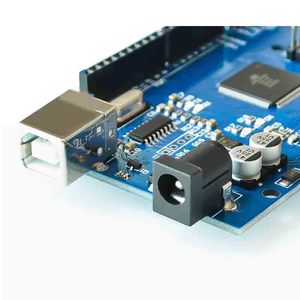
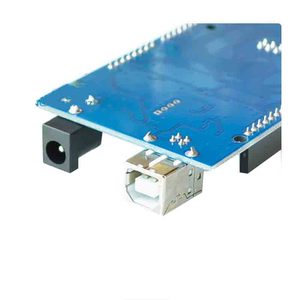
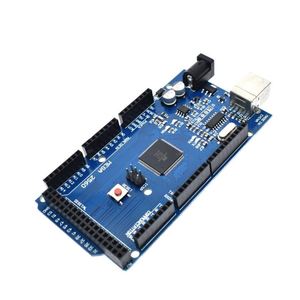
This is one of the most widely used boards in the family. It uses the ATmega2560 microcontroller. This active component has 86 digital input/output pins. The pin count makes this board suitable for complex projects that require many sensors and modules. The Arduino Mega 2560 also has 54 digital pins and 16 analog inputs. Its USB interface allows easy programming.
Arduino Mega ADK
The Mega ADK board is specific to projects using Android devices. It is aided by the official ADK documentation from Google. Apart from that, it also uses the ATmega2560 chip. It has all the standard Mega 2560 board features. It also includes a USB host shield for interfacing with Android devices. It supports many extra components for Android compatibility.
Arduino Mega 1280
The Mega 1280 is similar to the 2560 but utilizes the ATmega1280 microcontroller instead. It has fewer digital pins, 54 input/output pins, and 16 analog inputs. The Mega 1280 is ideal for medium-sized projects requiring more input/output capabilities than the smaller boards.
Arduino Mega Pro
These boards provide a more compact and more streamlined design. The Mega Pro boards utilize the same ATmega2560 chip. It enables complex projects requiring high-density layouts.
Arduino Mega I/O Shield
These shields provide additional input/output connector groups to the Mega boards. The I/O shields are beneficial for projects requiring many concurrent connections. These shields also help cut down on cable clutter.
Following the right installation and maintenance procedure will ensure the proper functioning of Arduino Megas.
The first thing to do when installing an Arduino Mega 2560 is to download and install the IDE. The IDE itself can be downloaded from the official Arduino site. After downloading the IDE, the board has to be connected to the computer using a USB cable. It is also important to ensure the correct board and port are selected from the 'Tools' menu in the IDE. The code can then be uploaded by clicking the upload button in the IDE. This action compiles the code and sends it to the board. Before starting a project, a test should be conducted to ensure that the board was uploaded with the correct code. The 'Blink' example from the IDE is a simple test. This task will show the board is functioning correctly.
Some common maintenance tips include regularly checking connections to ensure everything is working properly. The board, cables, and components should also be checked for any visible signs of wear or damage. This damage can cause malfunctioning equipment. It is also important to keep the board dry. Avoid exposing it to moisture, as this can cause corrosion and damage electronic components. The IDE should be used to check for software updates for the board. Running the updates will ensure the board is working with the latest features and bug fixes. The code can also be backed up on the cloud or on external storage to avoid loss.
Taking care of the Arduino Mega will also increase its longevity. Keeping all components in a single organized space will also make it more convenient for use when the need arises.
The commercial value of any product, including Arduino Mega boards and related products, is mostly influenced by demand and supply, market trends, competition, and production costs.
The demand for Arduino Mega 2560 boards is particularly high in the education sector for teaching students about programming and electronics. There is also an increasing demand in the professional sector for prototyping complex electronics. The increased demand results in an increased commercial value. Market trends also affect value. For example, with the rising popularity of IoT devices, there is greater interest in Arduino boards for their flexibility in creating connected devices.
Competition also impacts pricing and perceived value. With other makers producing similar boards, like the Raspberry Pi or ESP boards, the pricing may be affected. The commercial value of the Arduino Mega will decrease to increase its market appeal. Conversely, if it were to hold a monopoly in that particular niche, it would be able to command higher prices.
The production costs of the original Arduino Mega impact its pricing. If this amount is lower than competitor products, it will increase the commercial value. Sustainability initiatives and product quality also affect perception.
Business owners should also consider what market segment they would want to target with their Arduino Mega boards. Makers, schools, and professionals may have different requirements. Understanding these needs and selling products that fulfill them will increase the chances of success when selling the product.
Arduino Mega boards are applied in various fields, from hobbyist projects to professional applications.
Prototyping and Product Development
The Arduino Mega boards' versatility and expandability make them suitable for designing and testing new concepts. Hardware and software developers use the boards to develop IoT and wearable technology products. They can be fitted with many sensors and modules to quickly prototype ideas without starting complex designs.
Automated Greenhouses and Hydroponic Systems
Many Agriculture boards are used in smart farming applications. They control environmental factors such as temperature, humidity, and light in greenhouses. The Mega boards are also used to monitor and adjust water and nutrient delivery systems in hydroponic gardens. These automated systems make food production more efficient.
3D Printers and CNC Machines
The Arduino Mega boards were originally designed for the RepRap project. They are utilized in many 3D printers and CNC machines. Their ability to control multiple stepper motors, extruder, heated beds, and other components makes them ideal for these complex tasks. Users can customize their printer or CNC machine firmware to suit their specific needs.
Wearable Technology
Quick prototyping of wearable devices like fitness trackers and smartwatches is aided by the Arduino Mega boards. Developers utilize the board's capability to interface with many sensors to track health metrics, create fashion-based technology.
Home Automation Systems
Arduino Mega 2560 boards are widely used in DIY home automation projects. Their ability to control many relays, sensors, and communication modules enables users to create sophisticated systems. These systems can control lighting, heating, security, and more from a centralized hub.
Robotics
Many Robotics enthusiasts and professionals use Arduino Mega boards in their creations. Most mega boards use many motors, sensors, and communication modules. This ability makes the board ideal for building complex robots. Autonomous machines, robotic arms, and drones are all created using Arduino Mega boards. They control movement and interact with their environment.
Educational Tools
Arduino boards are particularly popular in schools, colleges, and boot camps. The simple but effective board teaches programming and electronics principles. Its hands-on approach helps learners understand embedded systems and software development.
Some of the main deciding factors when choosing an Arduino Mega board include computing power and memory, connectivity options, input and output capabilities, project requirements, and budget constraints.
Computing Power and Memory
The ATmega2560 processor on the Mega boards provides better computing power than earlier Arduino boards. It also has a larger memory space. Users with software projects needing more storage and processing power will find this feature useful. Boards with a greater capacity will also be able to handle more complex programs without running out of memory.
Connectivity Options
Many of the board's variants have different connectivity options. While the basic Arduino Mega uses USB for direct connections, other variants may include Bluetooth, Wi-Fi, or cellular connectivity. This feature is useful for users working on IoT projects requiring wireless communication. Select a board with the required connectivity for the project at hand.
Input and Output Capabilities
All Mega boards have many digital input/output pins and analog inputs. Users who need to connect many sensors, motors, or other components will benefit from this feature. The original Mega 2560 has 54 digital pins and 16 analog inputs. Users should ensure the selected board has enough I/O capabilities. They should also confirm compatibility with the project requirements.
Project Requirements
Specific project requirements also determine which board to choose. Simple projects can be executed using the normal Arduino Mega boards. More complex projects requiring advanced features should use the Arduino Mega Pro or I/O shield boards.
Budget
Cost is always an important factor to consider when making any investment. Normally, the standard Arduino Mega 2560 board will be the most cost-effective. It is useful for general purposes. More specialized boards may cost more. If users need the extra functionality, they will find it worth the expense in the long run.
A1: Arduino Mega boards have more input/output pins and memory than other boards. This feature makes them suitable for complex projects requiring many components. Other boards, like the Arduino Uno, are better for simple projects due to their basic needs.
A2: The Arduino Mega board is popular in many industries, including robotics, education, and IoT product development. Its versatility and expandability also make it a preferred choice for makers and professionals.
A3: Yes, many people use it to prototype their designs. However, they will need to create a custom version of the board for large-scale production.
A4: The reset function can be performed by pressing the reset button on the board. The reset can also be triggered by re-uploading a sketch from the Arduino IDE.
A5: Yes, one can stack several shields on the Mega 2560. Different shields will add extra capabilities, from motor control to sensing environments.